AP43アクセスポイントの取り付け
このトピックでは、AP43のさまざまな取り付けオプションについて説明します。アクセスポイント(AP)は、壁、天井、またはジャンクションボックスに取り付けることができます。AP には、すべての取り付けオプションに使用できるユニバーサル取り付けブラケットが付属しています。AP を天井に取り付けるには、天井のタイプに応じて追加のアダプタを注文する必要があります。
AP を取り付ける前に、AP の要求を行うことを推奨します。請求コードは AP の背面にあり、AP を取り付けた後に請求コードにアクセスするのが難しい場合があります。APの要求については、次を参照してください: Juniperアクセスポイントの要求を参照してください。
AP43でサポートされている取り付けブラケット
表 1 は、AP43 で使用できるブラケットの一覧です。
| 部品番号 | の説明 |
|---|---|
| APBR-U | Tバーおよび乾式壁取り付け用のユニバーサルブラケット |
| APBR-T58型 | AP を 5/8 インチに取り付けるためのブラケット。螺旋溝ロッド |
| APBR-M16 | 16 mm のネジ付きロッドに AP を取り付けるためのブラケット |
| APBR-ADP-CR9 | 埋め込み式の 9/16 インチに AP を取り付けるためのブラケット アダプタ。T バーまたはチャネル レール |
| APBR-ADP-RT15 | 埋め込み型の 15/16 インチに AP を取り付けるためのブラケット アダプタ。Tバー |
| APBR-ADP-WS15 | 埋め込み式の 1.5 インチに AP を取り付けるためのブラケット アダプタ。Tバー |
ジュニパーアクセスポイントには、ユニバーサルブラケットAPBR-Uが同梱されています。他のブラケットが必要な場合は、別途注文する必要があります。
ジュニパーアクセスポイント用ユニバーサル取り付けブラケット(APBR-U)
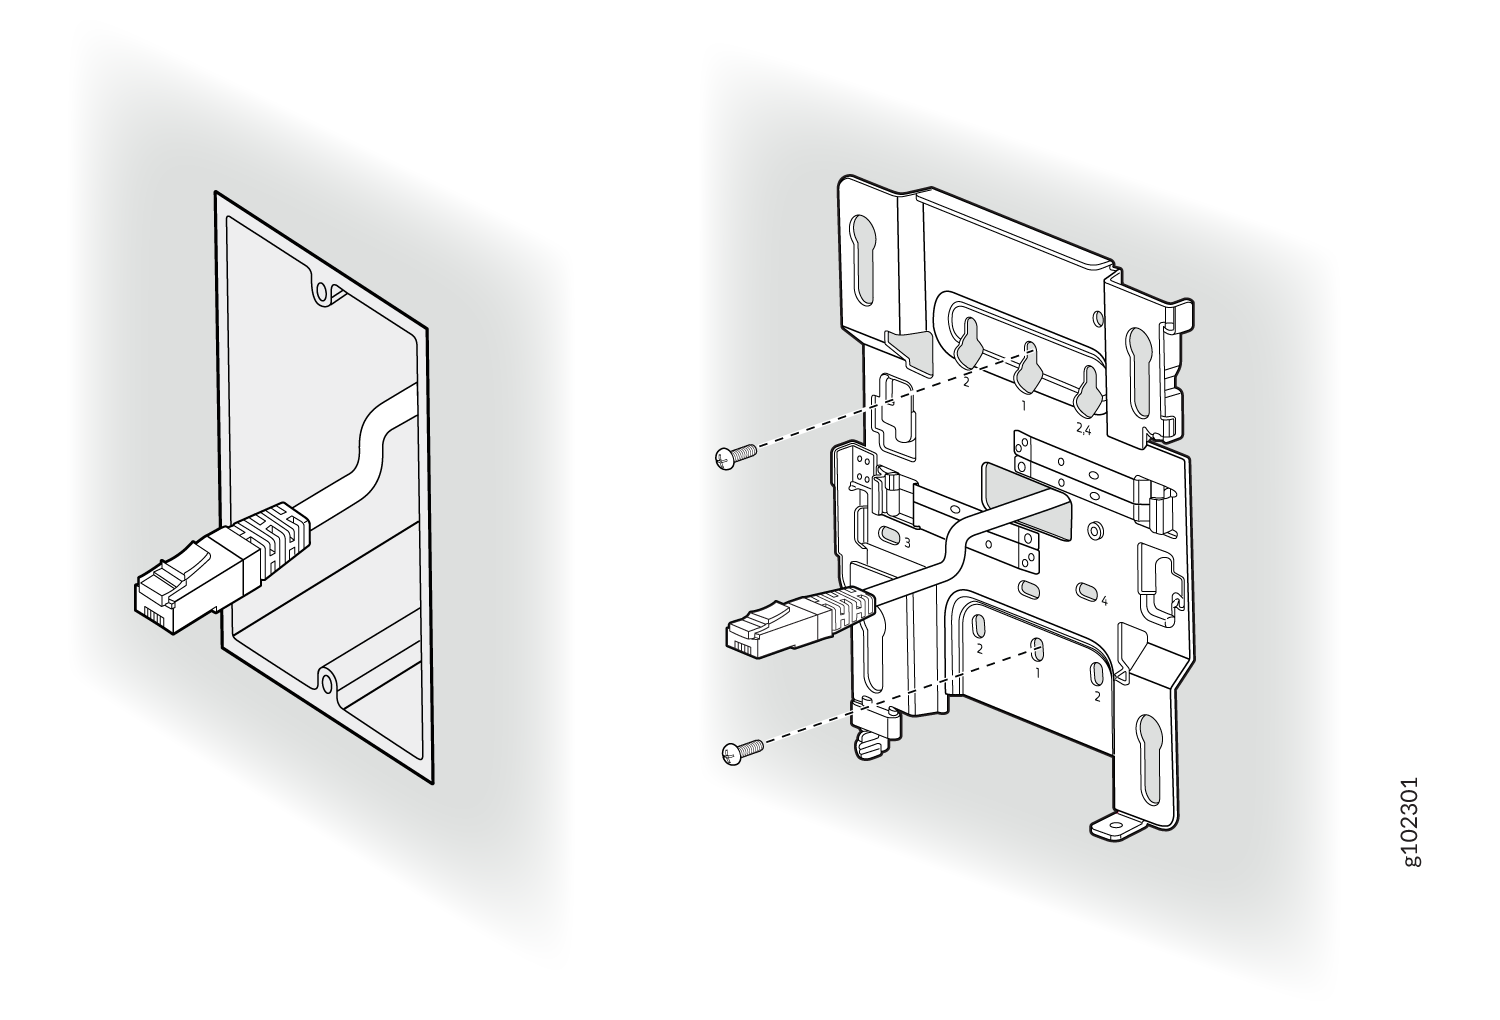
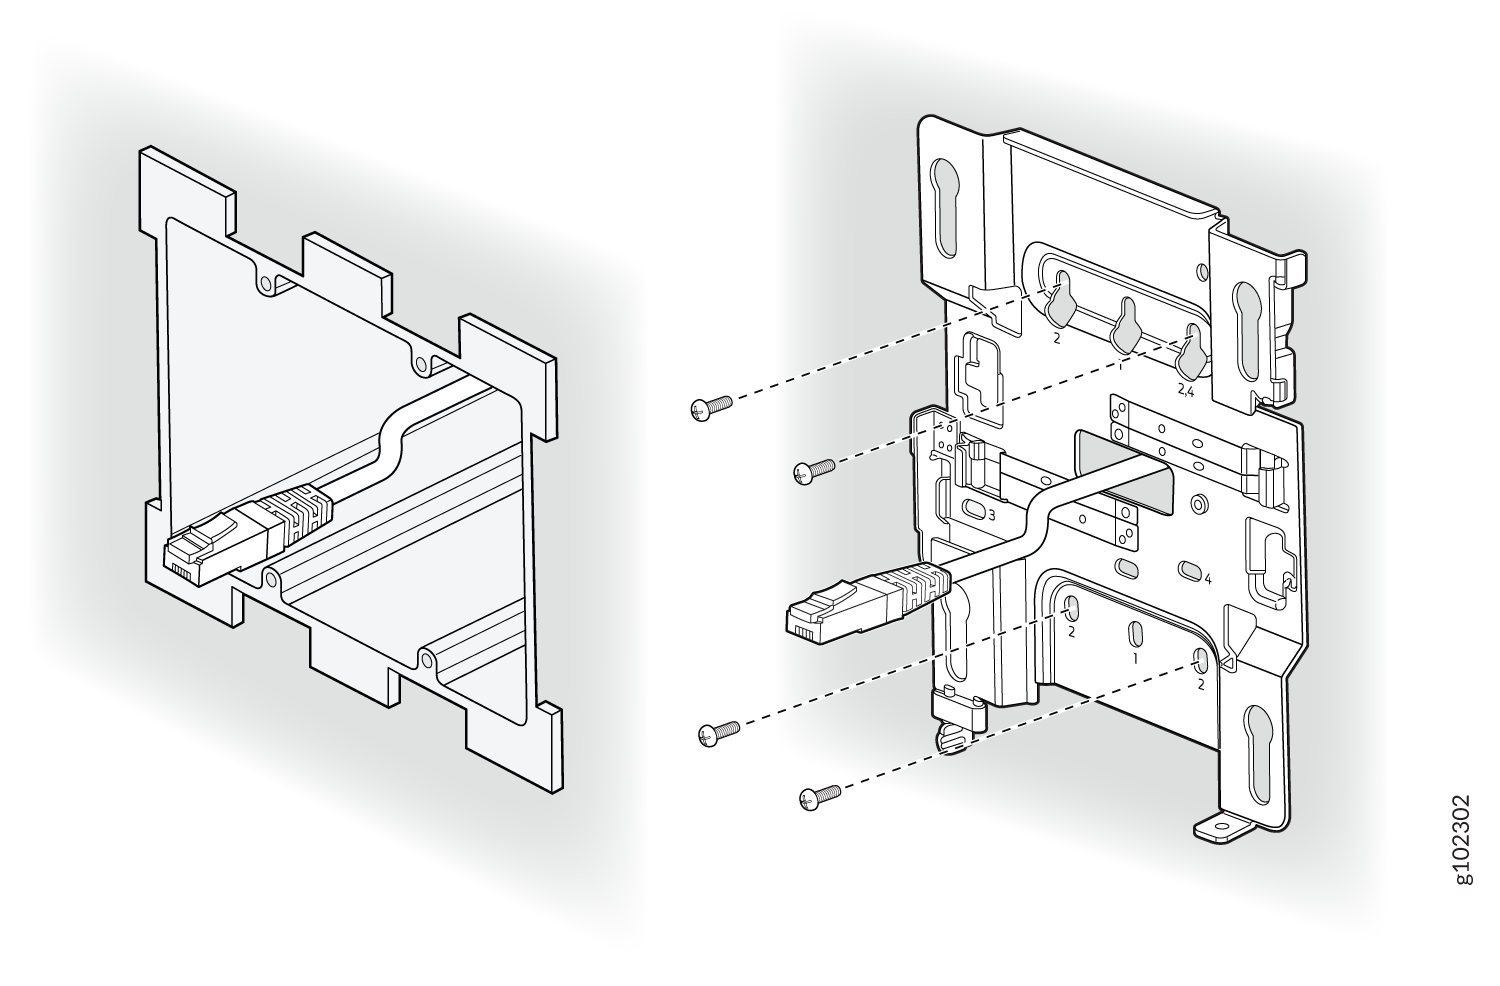
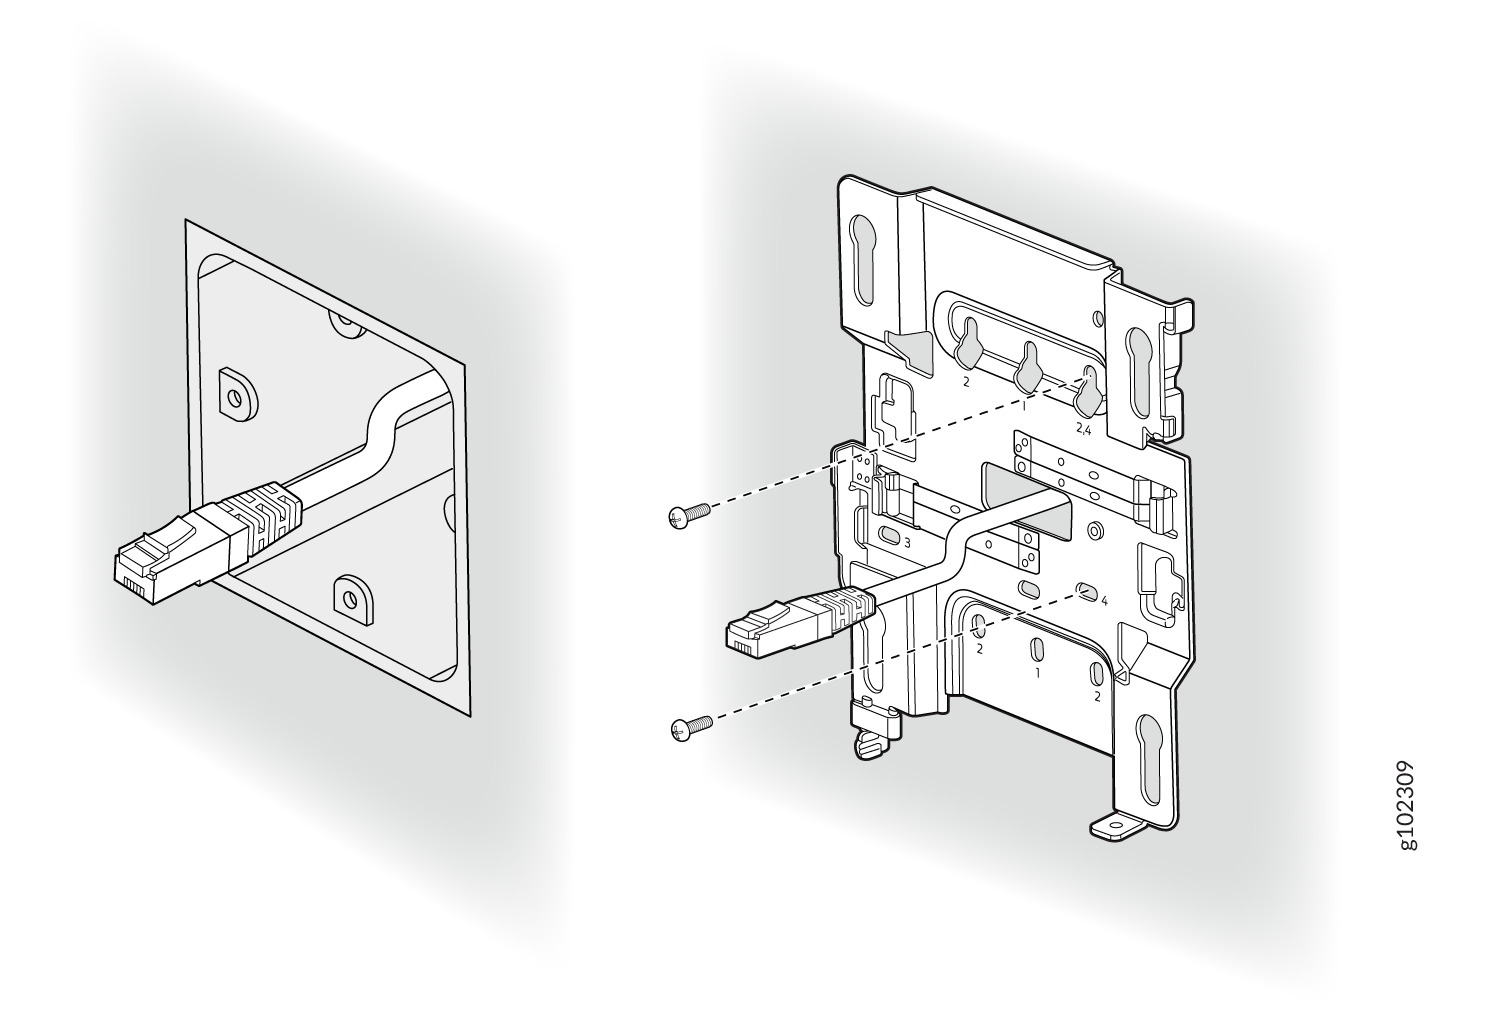
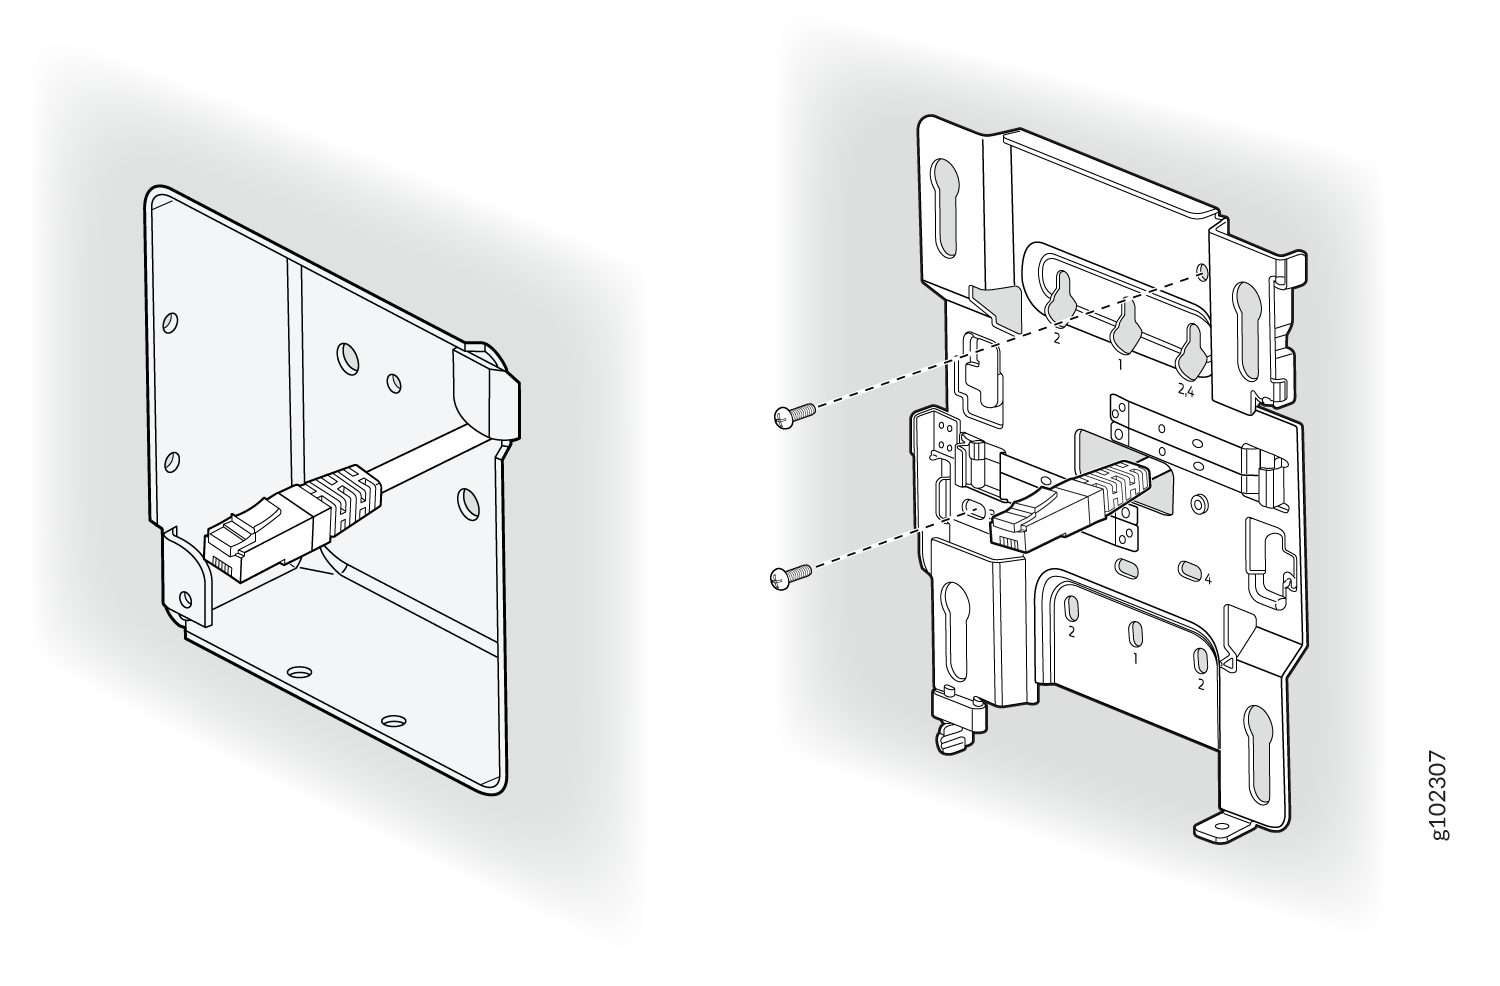
ユニバーサル取り付けブラケットAPBR-Uは、壁面、天井、ジャンクションボックスなど、あらゆるタイプの取り付けオプションに使用できます。 図 1 に APBR-U を示します。ジャンクション ボックスに AP を取り付けるときは、番号の付いた穴を使用してネジを差し込む必要があります。使用する番号付きの穴は、ジャンクション ボックスのタイプによって異なります。

AP を壁面に取り付ける場合は、次の仕様のネジを使用します。
-
ネジ頭の直径:1/4インチ(6.3mm)
-
長さ:少なくとも2インチ(50.8ミリメートル)
次の表に、特定の取り付けオプションで使用する必要があるブラケット穴を示します。
| 穴番号 | 取り付けオプション |
|---|---|
| 1 |
|
| 2 |
|
| 3 |
|
| 4 |
|
This is the new Mist BR-U bracket that works for all our indoor APs. We'll ship with the shoulder screws already installed, so attached to the BR-U bracket as follows. You will note a strong click when the locking lever engages. To remove, you need to gently push the lever out of the way and slide the AP back out.
シングルギャング、または 3.5 インチまたは 4 インチの丸型ジャンクション ボックスにアクセス ポイントを取り付ける
This is a US single gang box and it attaches as shown here. And the AP would be installed normally.
This is a US 3 and 1/2 inch round and the BR-U attaches as shown here. And the AP would be installed normally. This is a US 4-inch round and the BR-U attaches as shown here. And the AP would be installed normally.
ダブルギャングジャンクションボックスにアクセスポイントを取り付ける
This is a US double gang box, and it attaches as shown here. And the AP would be installed normally
EUジャンクションボックスへのアクセスポイントの取り付け
US 4インチ角ジャンクションボックスへのアクセスポイントの取り付け
This is a US 4 inch square mount and attaches as shown here. And the AP would be installed normally.
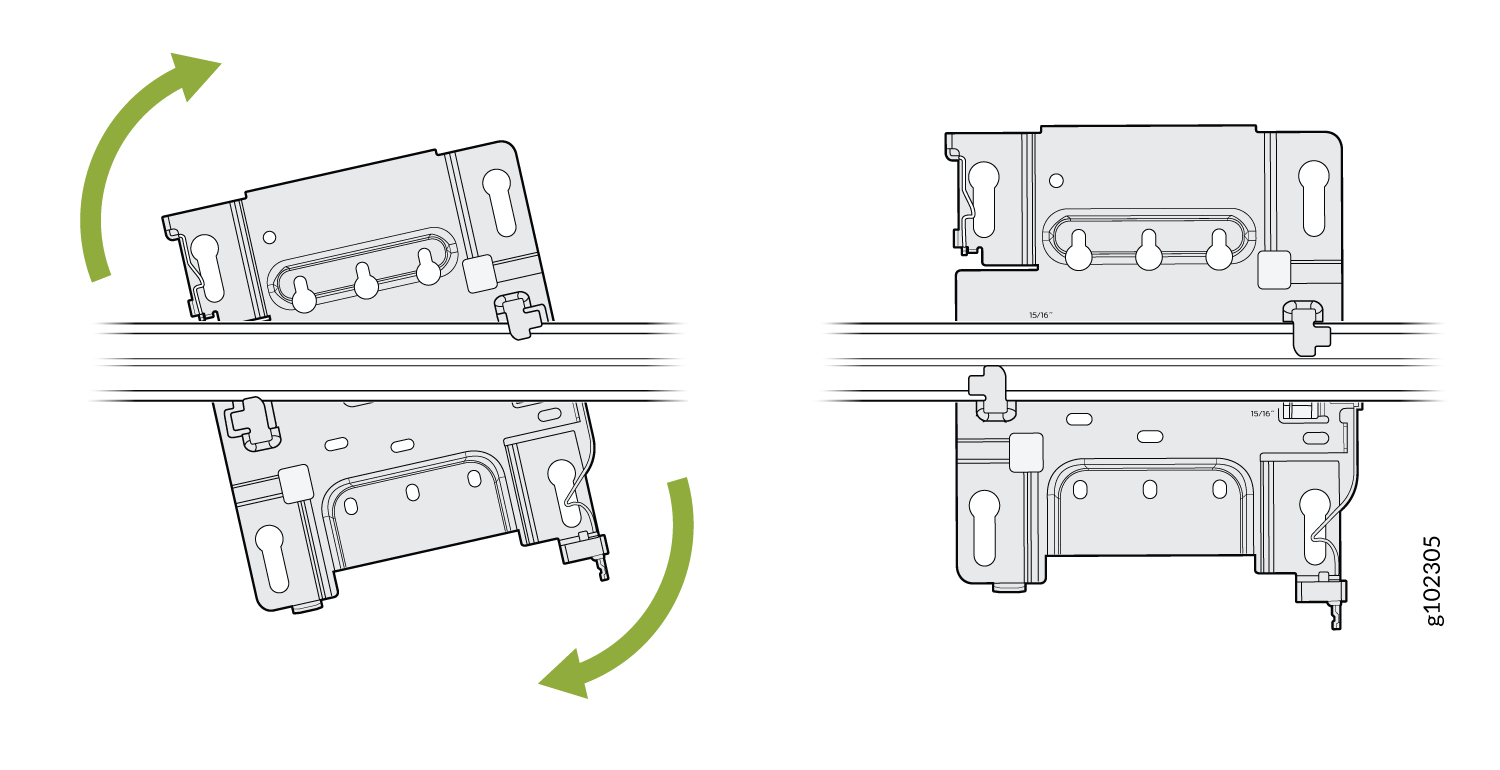
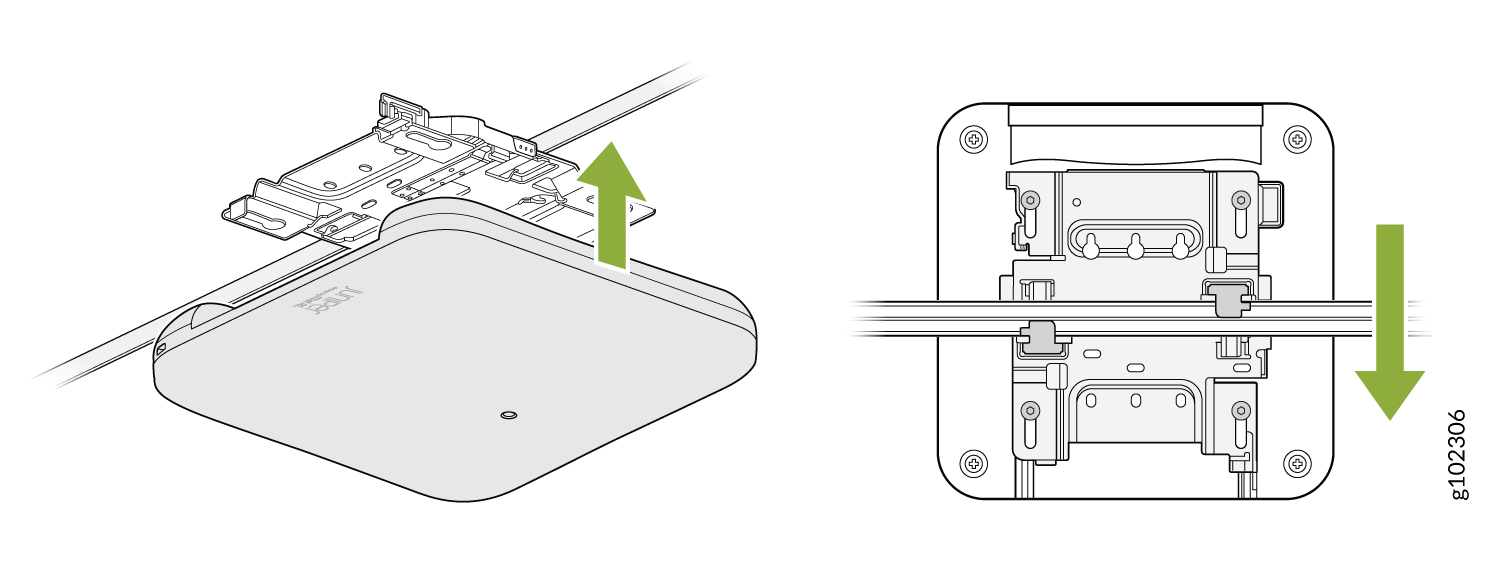
アクセスポイントを 9/16 インチまたは 15/16 インチの T バーに取り付ける
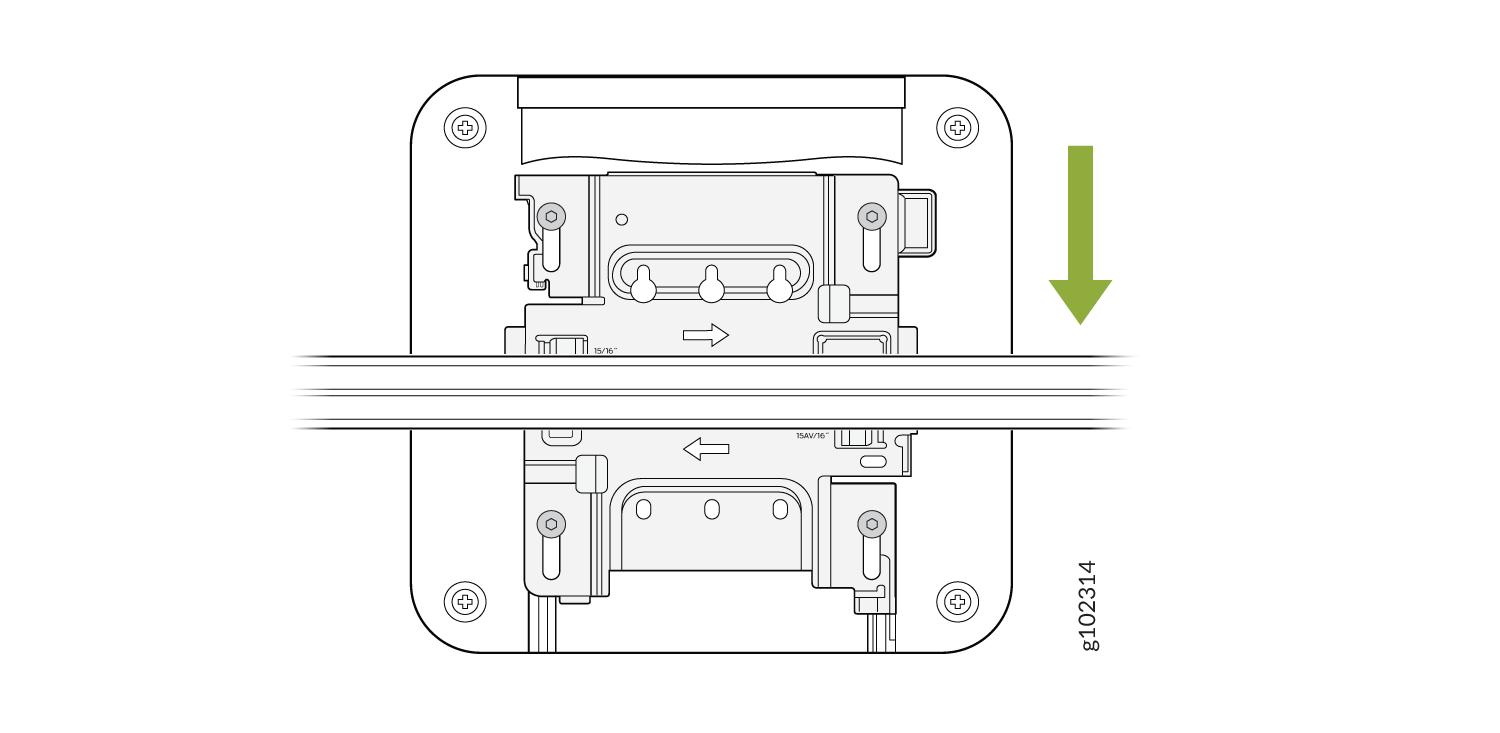
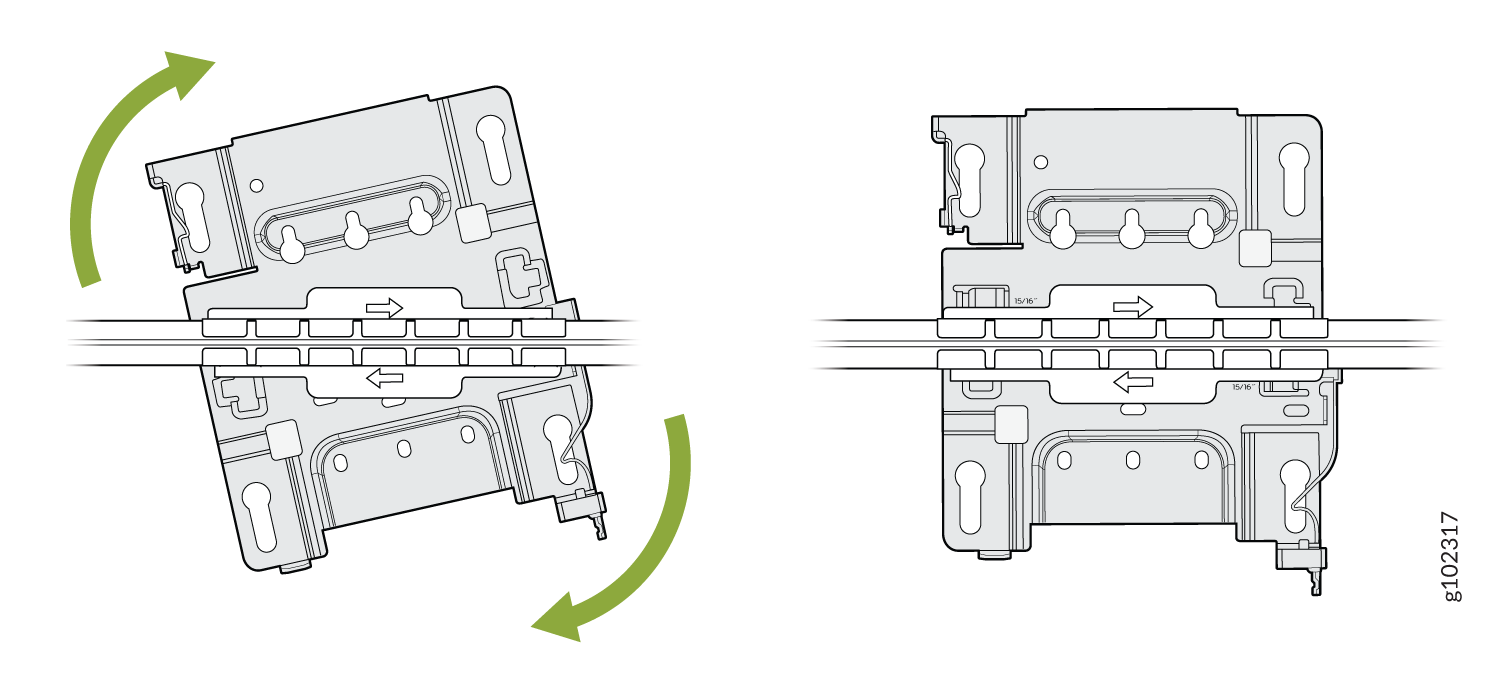
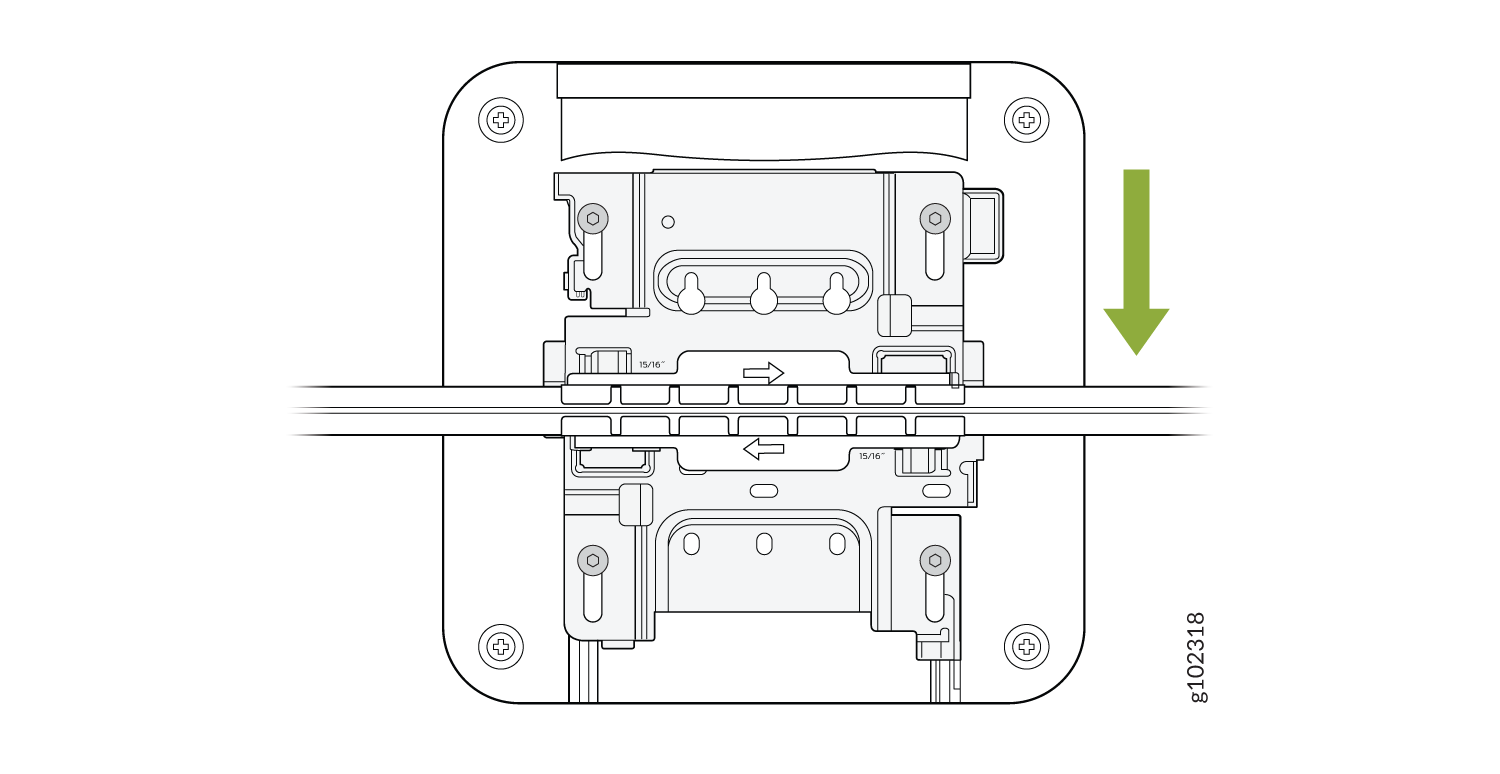
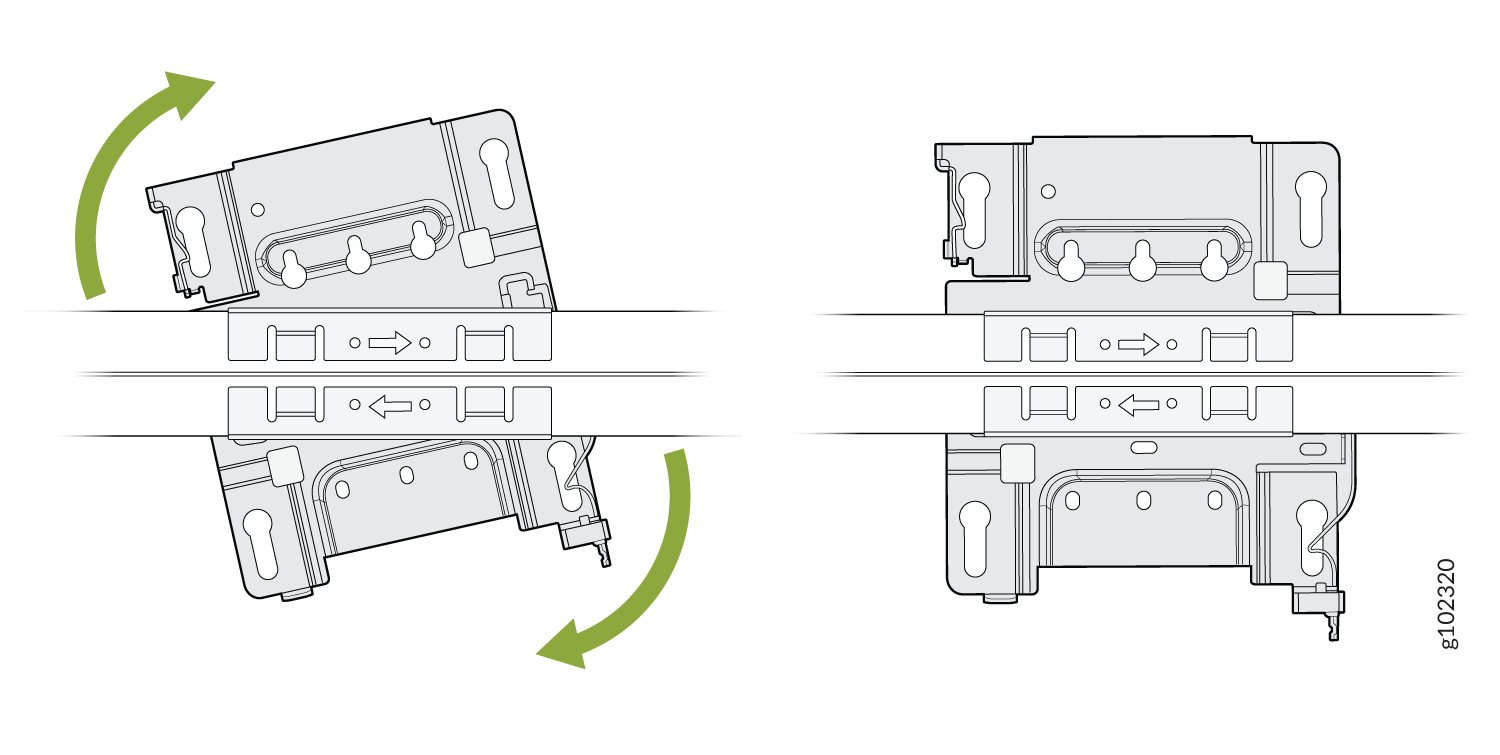
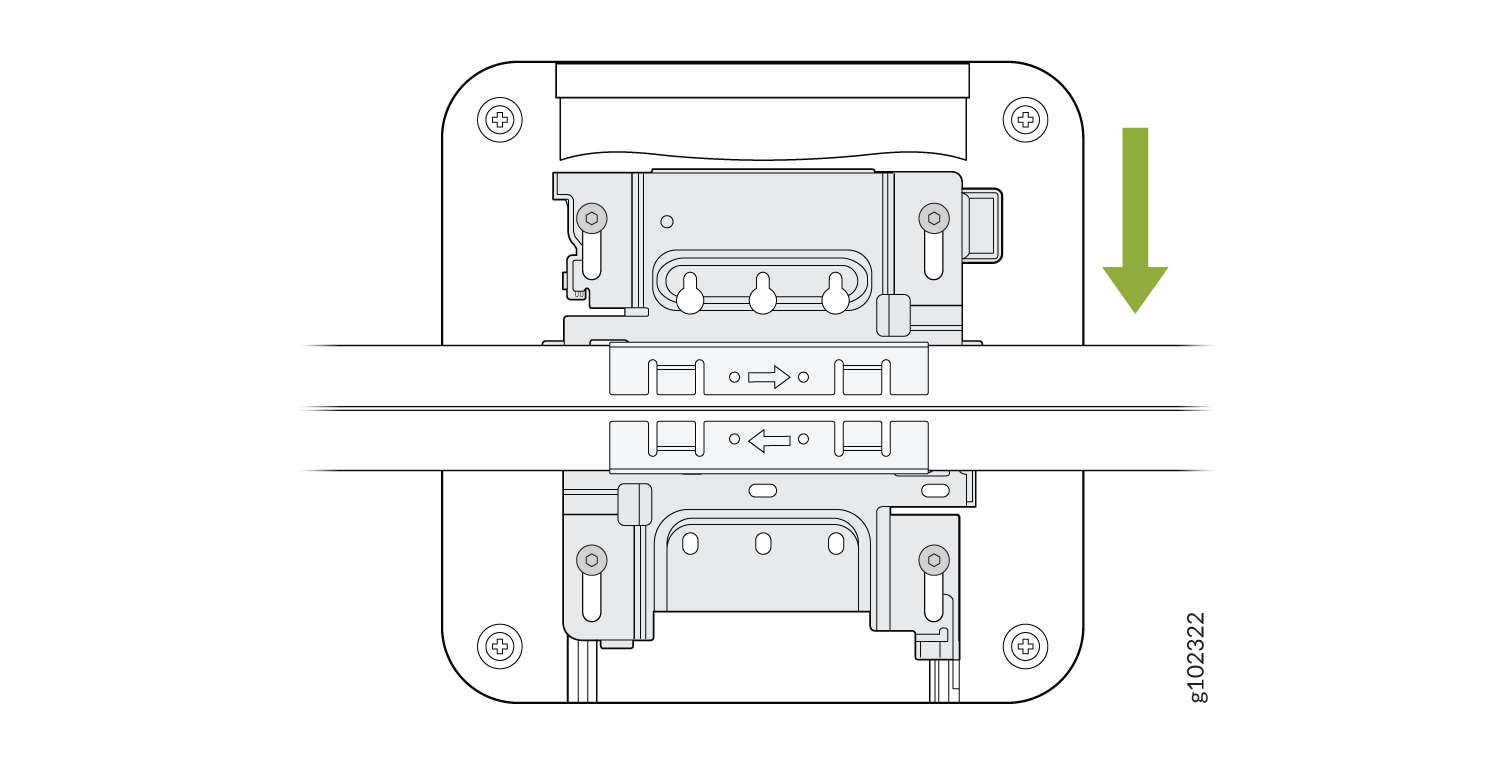
You can directly connect to 9/16ths or 15/16ths T-bar by using these flanges and inserting the bracket as shown. You will hear a click when properly installed. To disconnect, please press the clips as shown and remove the AP. The AP would then be hung as shown. Again, to remove the AP, you must gently press the security lever while you slide it out.
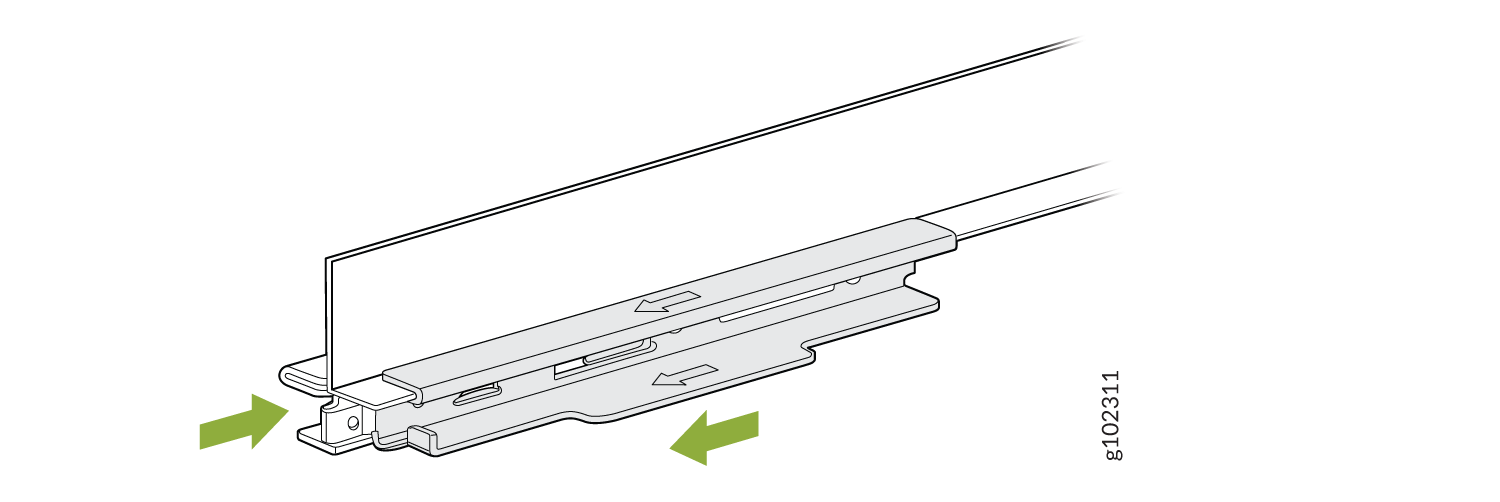
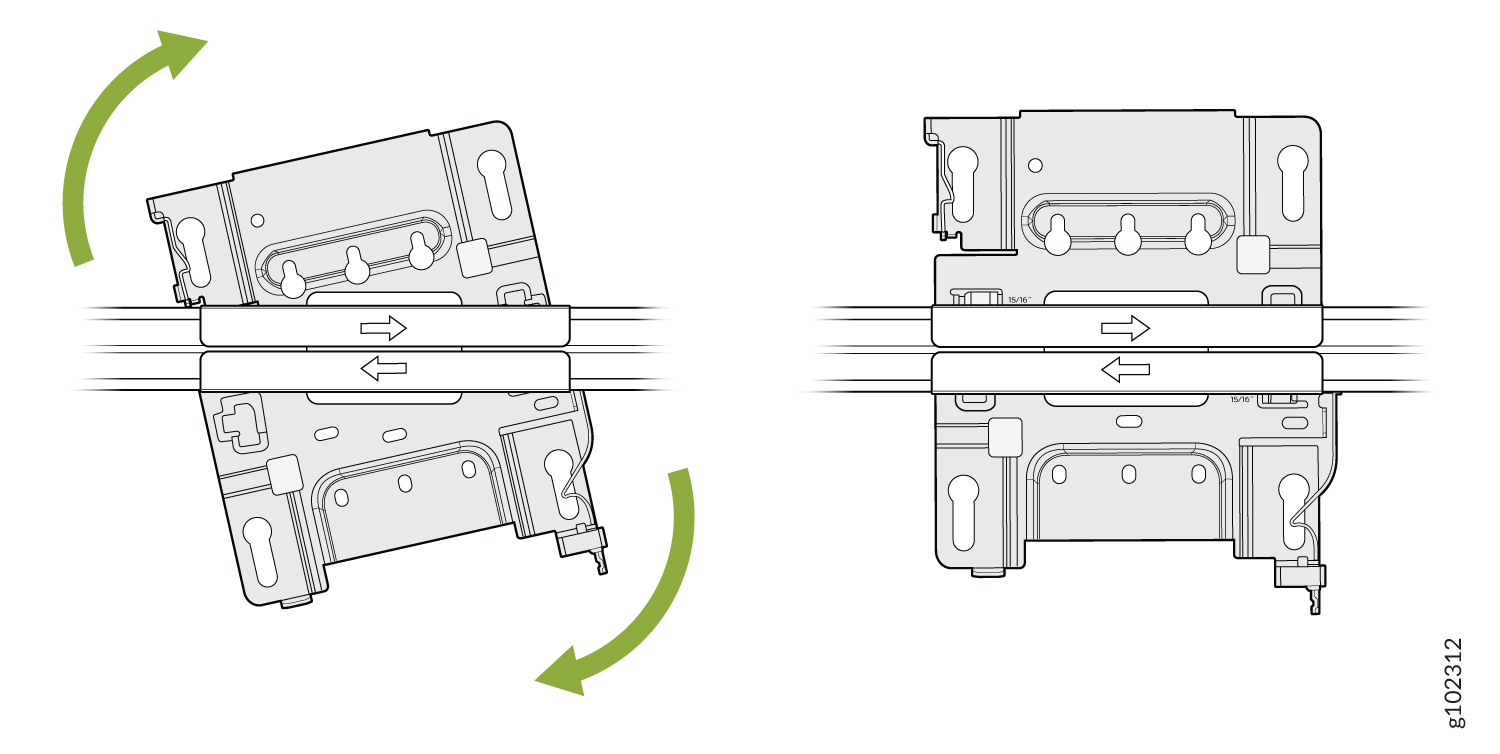
埋め込み式の 15/16 インチ T バーにアクセス ポイントを取り付ける
埋め込み式 9/16 インチ T バーまたはチャネル レールへのアクセス ポイントの取り付け
For recessed channel ceilings, we use this mount as shown to clip onto the channel. You could then attach the BRU just like you did with the T-bar install shown earlier. To remove it, it's the same process. Sometimes you need to mount to a recessed T-bar and this is the adapter for that, the same theory as the channel adapter.
アクセス ポイントを 1.5 インチ T バーに取り付ける
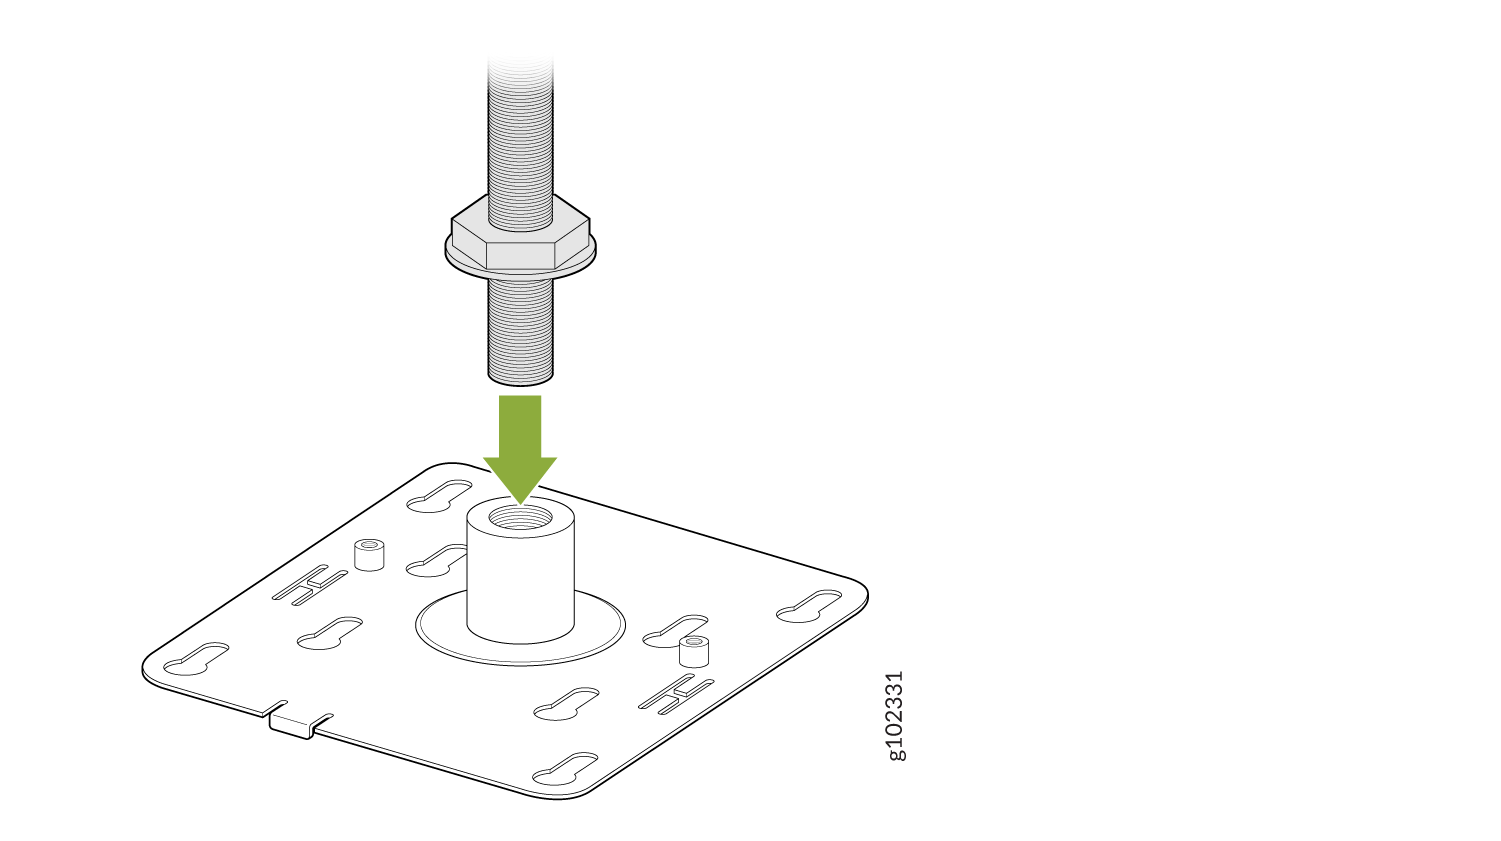
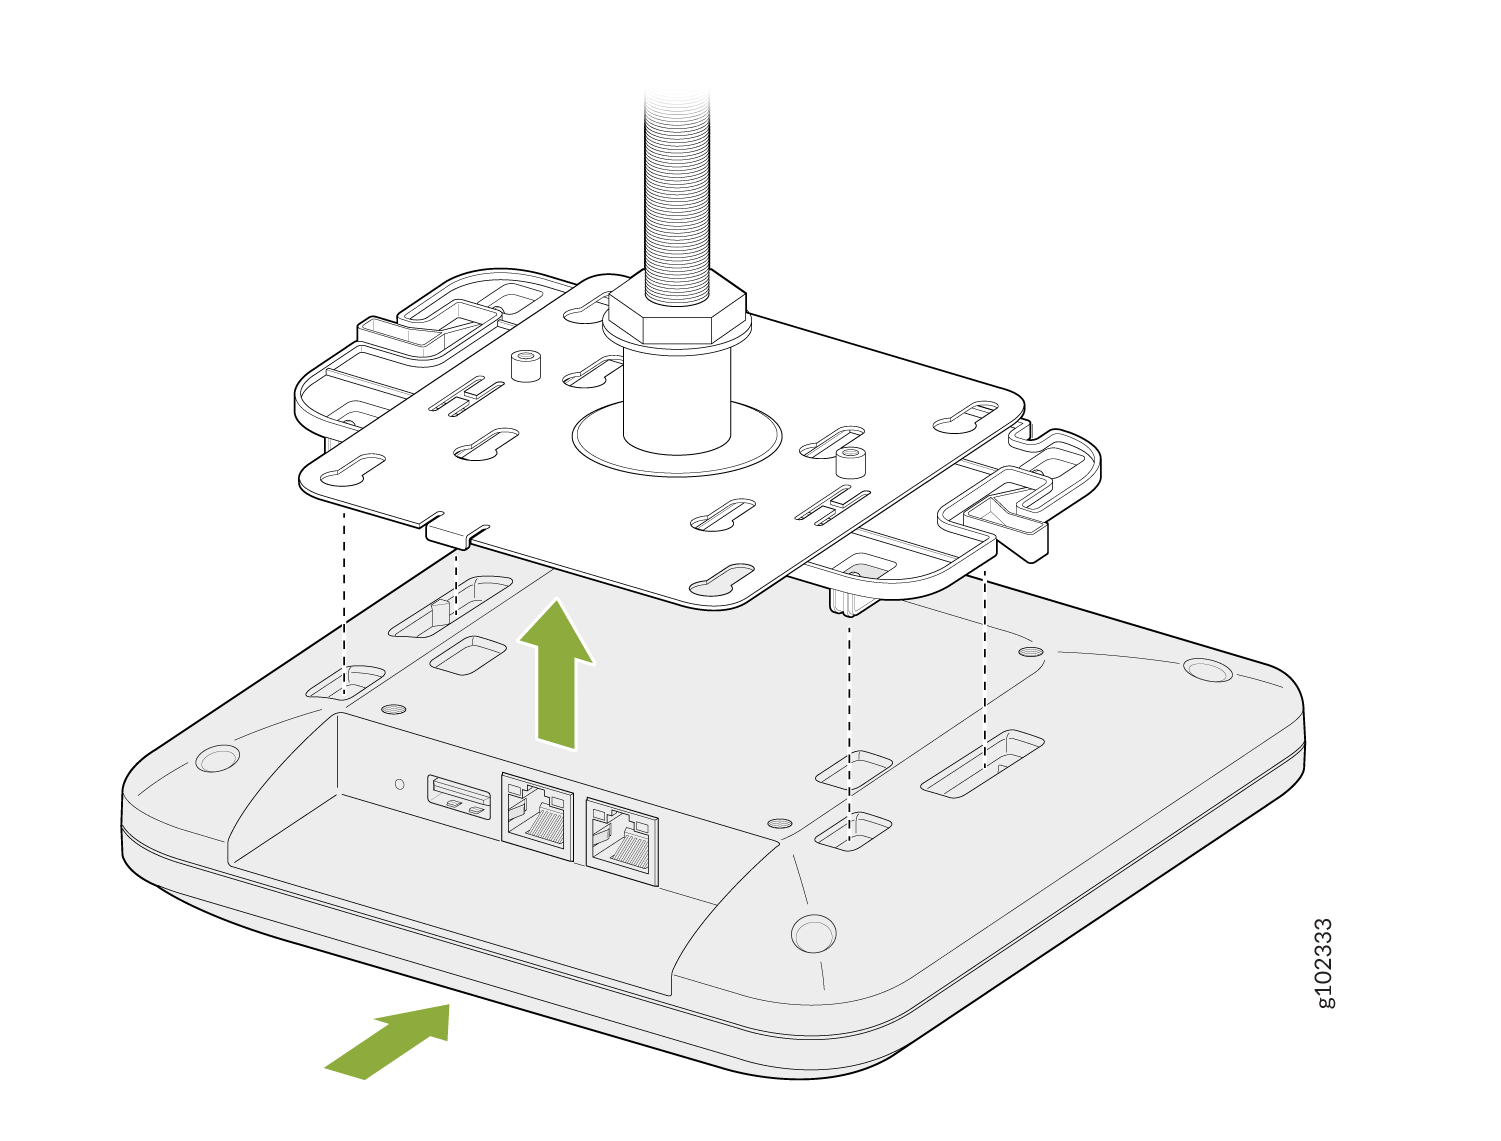
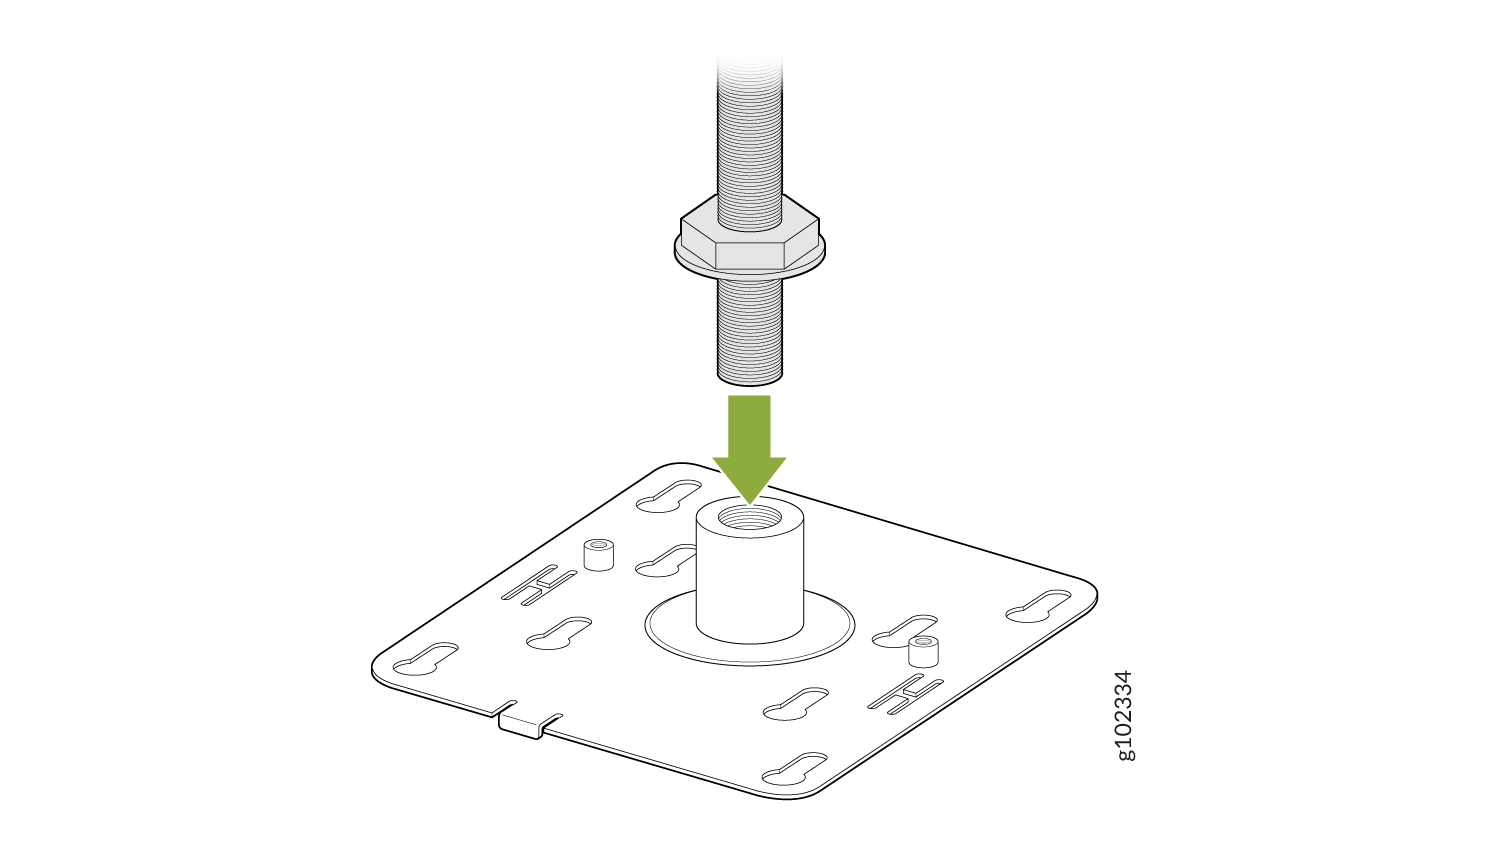
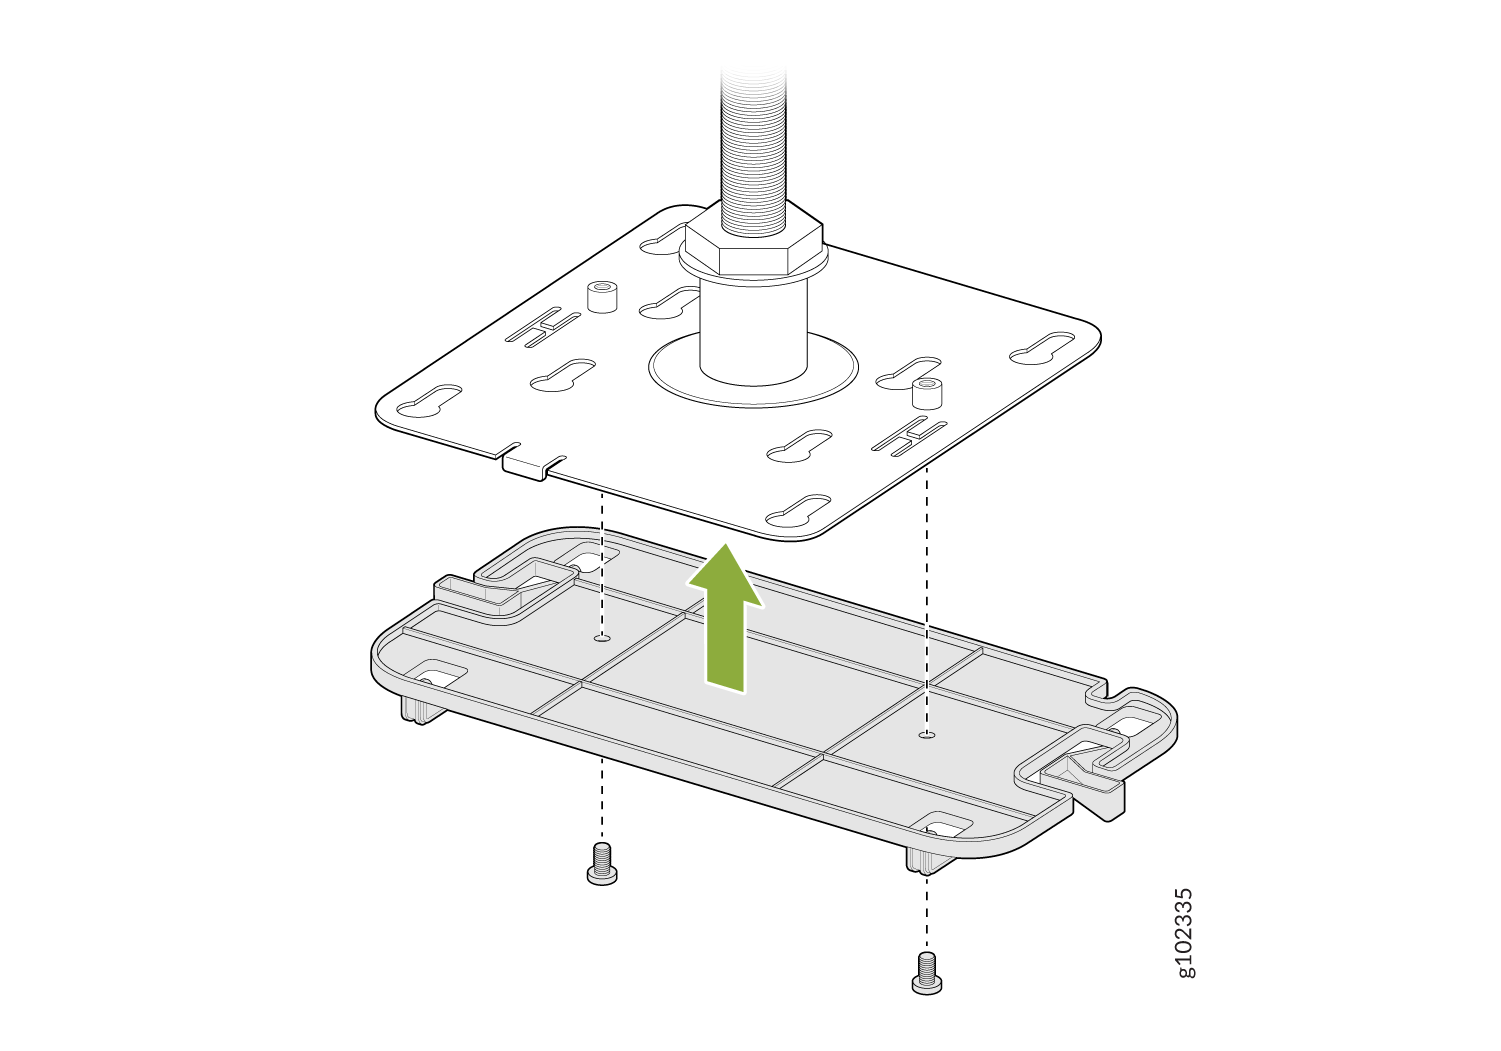
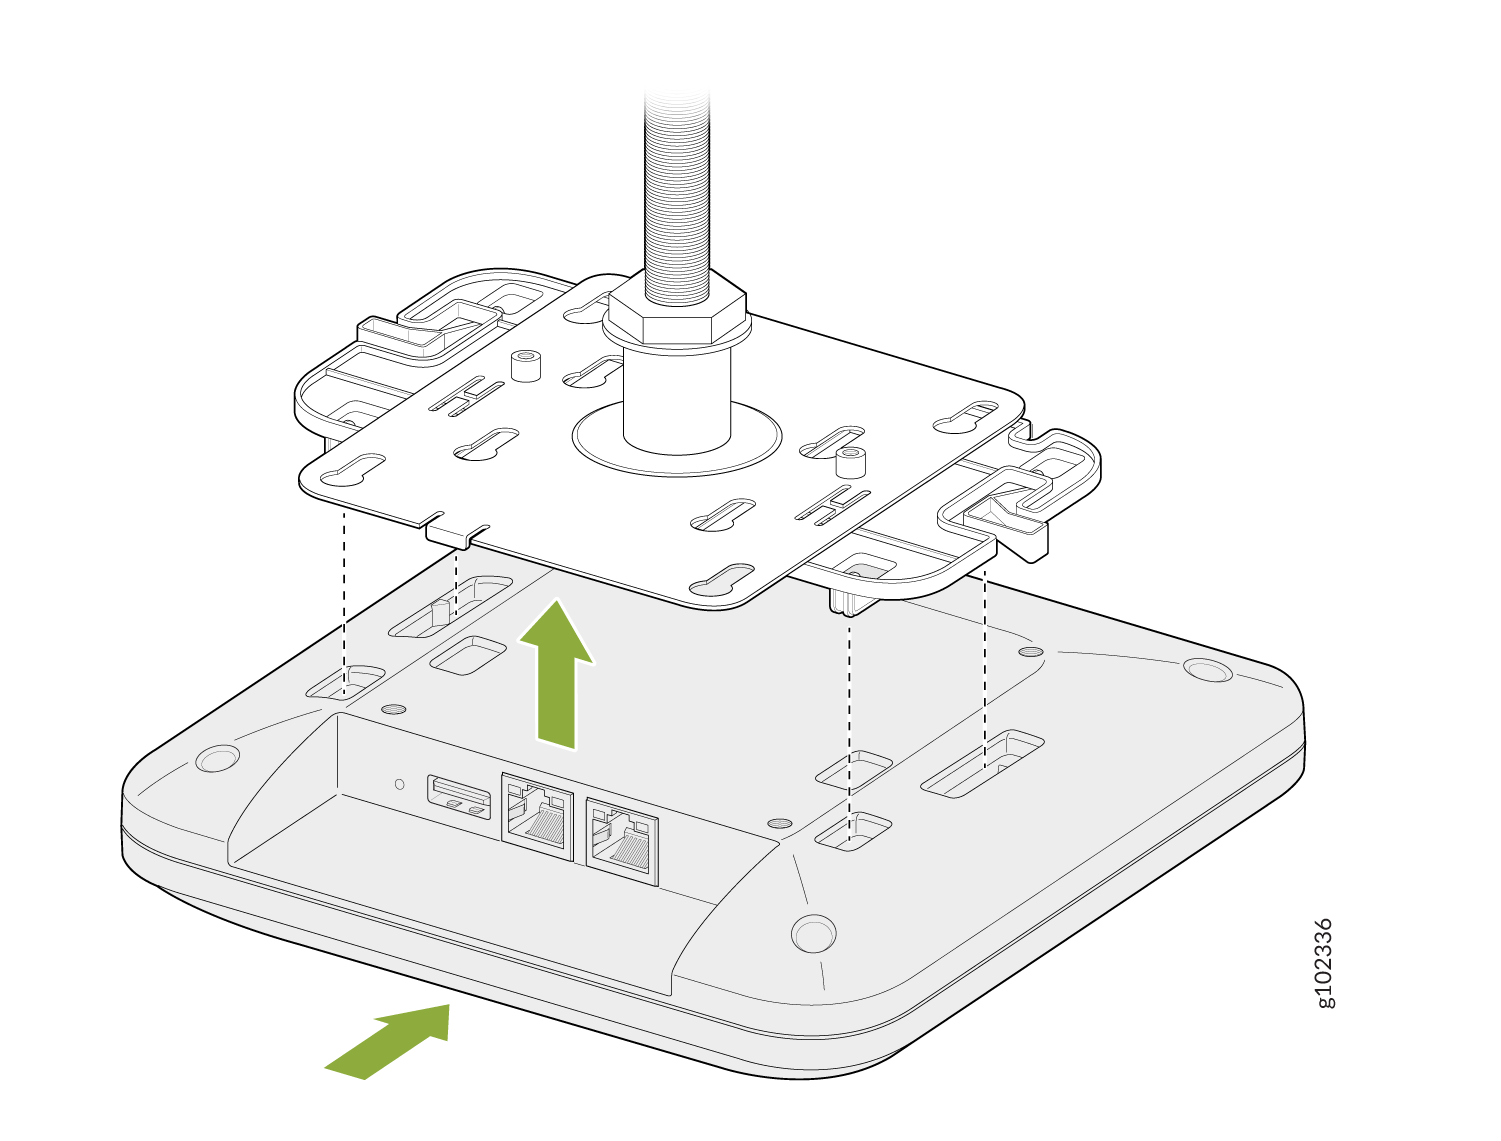
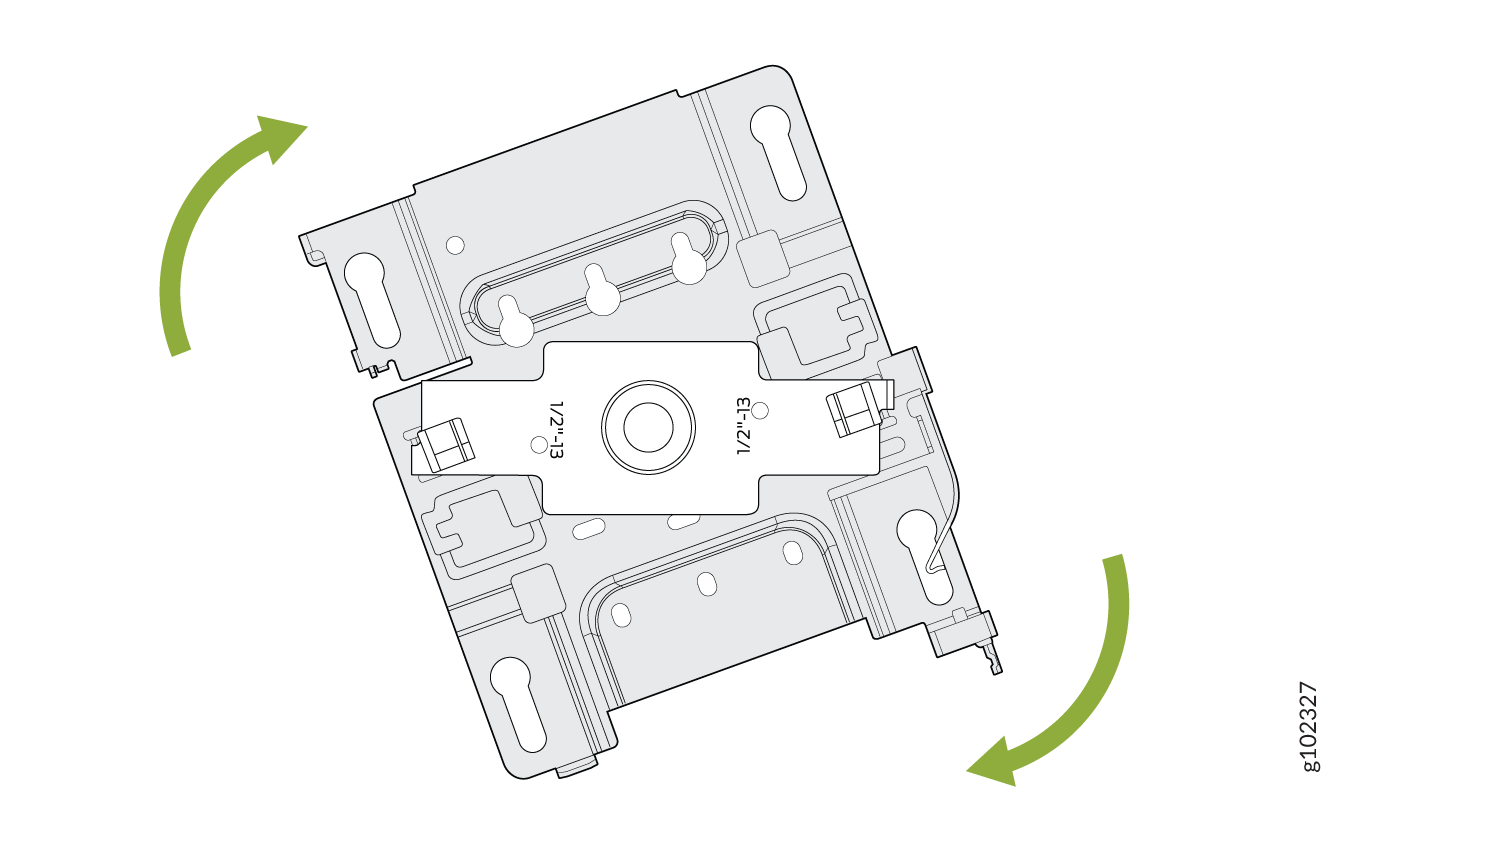
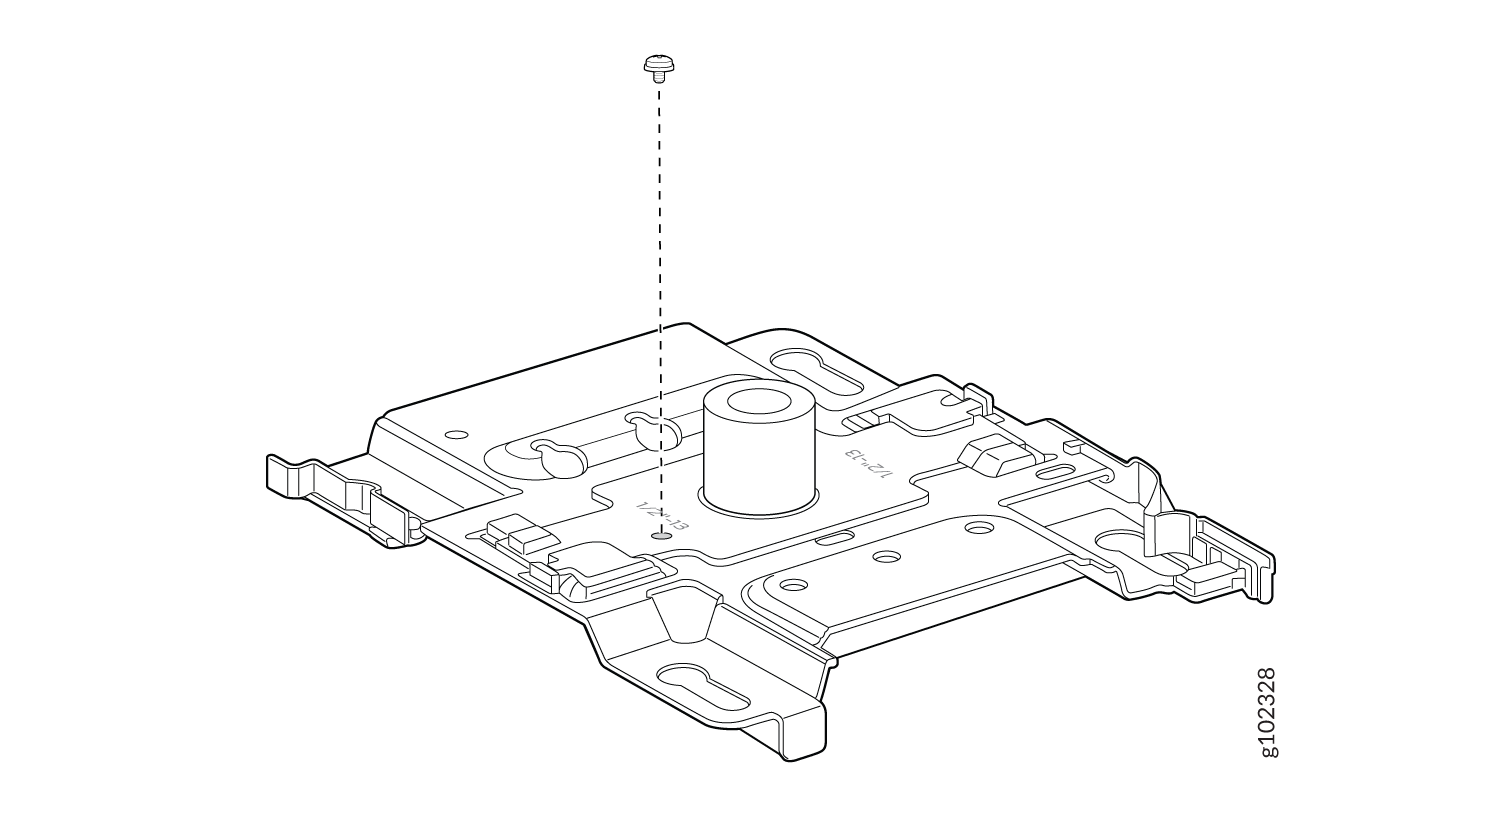
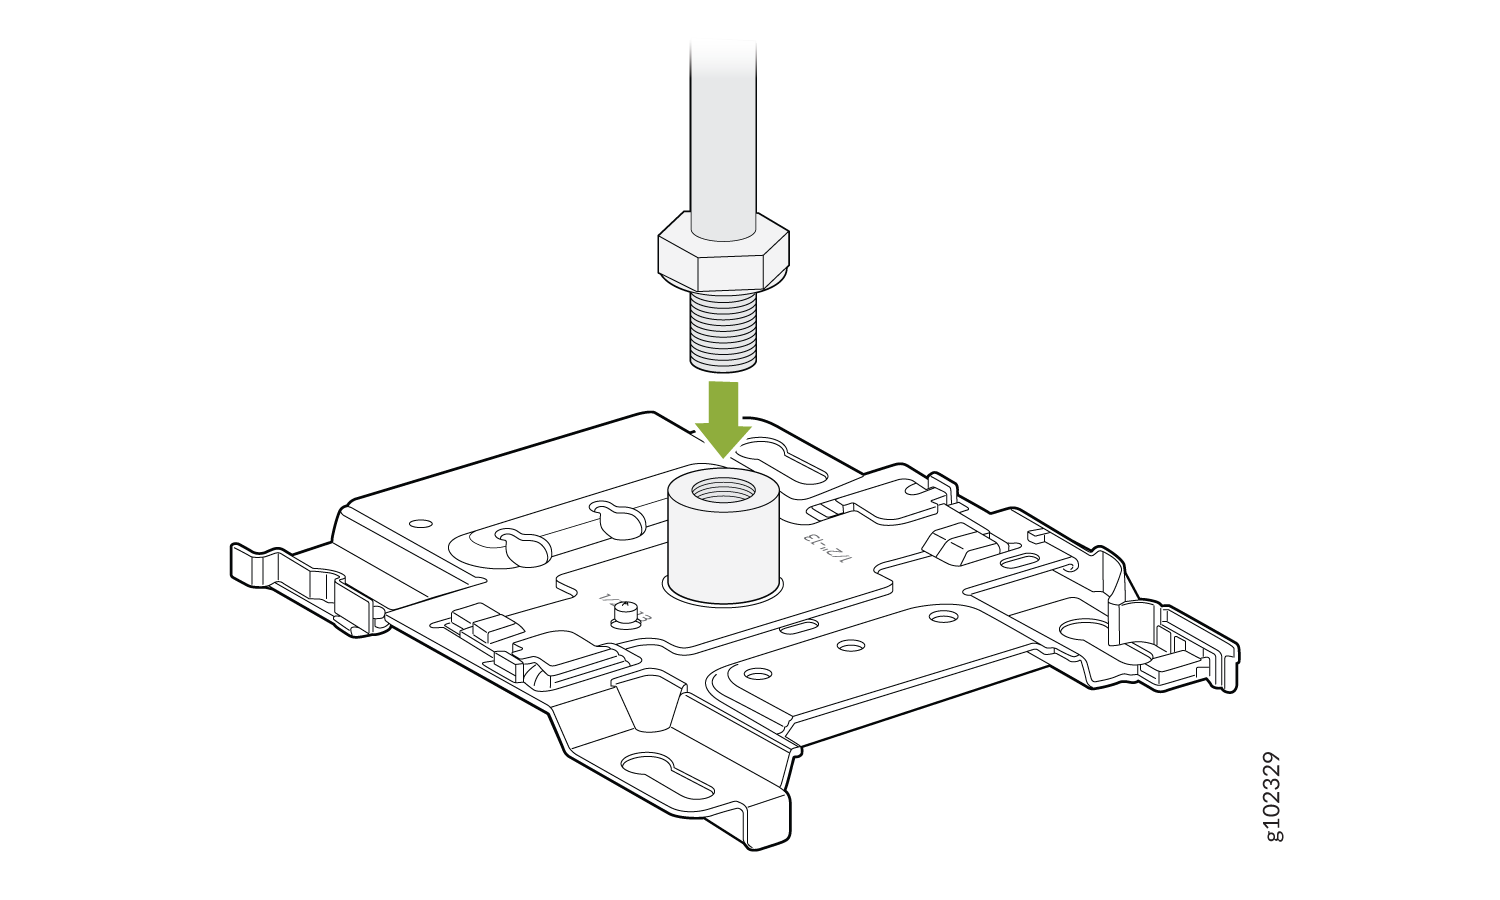
AP21、AP45、または BT11 を 5/8 インチのネジ付きロッドに取り付けます
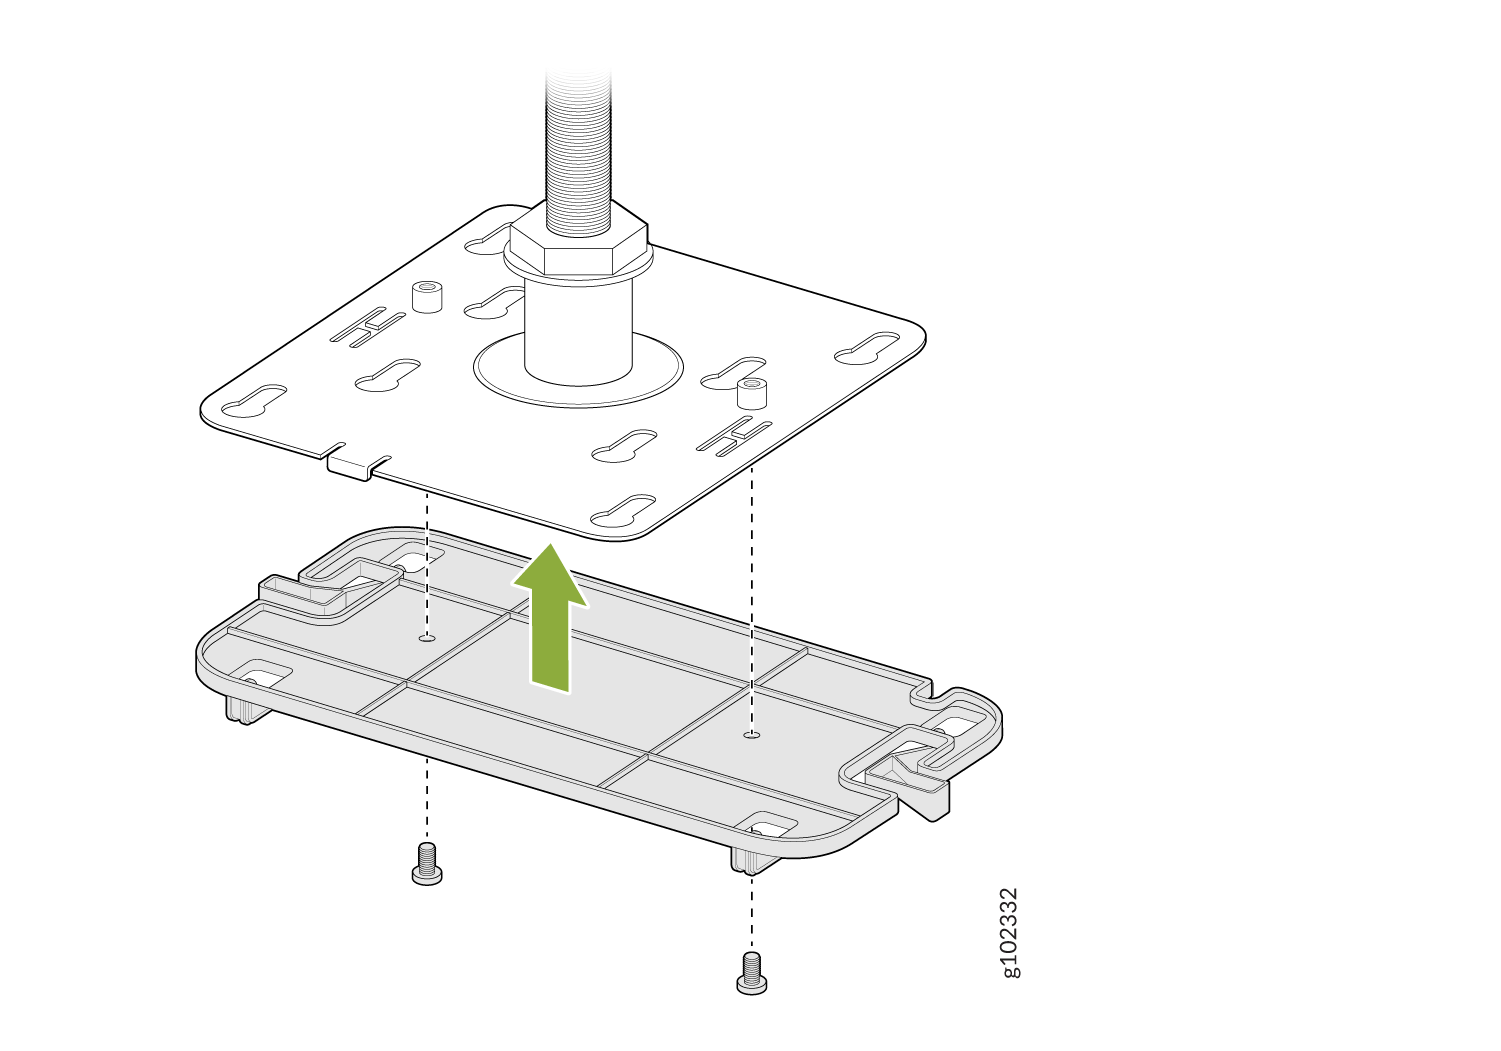
Now if you need to mount a BT11 which is our Bluetooth-only unit to this threaded rod mount, there's a special adapter provided as shown. There are two special screw holes provided and those screws are shipped with the bracket. The bracket to a BT11 there are four indentations as shown which the bracket will clip into. To remove, depress the latches as shown and it will slide back out. Now you use the 2 screws to connect both brackets and attach the BT11.

