ACX7509 Air Filter Maintenance
Purpose
For optimum cooling, verify the condition of the air filter.
Action
Regularly inspect the air filter to avoid blocking or clogging in the air filter. A dirty air filter restricts airflow in the device, producing a negative effect on the ventilation of the device. The filter degrades over time. You must replace the filter every 6 months.
Replace the ACX7509 Air Filter Door
The air filter door is mounted on the cable management system.
Remove the ACX7509 Air Filter Door
Air filter door is designed to prevent dust from being drawn into the chassis. This filter door must be installed for the product to be NEBS GR 63 compliant.
To remove the air filter door:
-
Grasp the air filter door and gently pull the air filter door out of
the cable management system.
Figure 1: Remove the Air Filter Door from the Chassis

Install the ACX7509 Air Filter Door
To install the air filter unit:
-
Mount the air filter door onto the cable management system, and tighten
the four captive screws to secure the air filter door.
Figure 2: Install the Air Filter Door

Replace the ACX7509 Air Filter
The air filter door consists of two parts–the outer metal cage unit which forms the body and the air filter. The air filter sits right inside the outer metal cage unit. The air filter door is mounted on the cable management system and secured by captive screws.
Regularly inspect the air filter. A dirty air filter restricts airflow in the unit, producing a negative effect on the ventilation of the chassis.
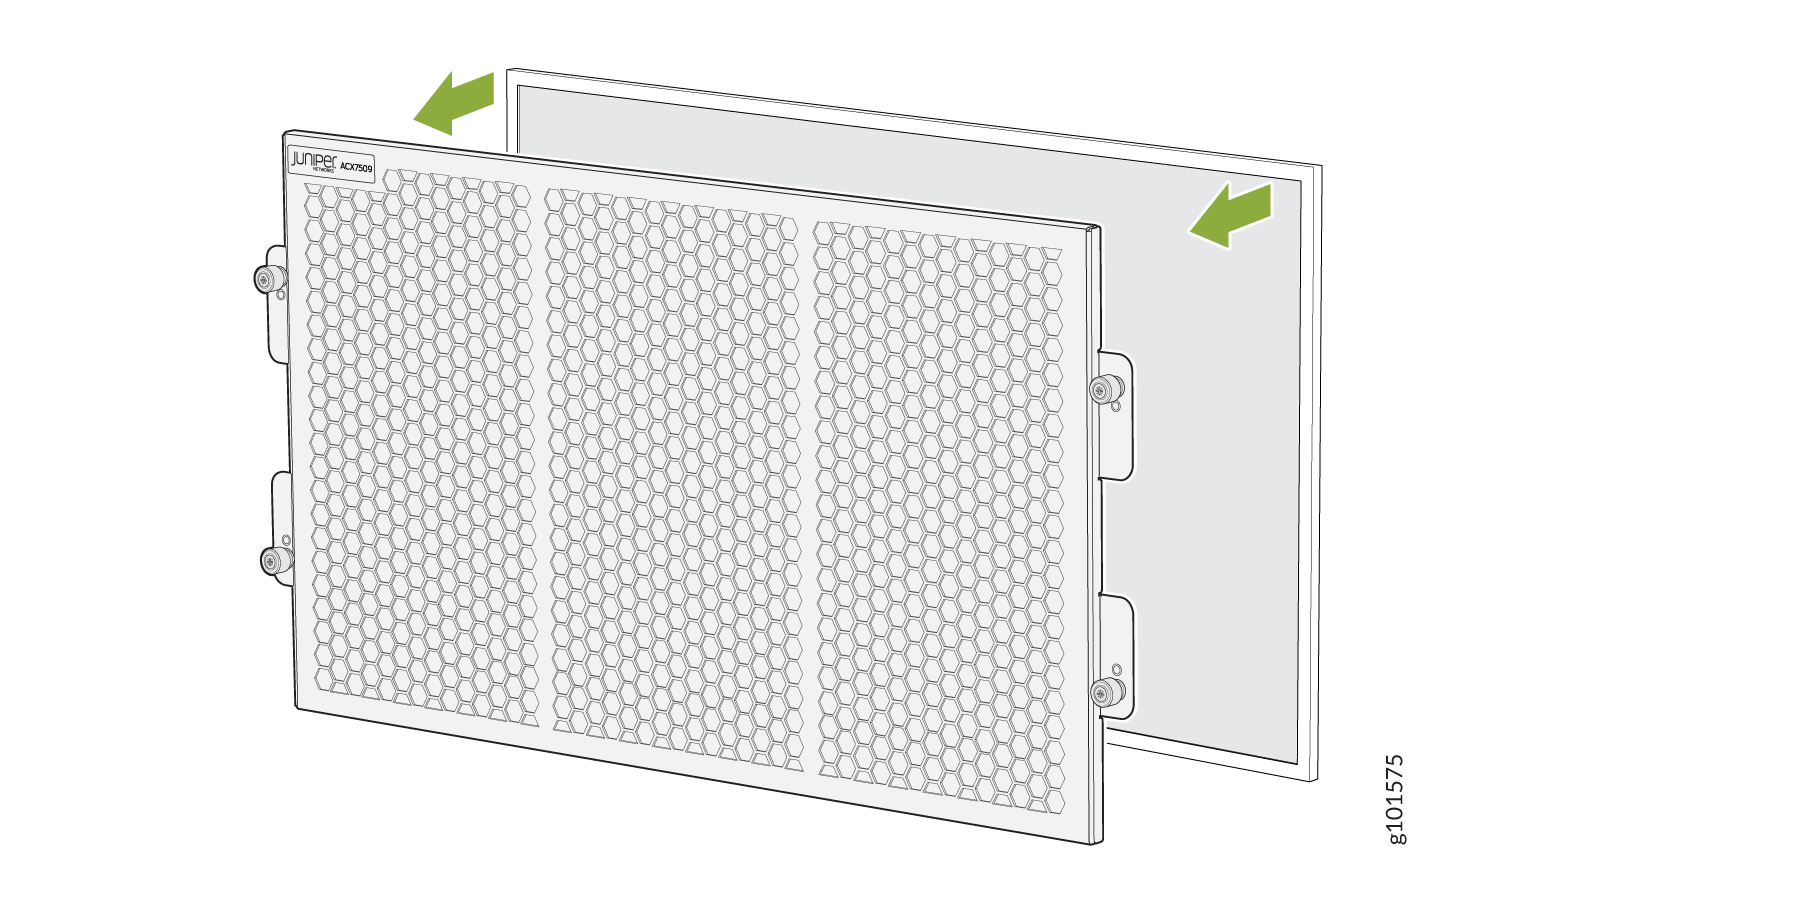
Remove the ACX7509 Air Filter
To remove the air filter:
-
Grasp the air filter, and pull the air filter straight out from the air
filter door.
Figure 3: Remove the Air Filter from the Air Filter Door
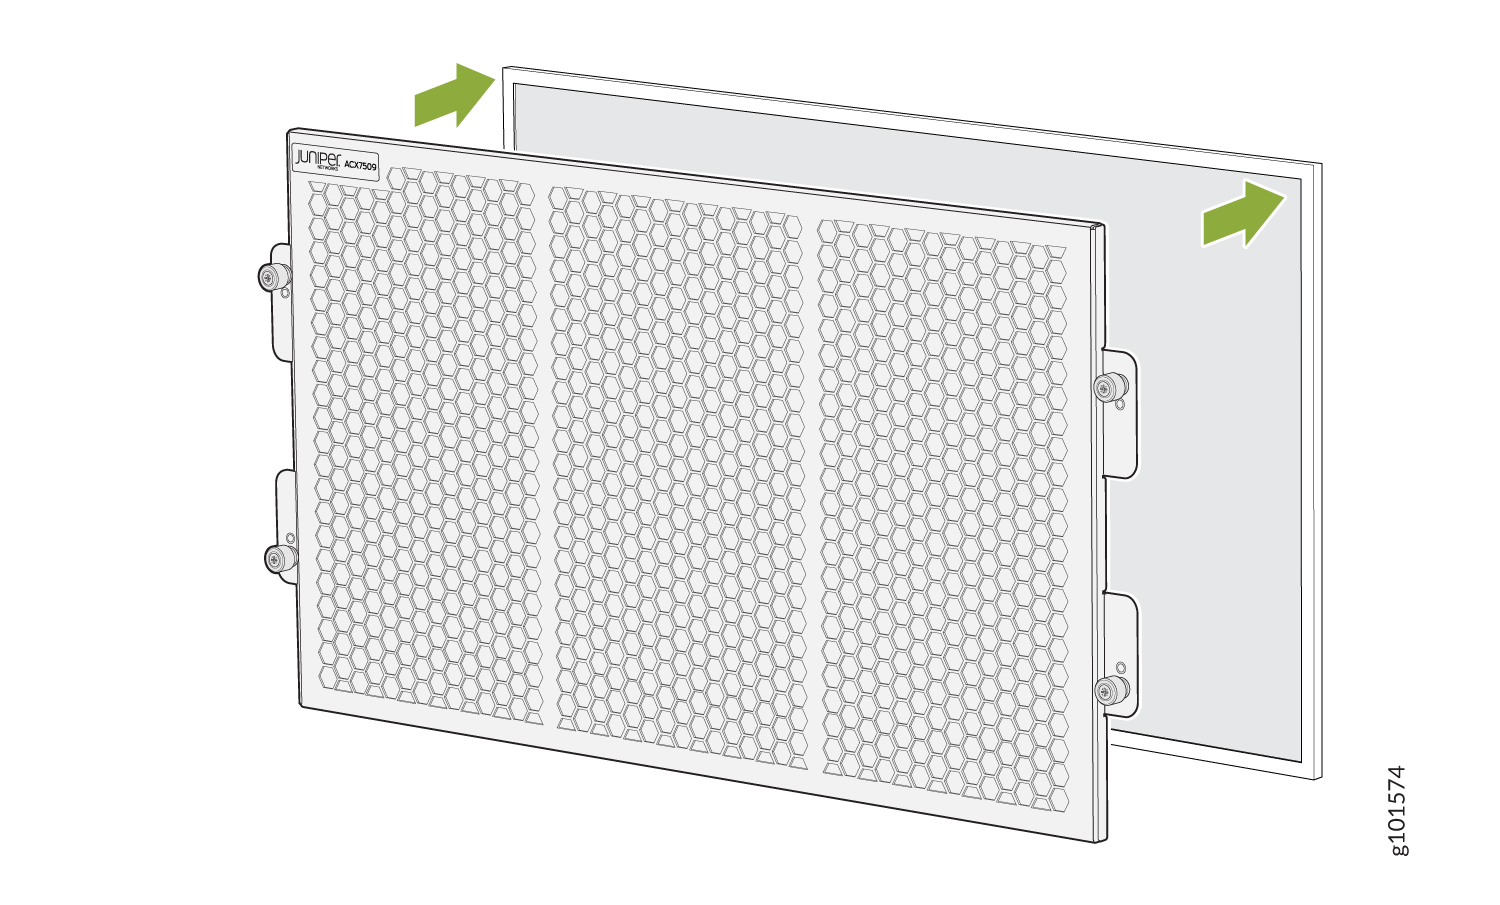
Install the ACX7509 Air Filter
To install the air filter:
-
Grasp the air filter, and place the air filter straight into the air
filter door.
Figure 4: Install the Air Filter into the Air Filter Door