Installing the Front Door on an MX10008
The front door is required on the MX10008 router to protect fiber optic cabling and to provide additional protection from electromagnetic interference (EMI). The front door can be installed with or without the optional cable management system.
The front door is available in two models:
-
JNP10008-FRNT-PNL, without an air filter
-
JNP10008-FRPNL1, with an air filter
Both models are covered in the following procedures.
Before You Begin
Ensure you have the following tools and parts before you begin:
-
A Phillips (+) screwdriver, number 2
-
Front door (provided with the router chassis)
-
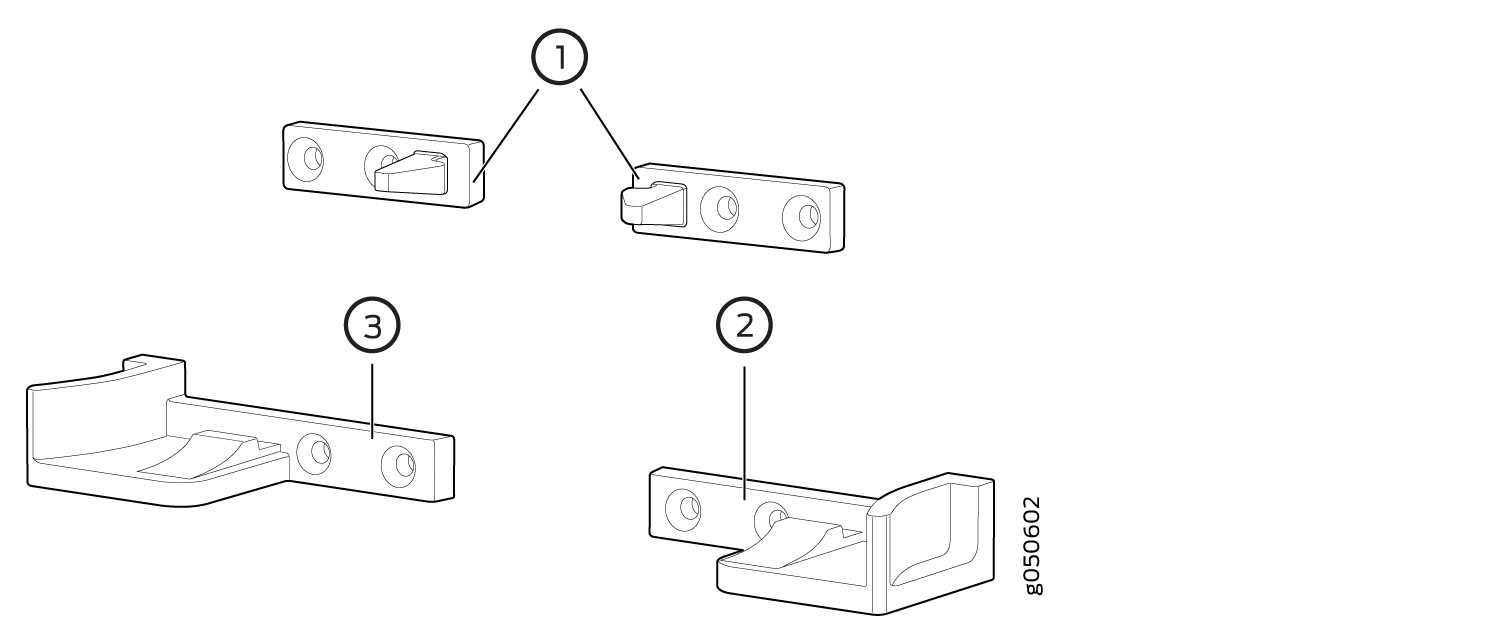
Right base bracket (provided, interchangeable on JNP10008-FRNT-PNL)
-
Left base bracket (provided, interchangeable on JNP10008-FRNT-PNL)
-
Latch bracket set (two interchangeable latch brackets, one right base bracket, and one left base bracket provided)
-
Eight Phillips flat-head mounting screws (provided)
-
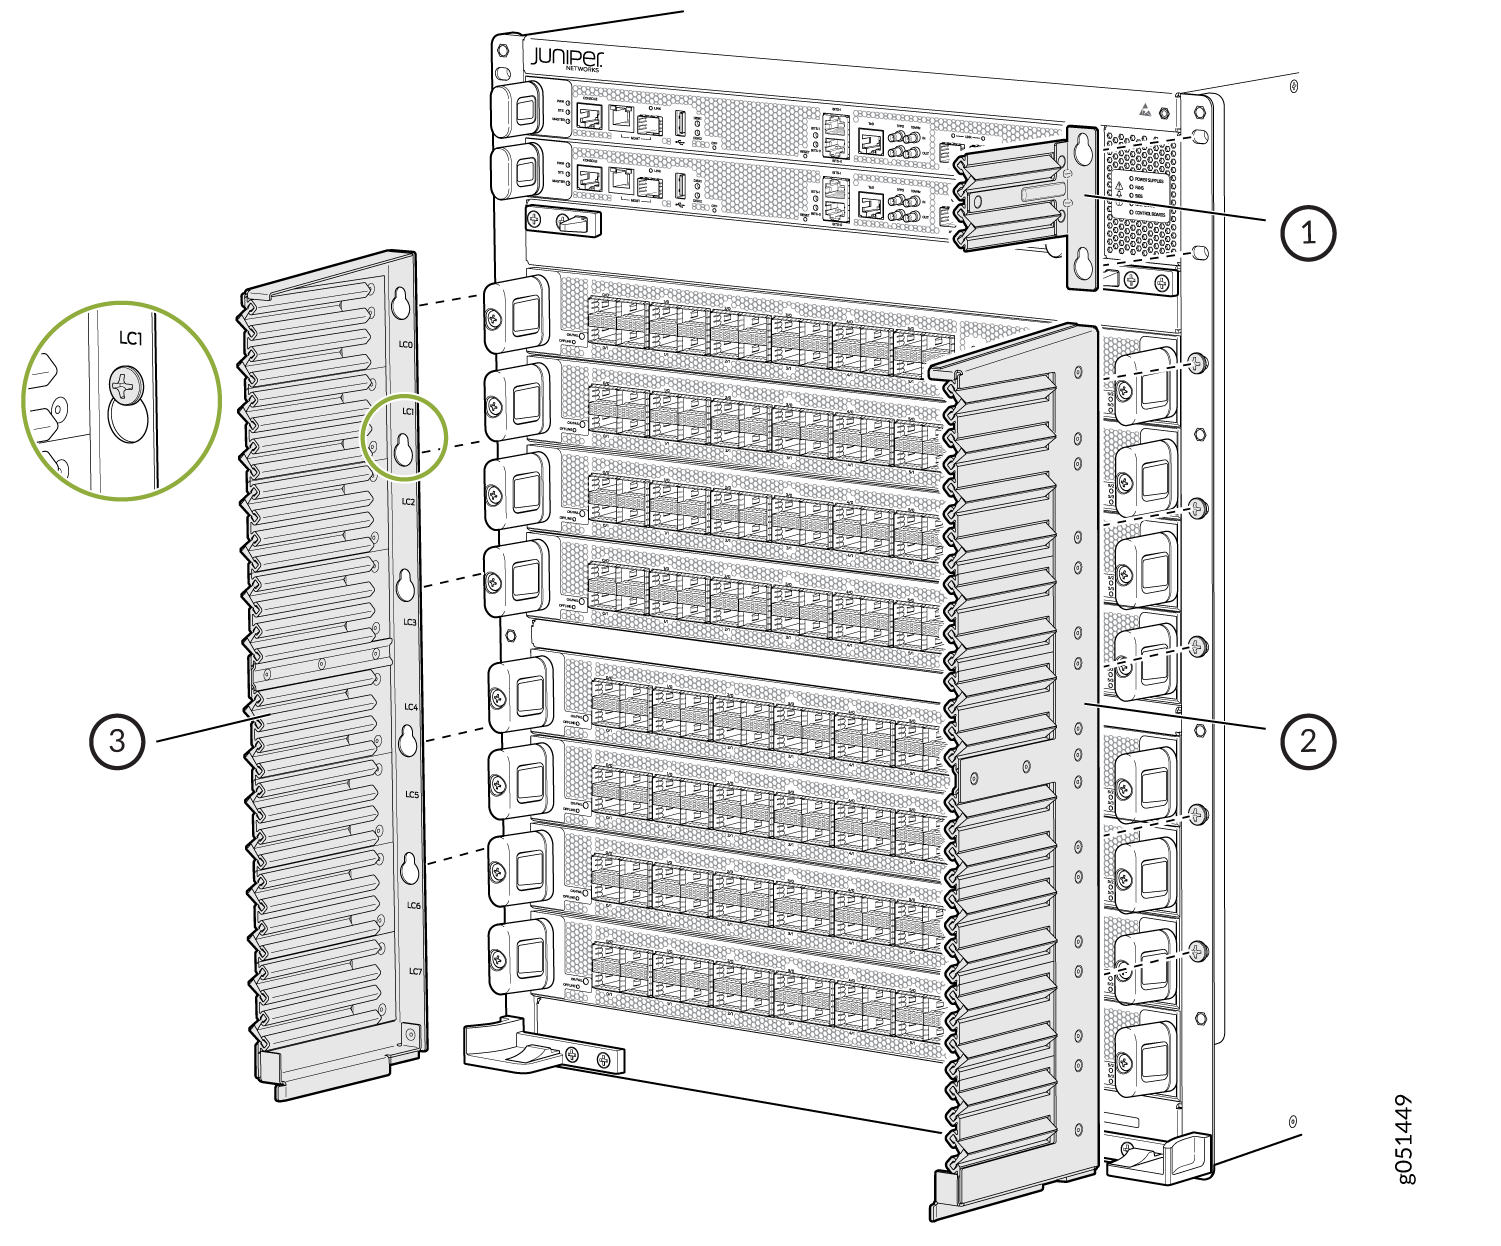
Three cable seals - Two seals for the right side and one for the left side (provided with JNP10008-FRPNL1)
Install the Front Door
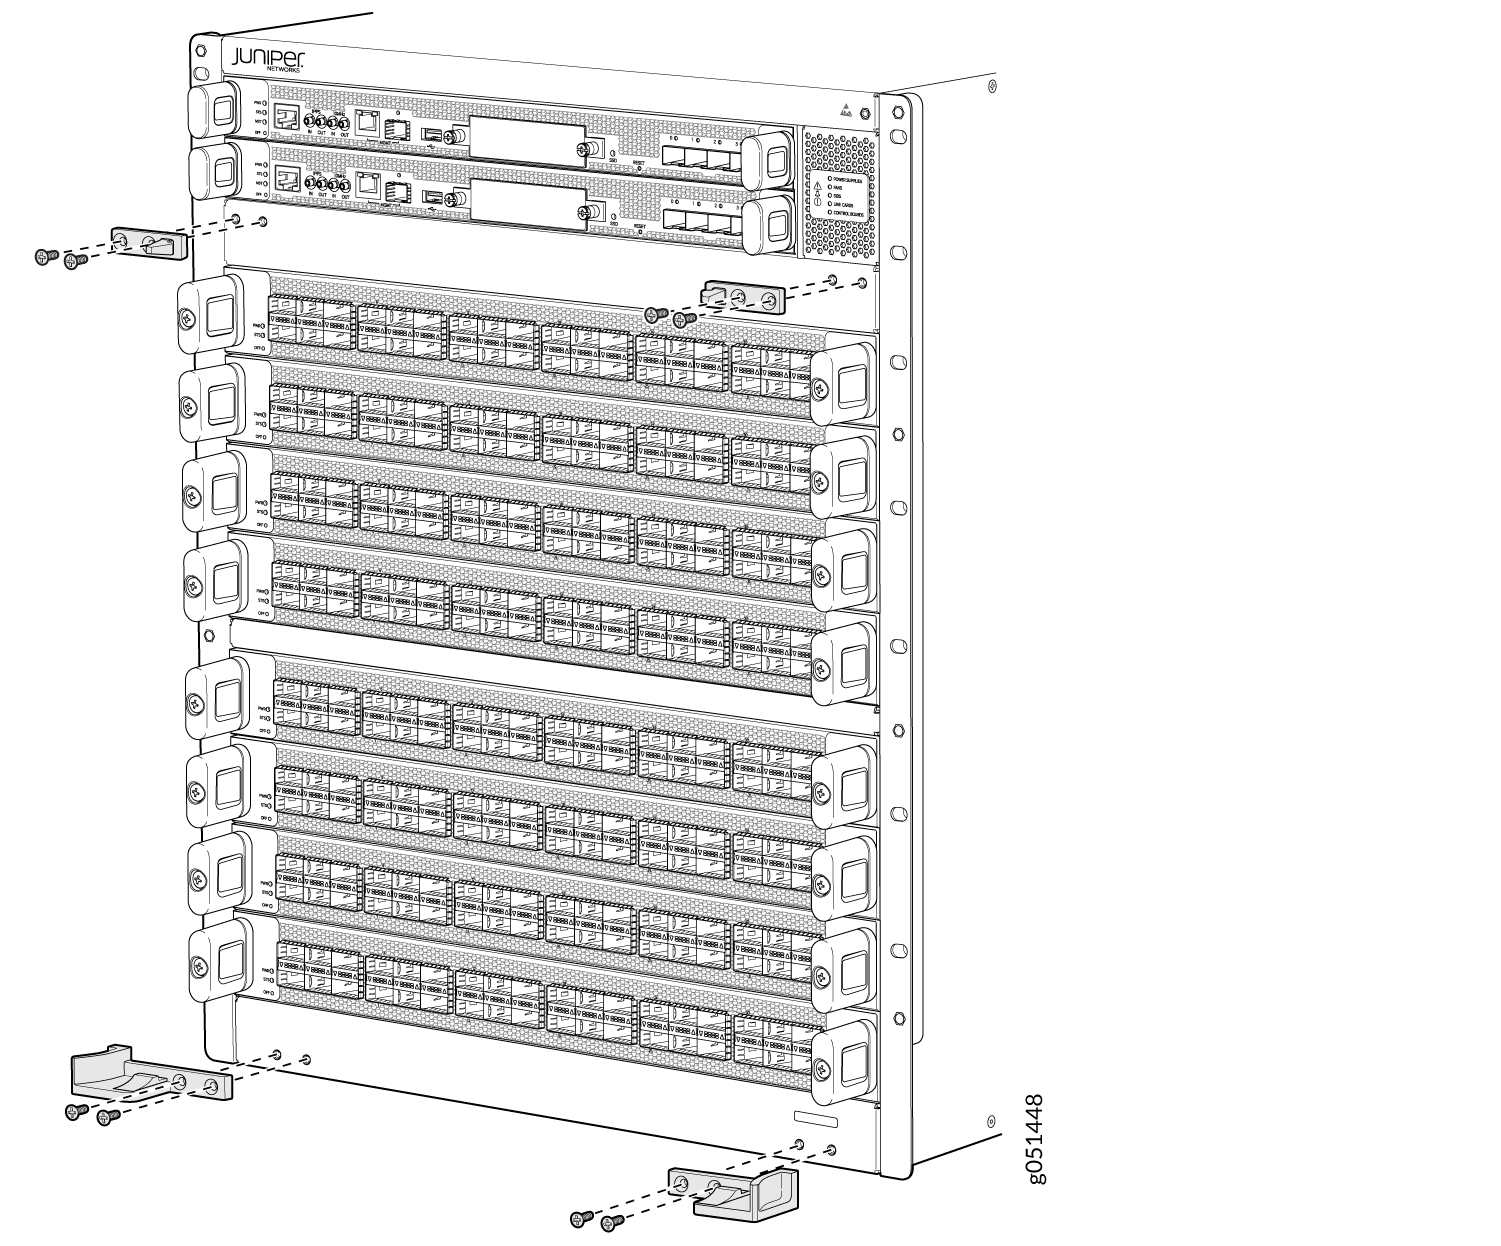
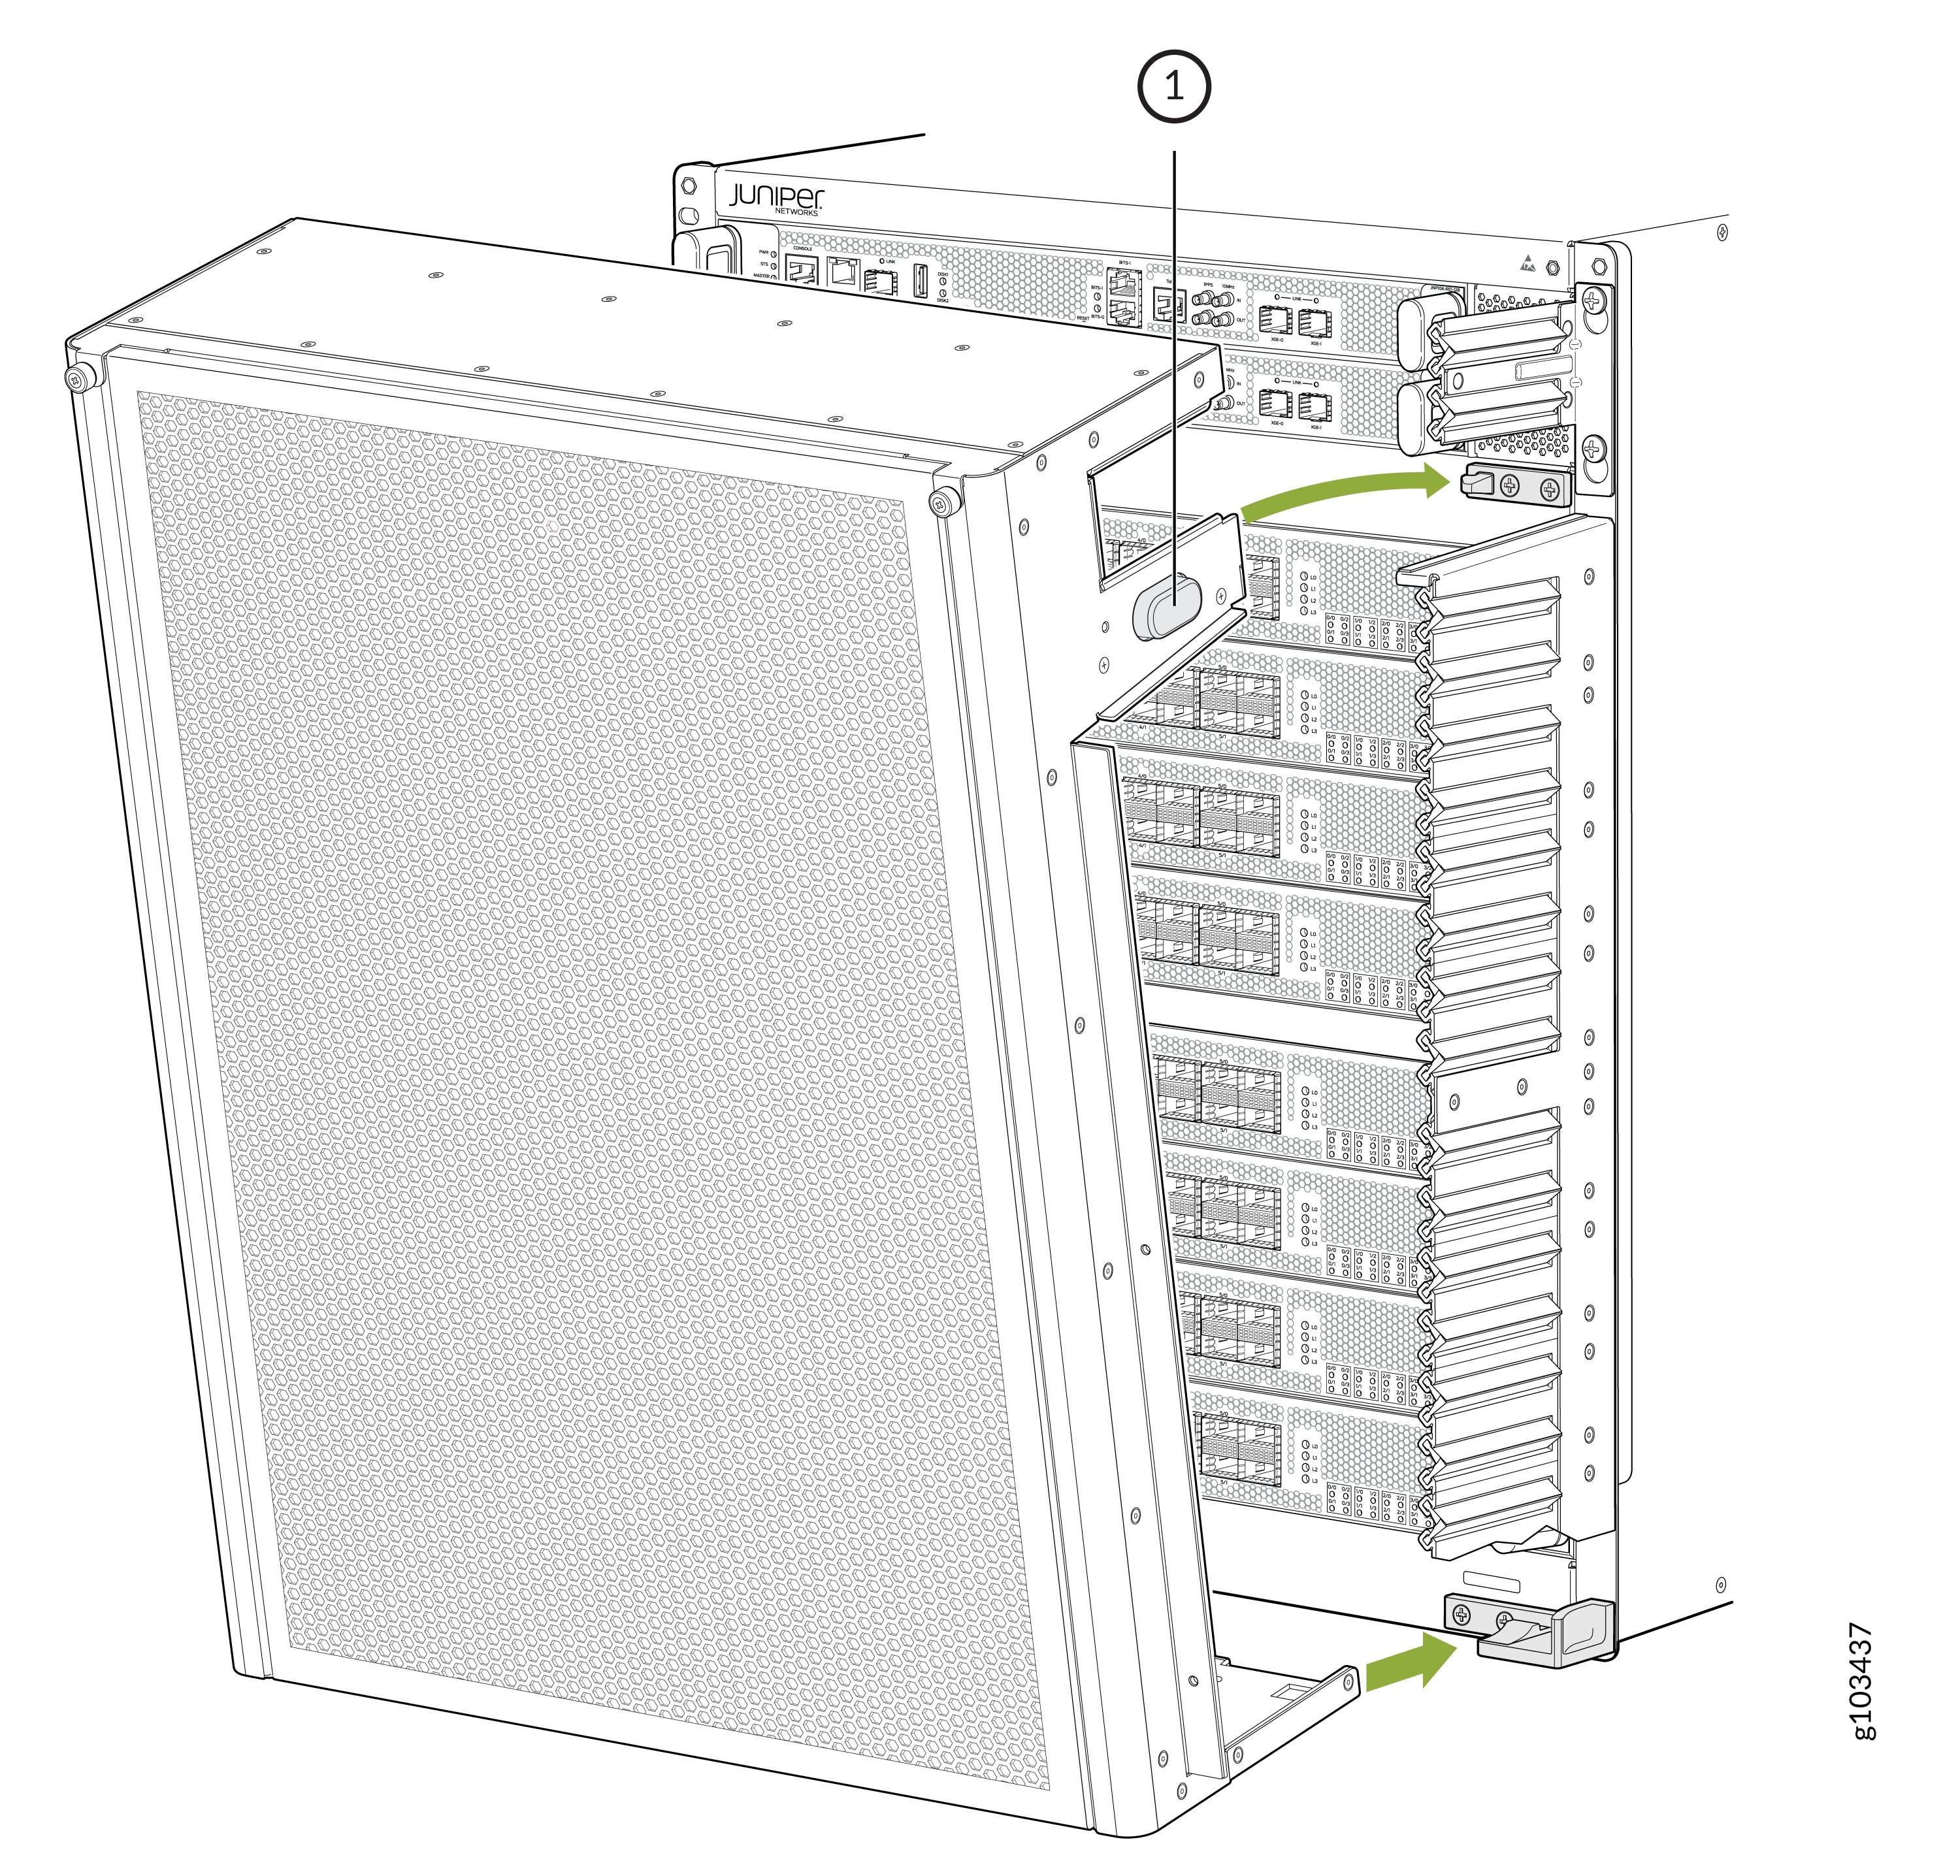
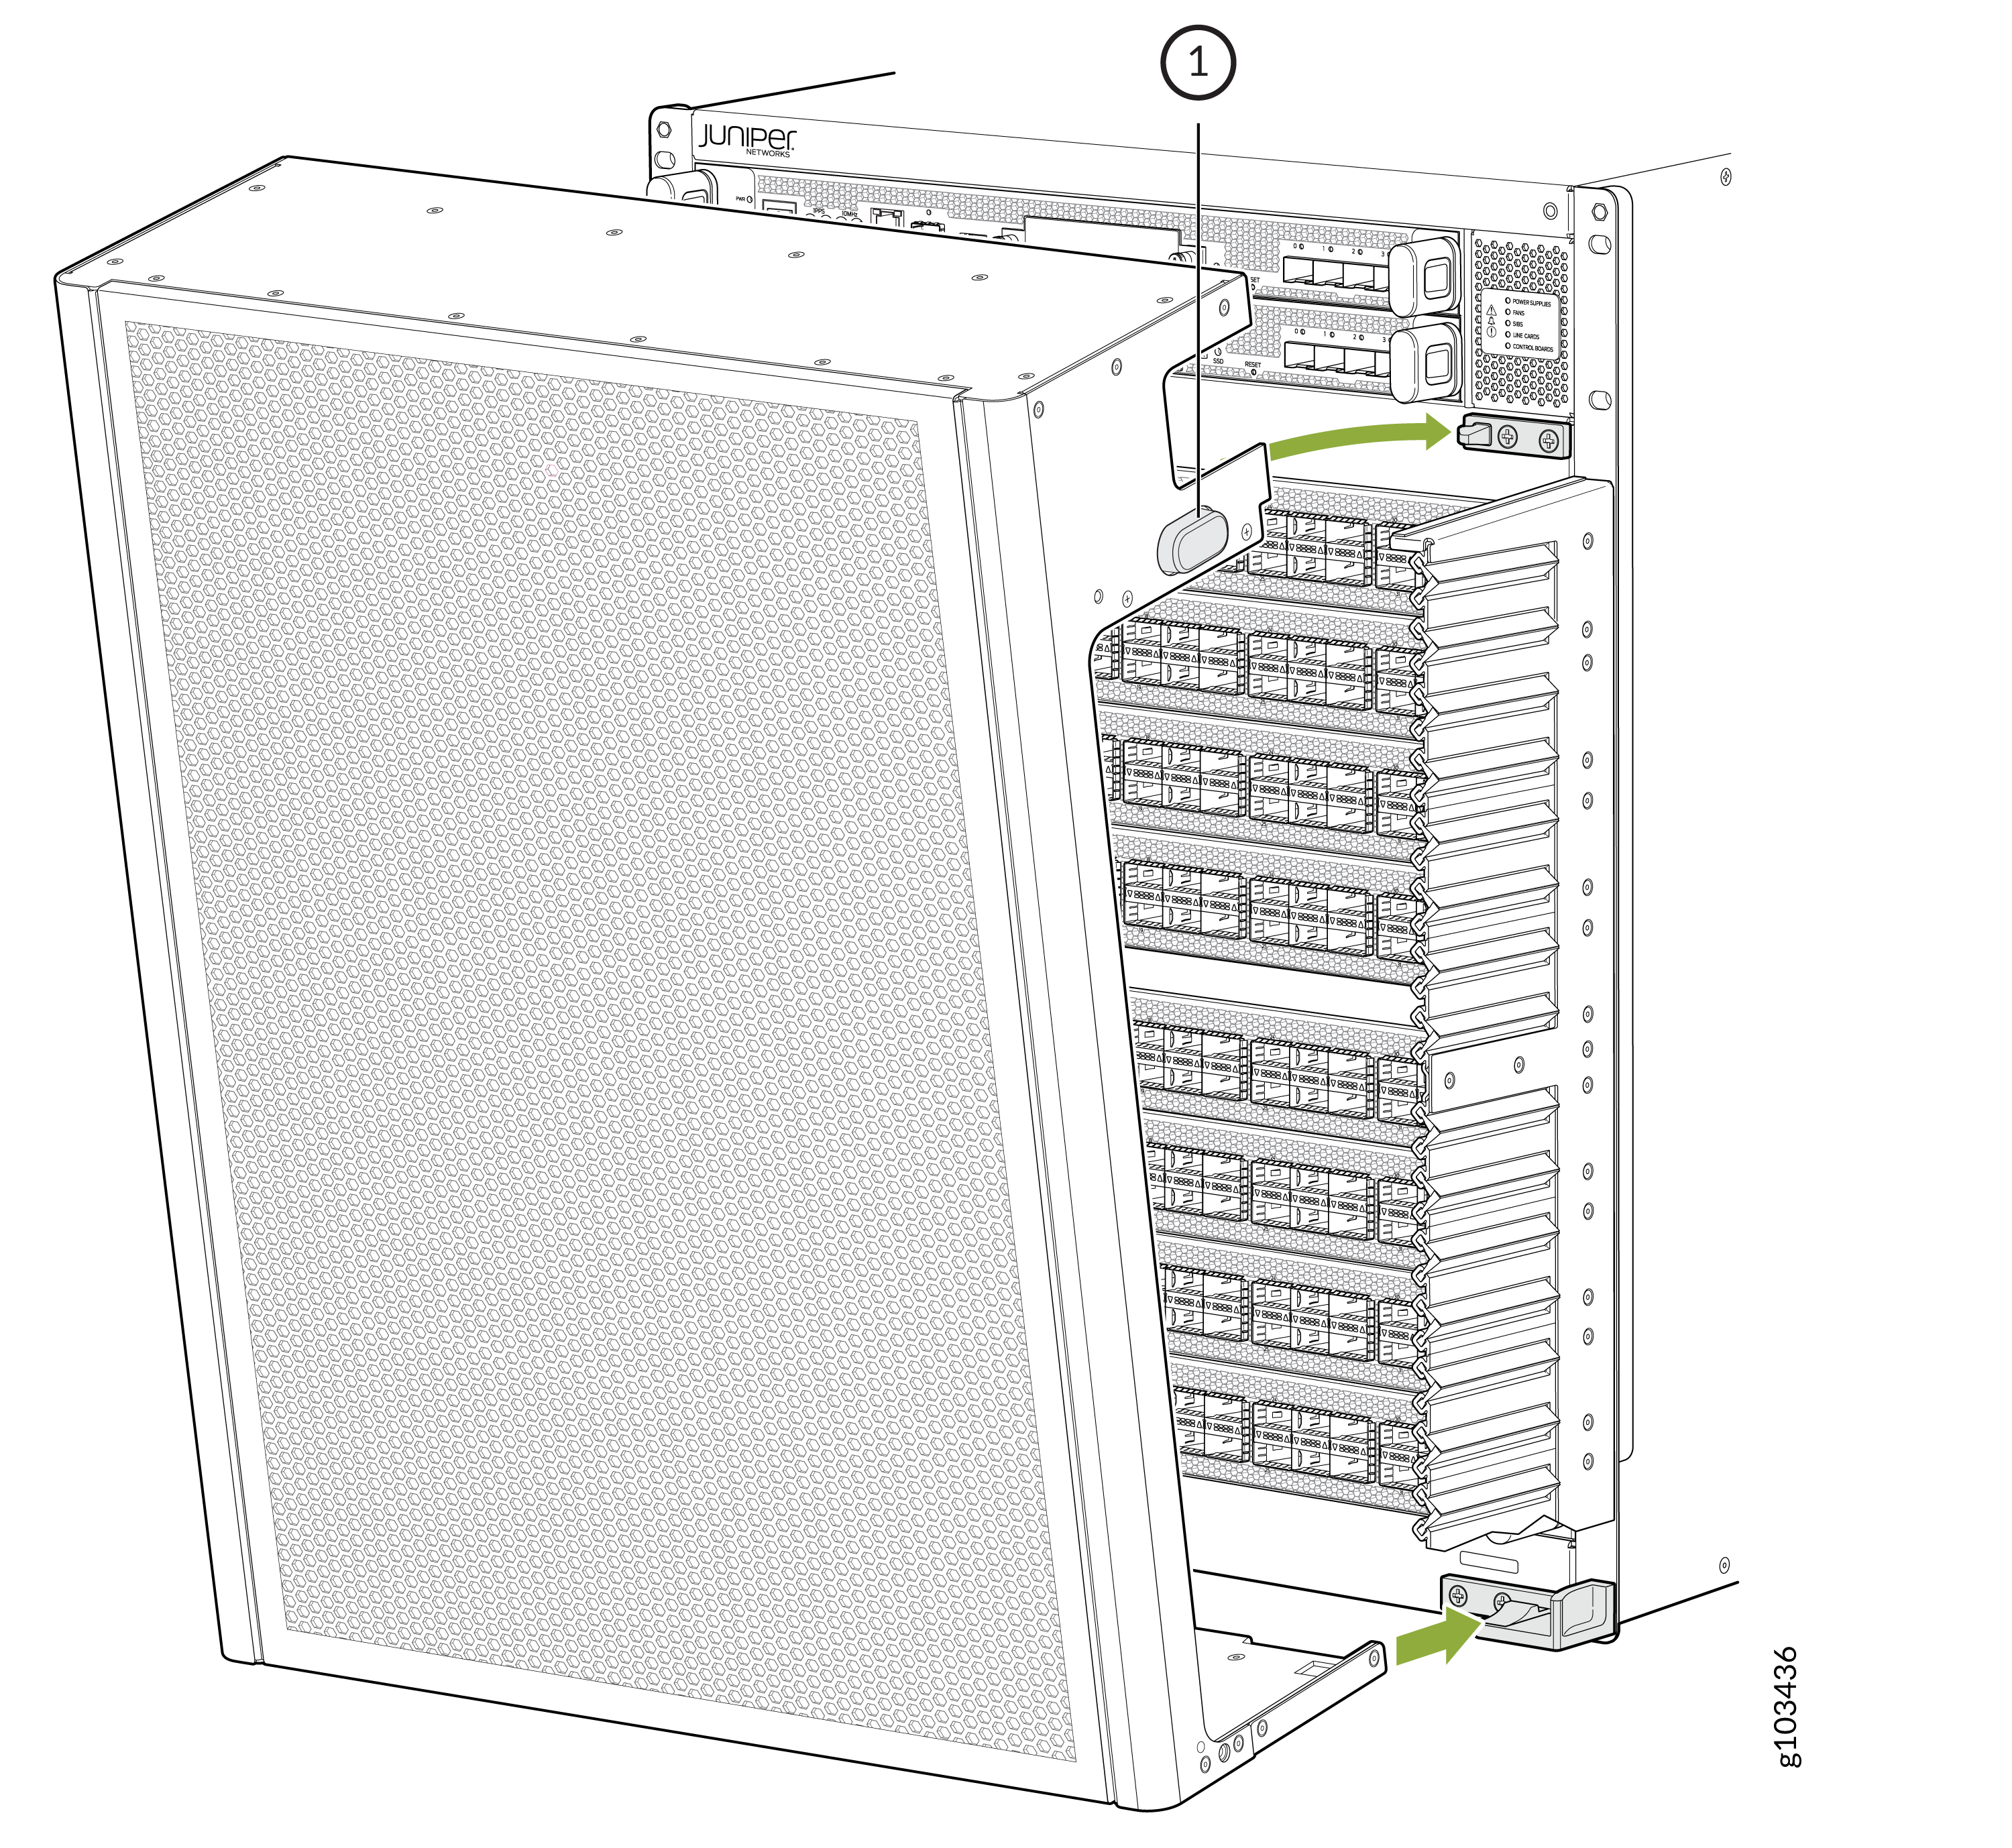
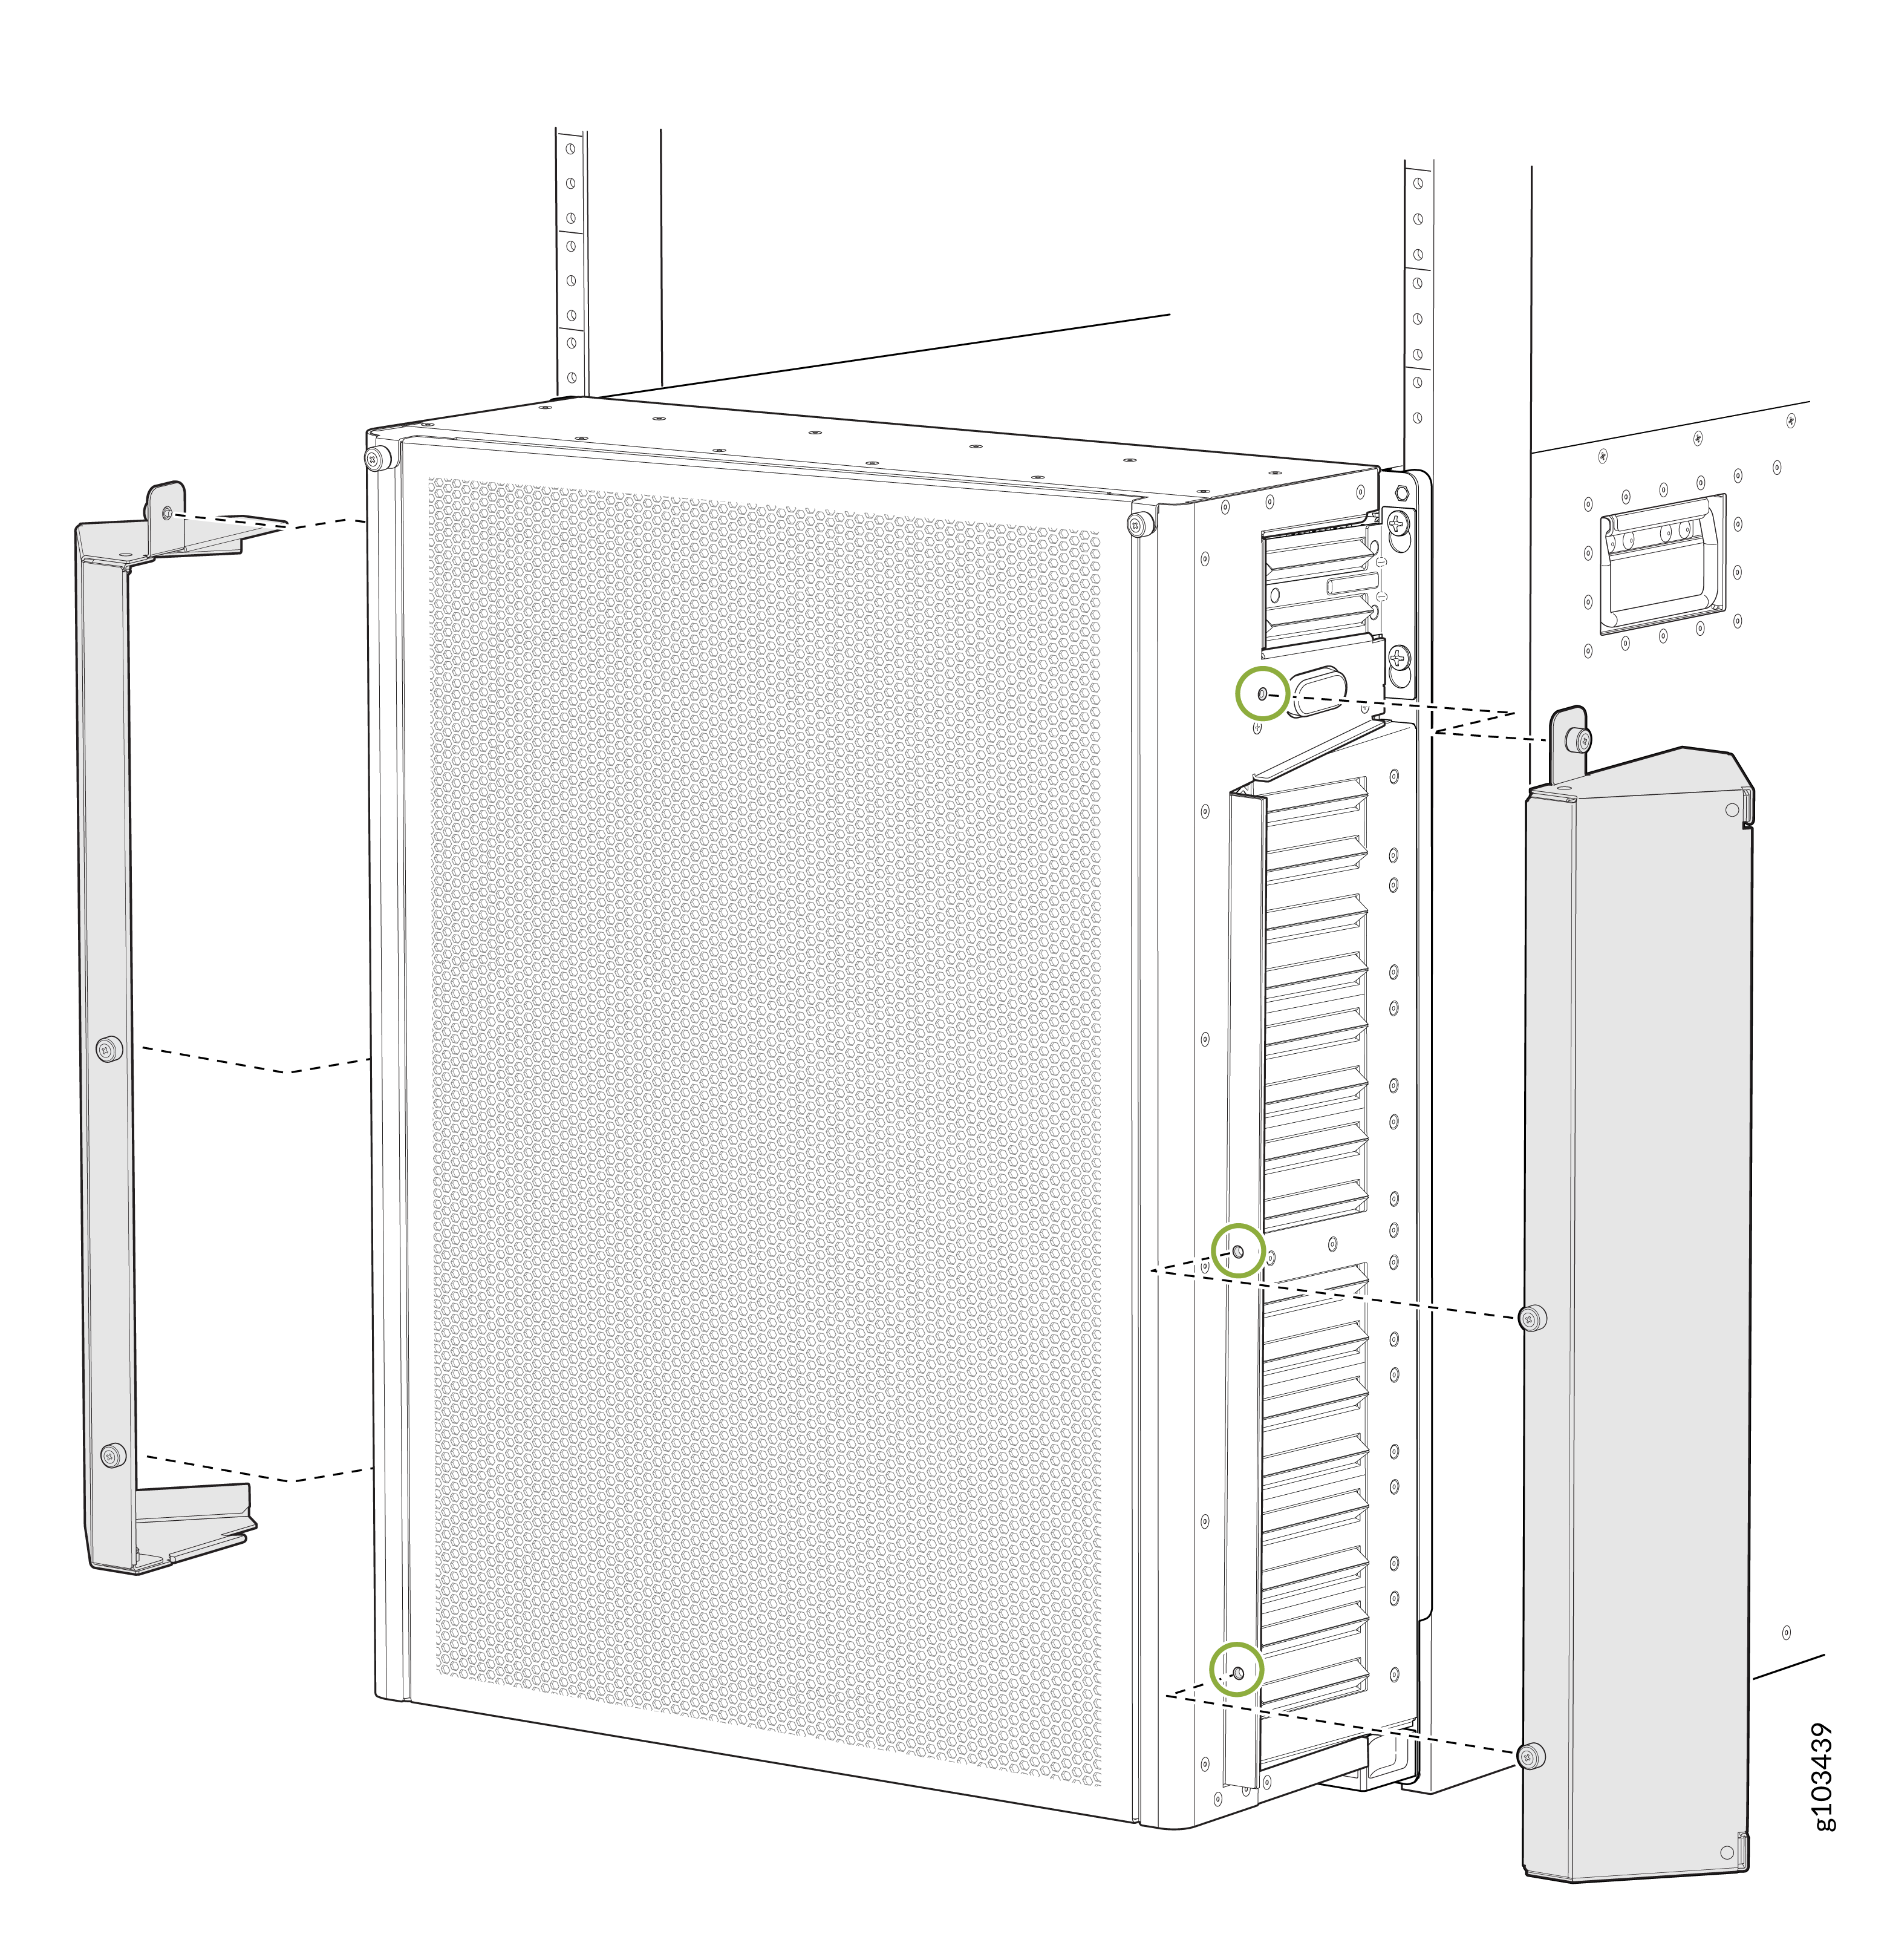
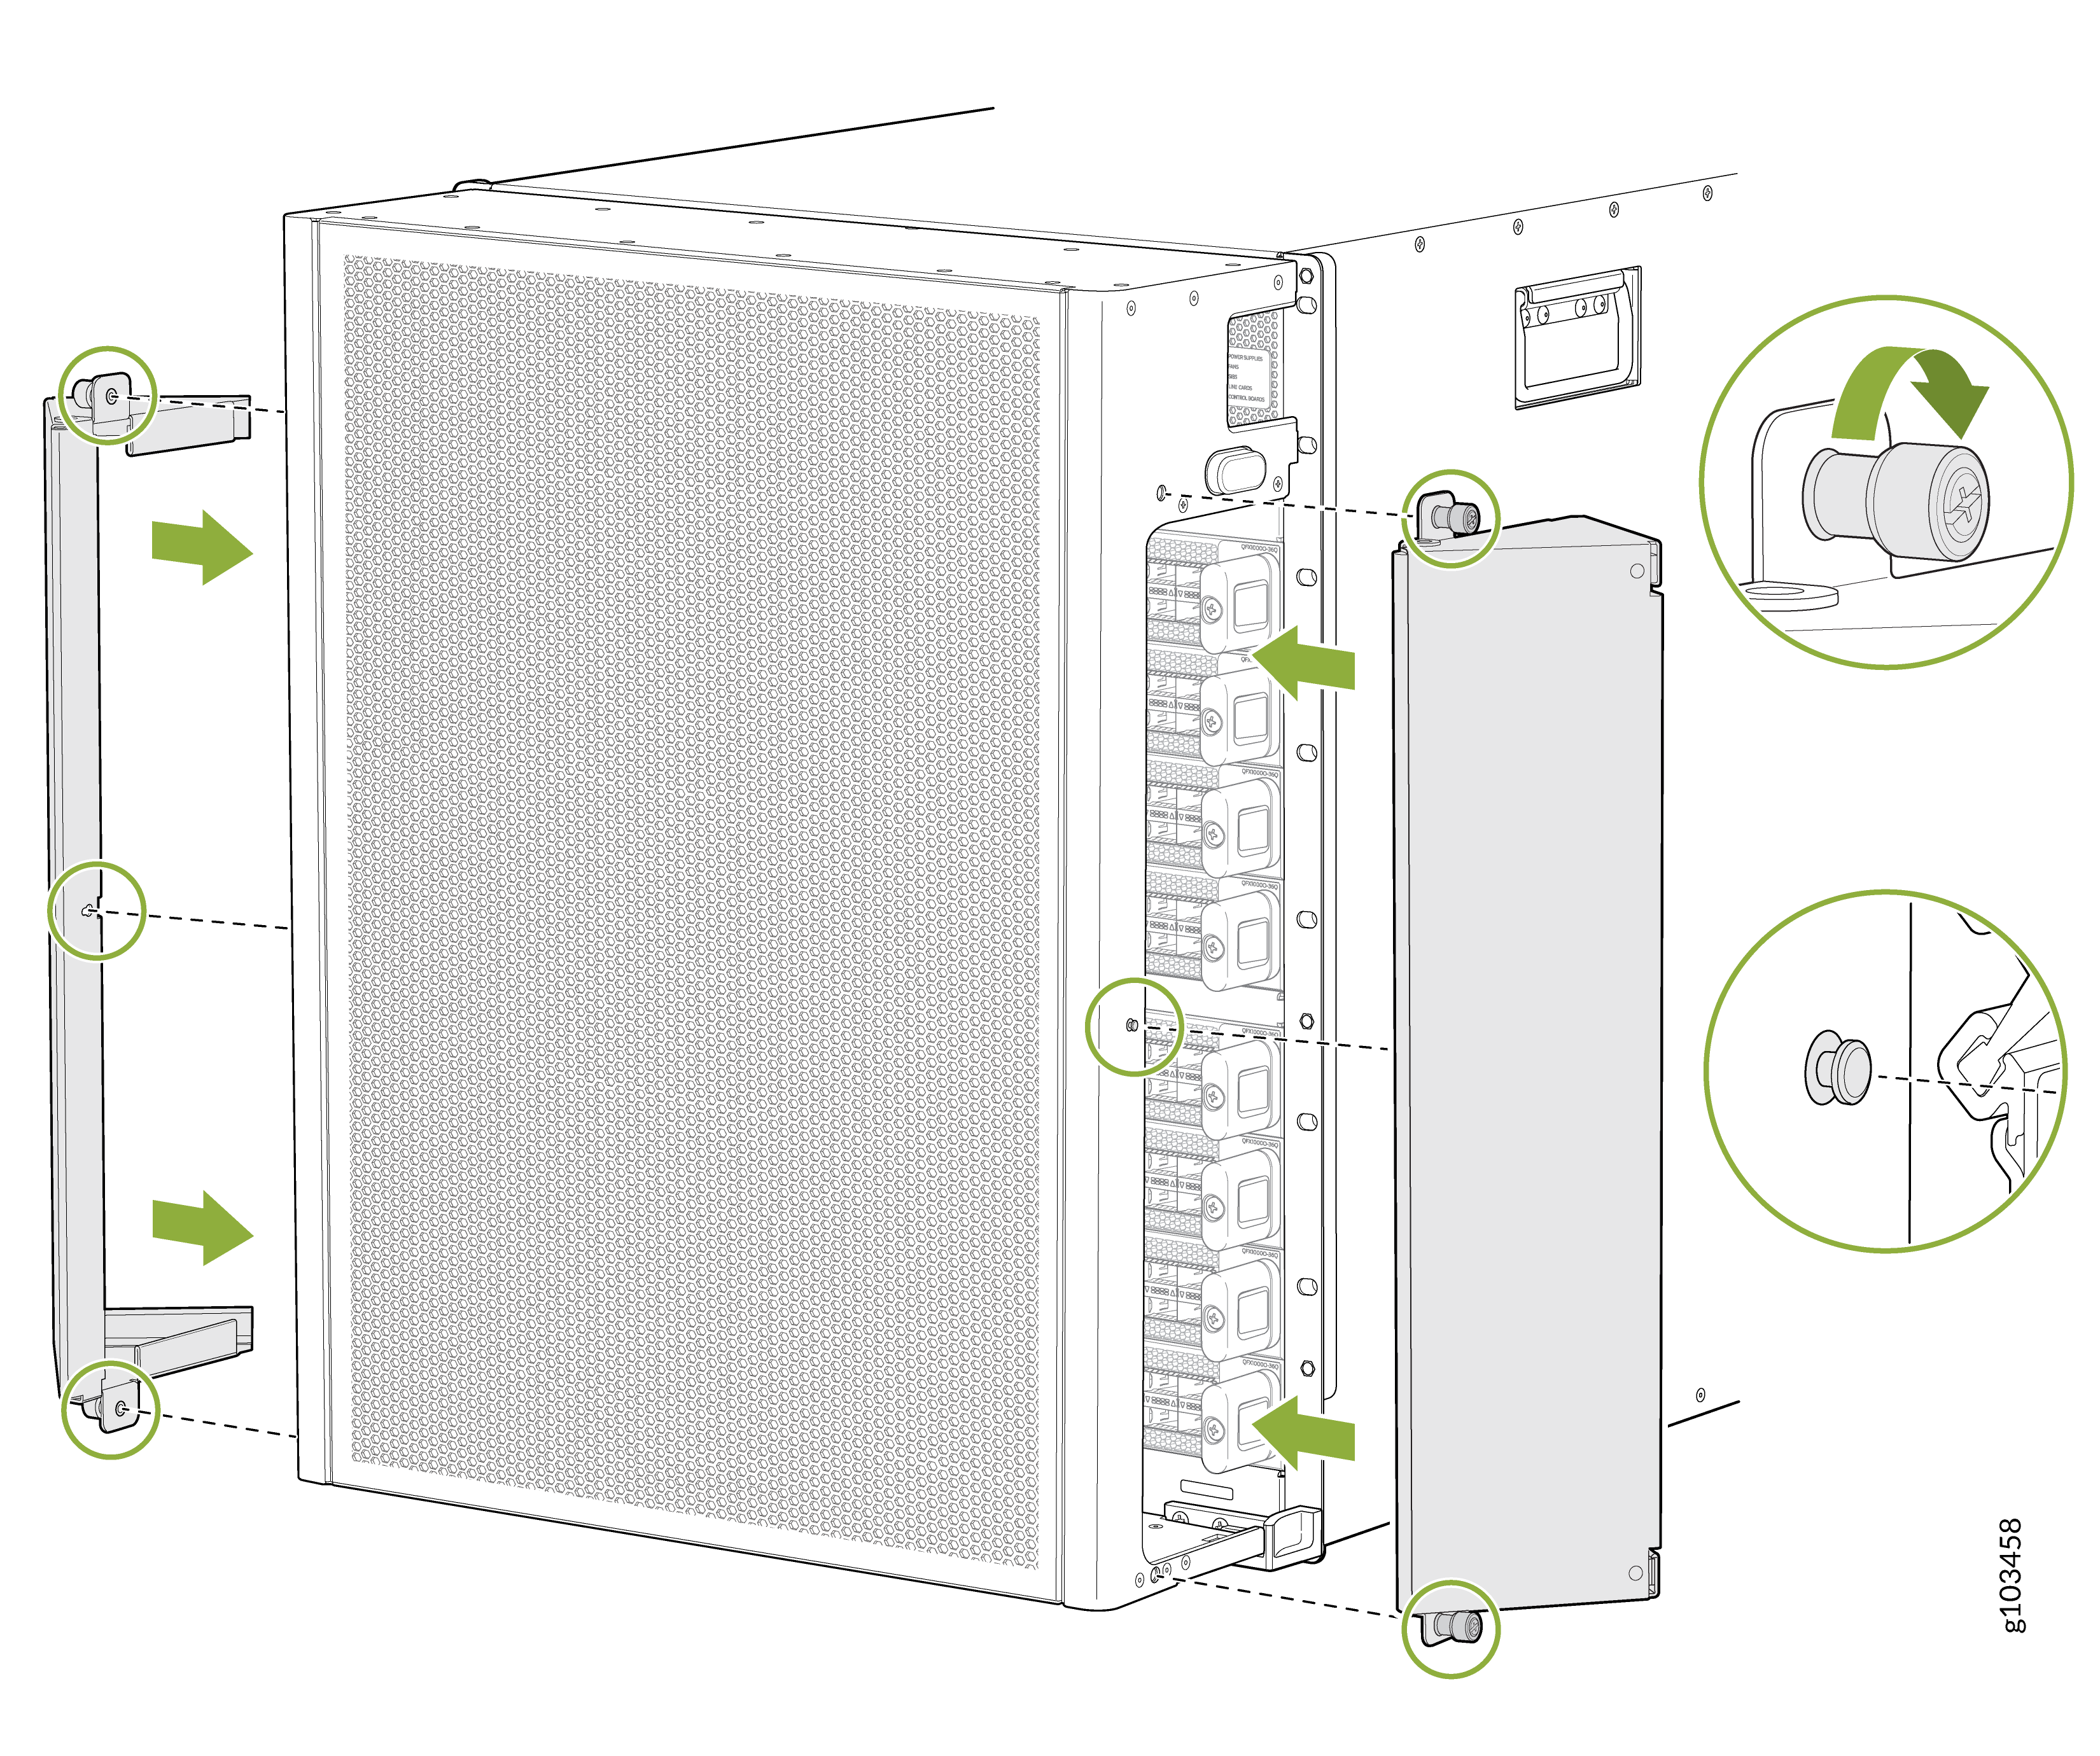
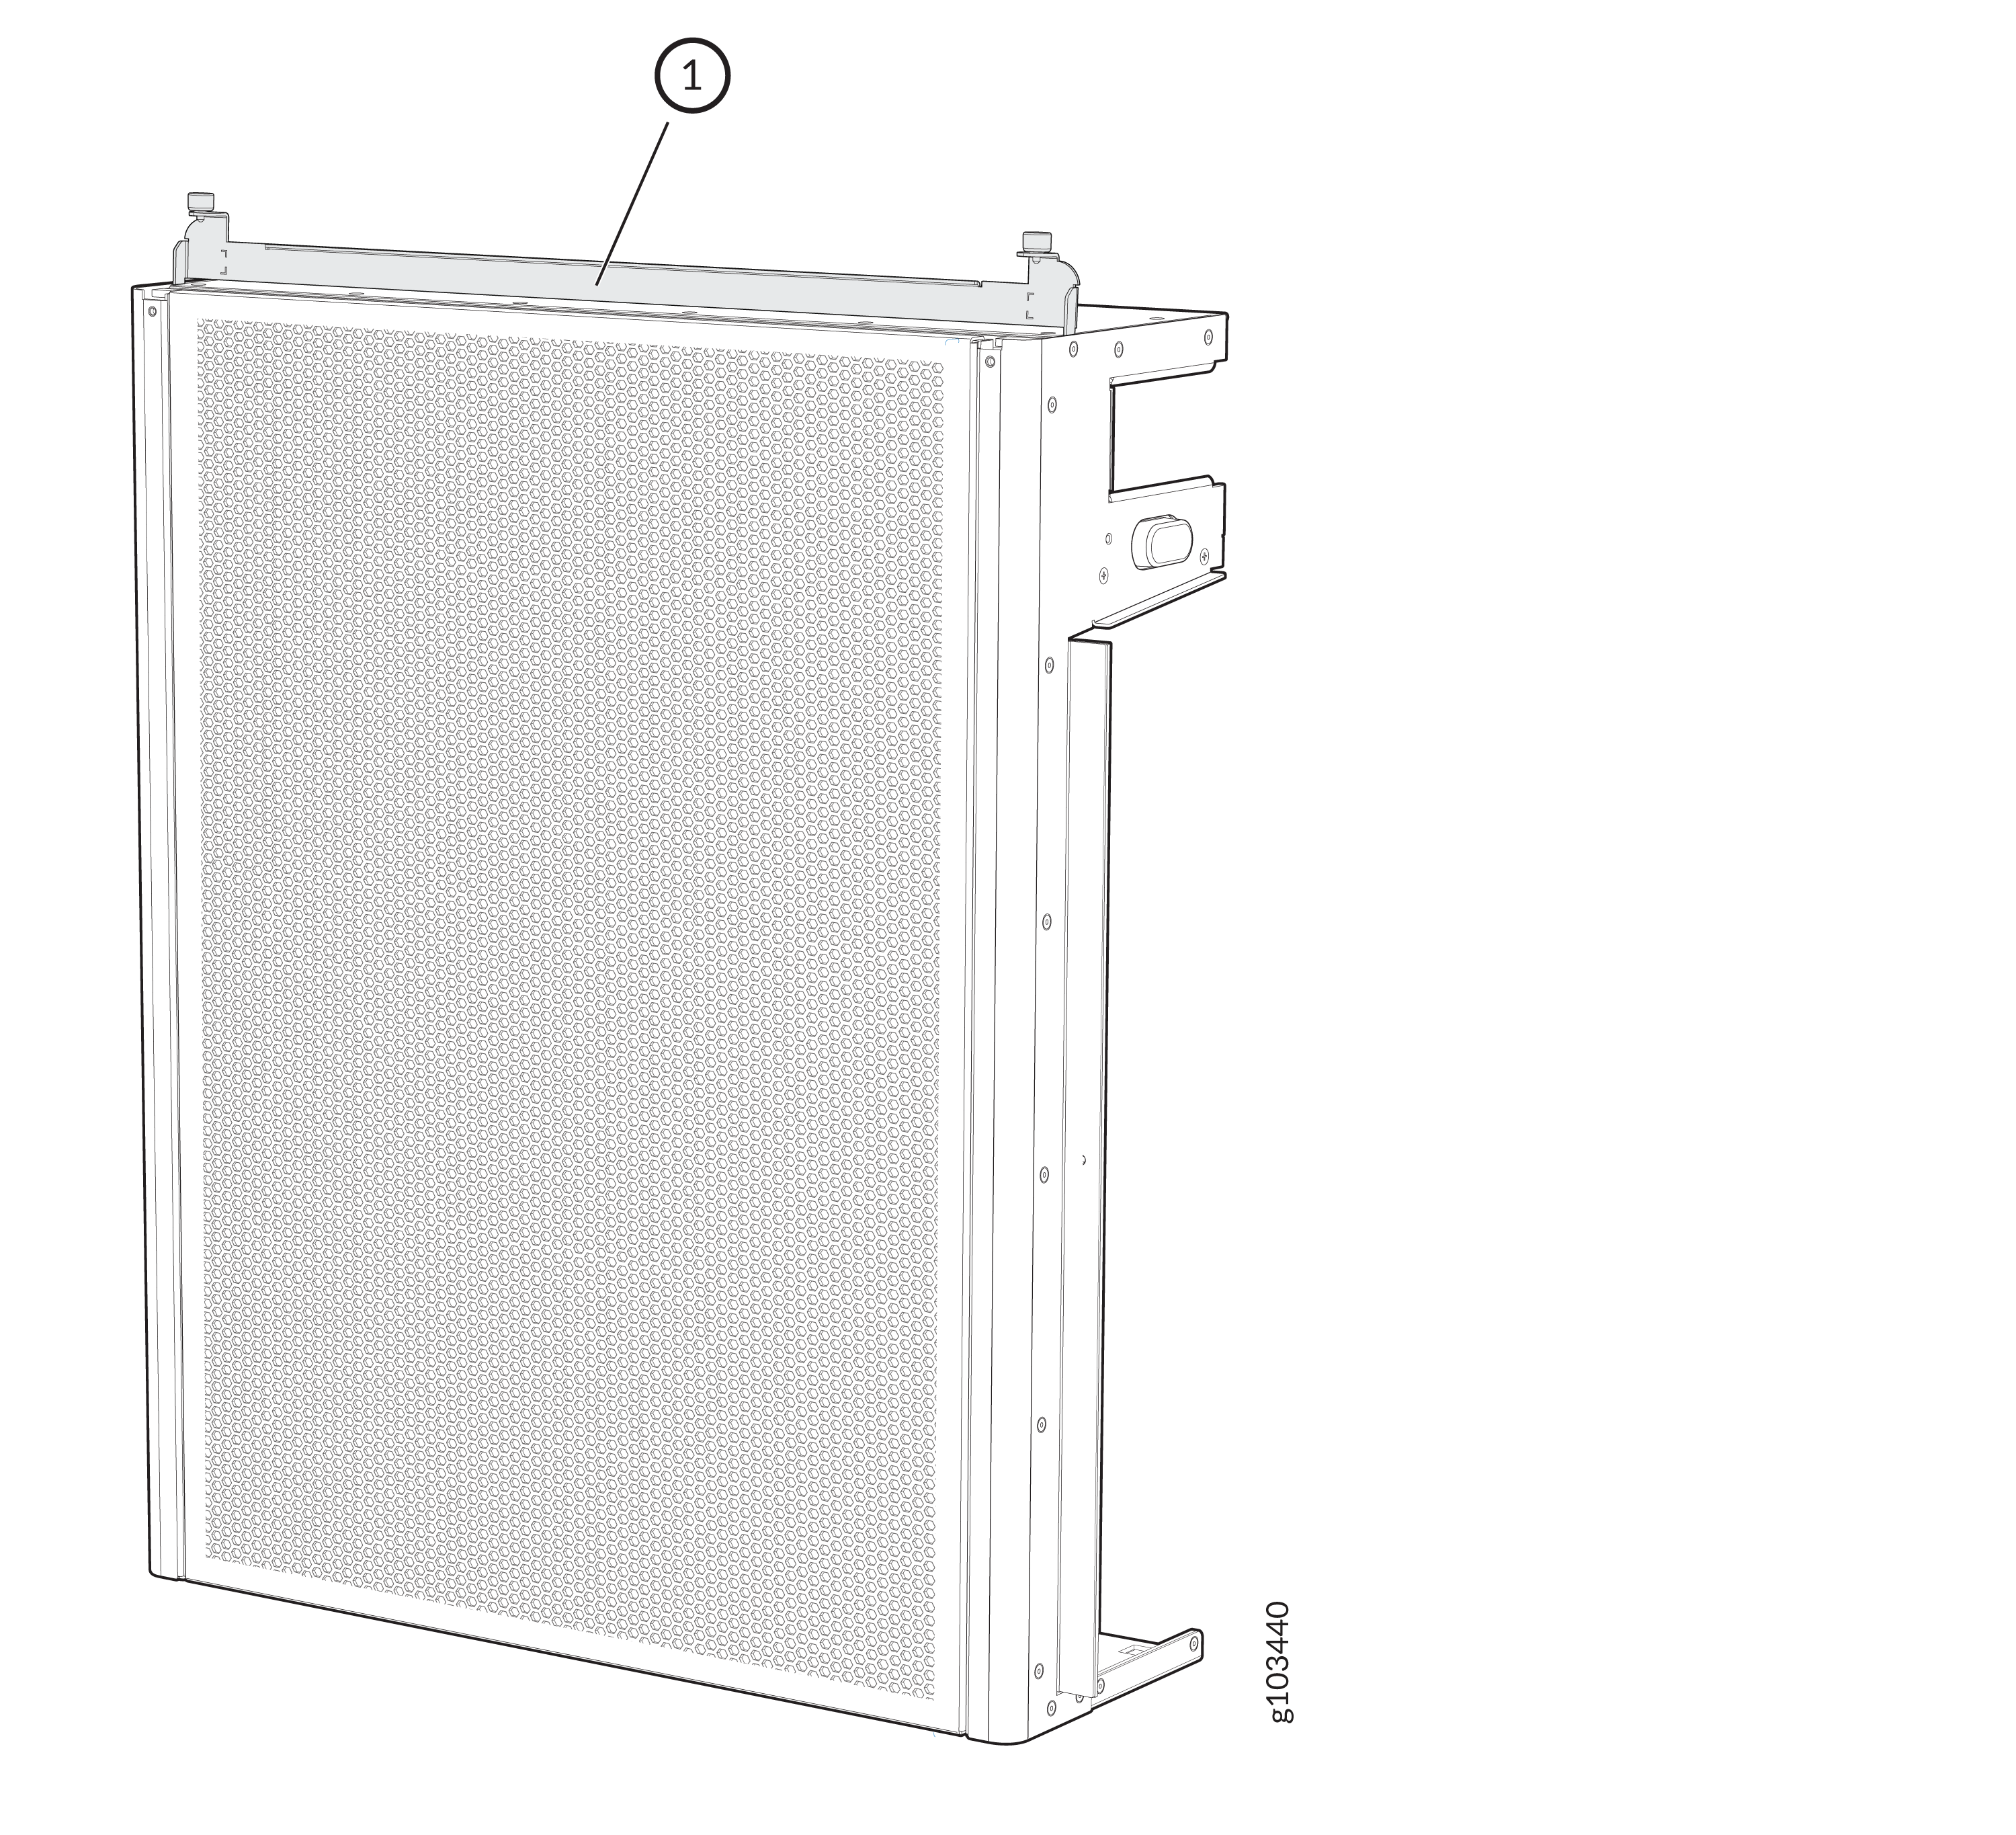
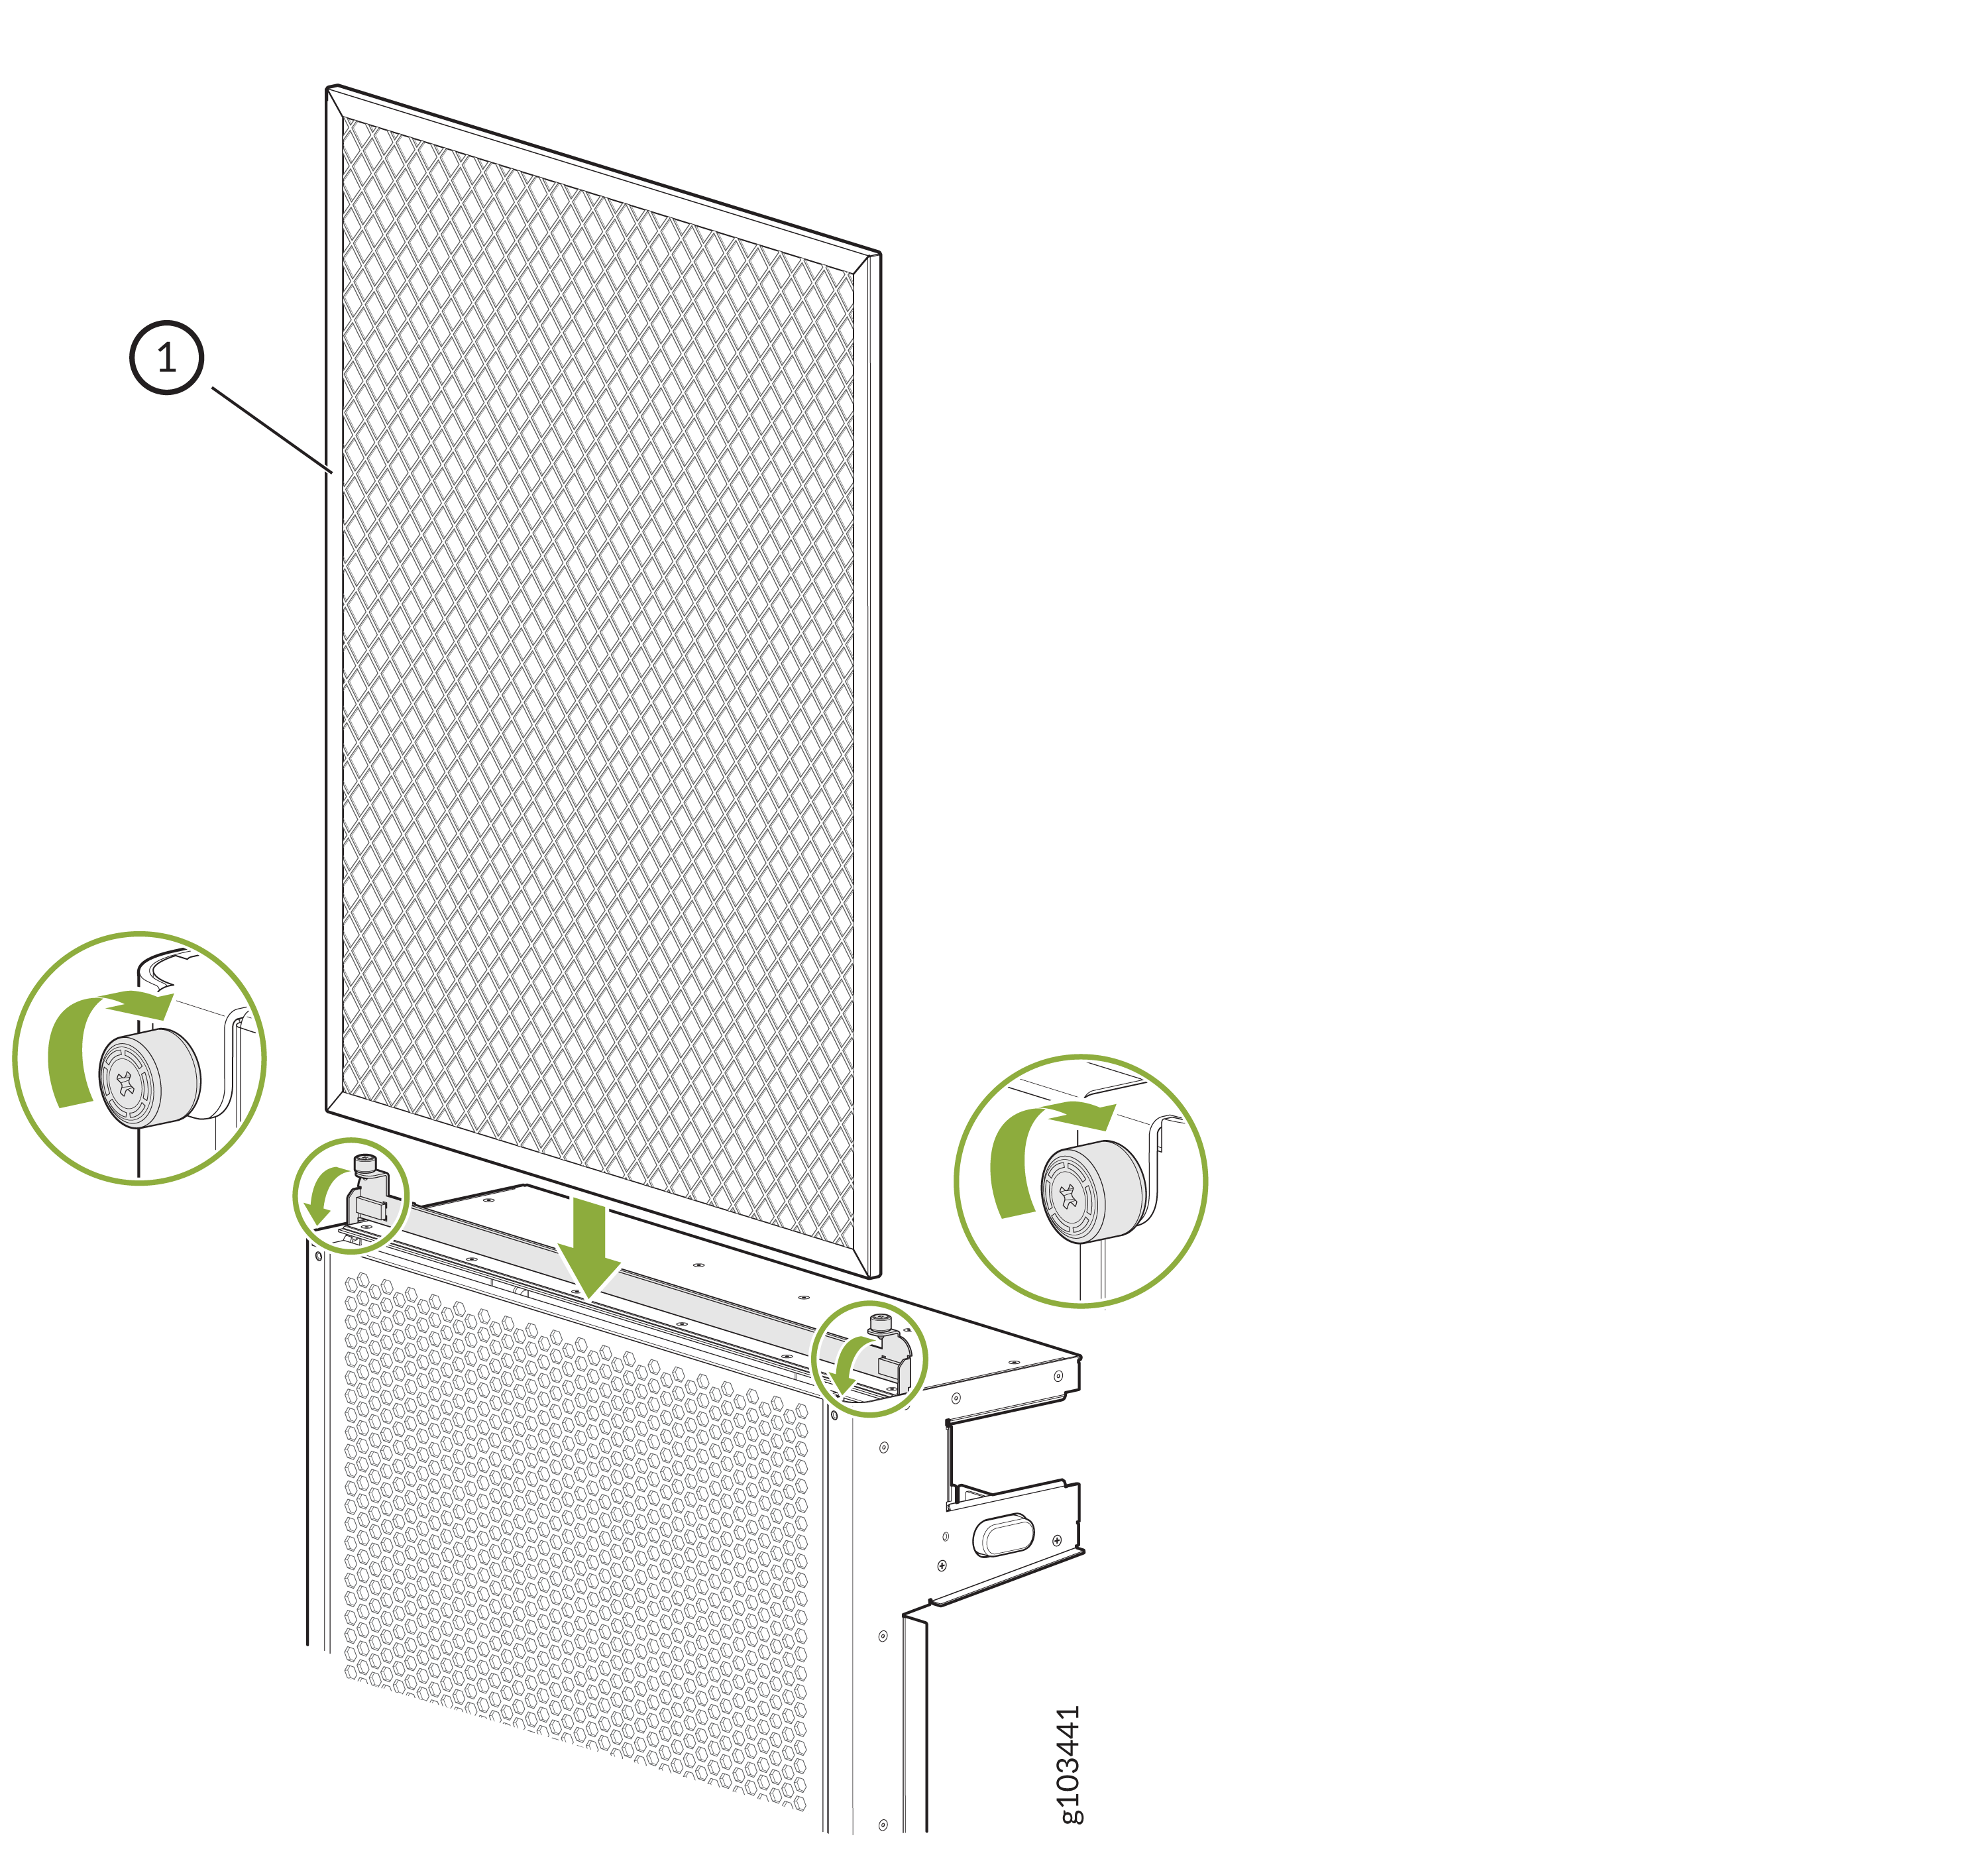
Install the front door on the front of the chassis after you mount the chassis in a 4-post rack. To install the front door:
Install the Air Filter
If you have the JNP10008-FRPNL1 model of the front door, there is also an air filter to install. Read and follow the following procedure to add the air filter.
To install the air filter in the front door:
You must replace the filter every 6 months.


