Replacing an MX2010 Fan Tray
Removing an MX2010 Fan Tray
CAUTION:
To prevent overheating, install the replacement fan tray immediately after removing the existing fan tray.
To remove the upper or lower fan trays (see Figure 1 and Figure 2):
Figure 1: Removing Upper
Fan Trays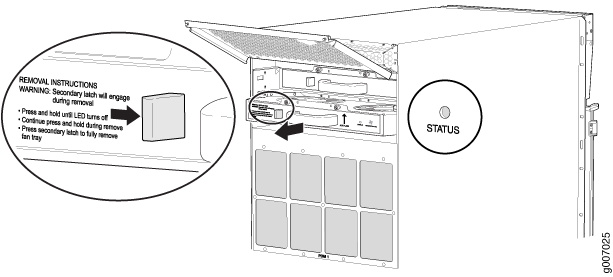
Warning:
Before removing a fan tray, make sure the fan blades have stopped completely.
Figure 2: Removing Lower
Fan Trays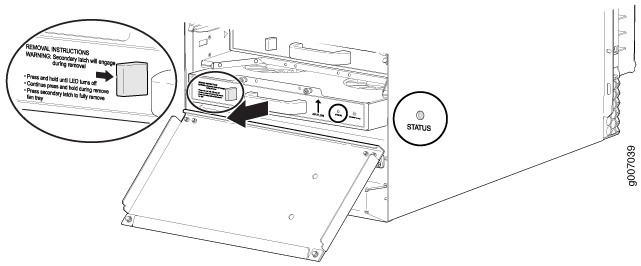
See Also
Installing an MX2010 Fan Tray
This topic describes how to install the upper or lower fan trays in a MX2010. This procedure applies to both the standard fan tray and the optimized power fan tray. To install the upper or lower fan tray (see Figure 3 and Figure 4):
Figure 3: Installing
Upper Fan Trays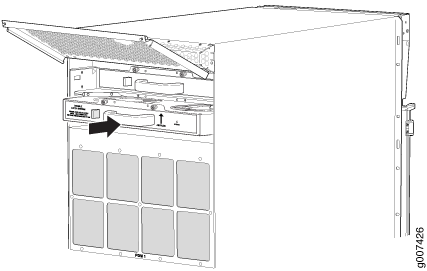
Figure 4: Installing
Lower Fan Trays