ON THIS PAGE
Step 1: Begin
In this guide, we provide a simple, three-step path, to quickly get you up and running with the Juniper Networks® QFX5130-32CD switch. You'll learn how to install, power on, and configure basic settings for both AC-powered and DC-powered QFX5130-32CD switches.
Meet the QFX5130-32CD
The QFX5130-32CD Ethernet Switches are an optimally designed solution for spine-and-leaf deployments in enterprise, service provider, and cloud data centers. The switches come in a low-profile 1-U form factor and support a bandwidth of 12.8 Tbps.
With 32 400GbE ports, the switches enable a wide variety of configurations that include support for 10-Gbps, 25-Gbps, 40-Gbps, 100-Gbps, and 400-Gbps speeds. The QFX5130-32CD switches are available with either a front-to-back or back-to-front airflow and with dual AC power supplies.

Install the QFX5130-32CD
What's in the Box?
-
QFX5130-32CD switch
-
Two power cords appropriate for your geographic location
-
Rack mount kit with:
-
Twelve flat-head M4x6-mm Phillips mounting screws
-
One pair of mounting blades
-
One pair of mounting rails
-
We no longer include a DB-9 to RJ-45 cable or a DB-9 to RJ-45 adapter with a CAT5E copper cable as part of the device package. If you require a console cable, you can order it separately with the part number JNP-CBL-RJ45-DB9 (DB-9 to RJ-45 adapter with a CAT5E copper cable).
What Else Do I Need?
You'll need to provide:
-
Someone to help you secure the switch to the rack
-
Eight rack mount screws
-
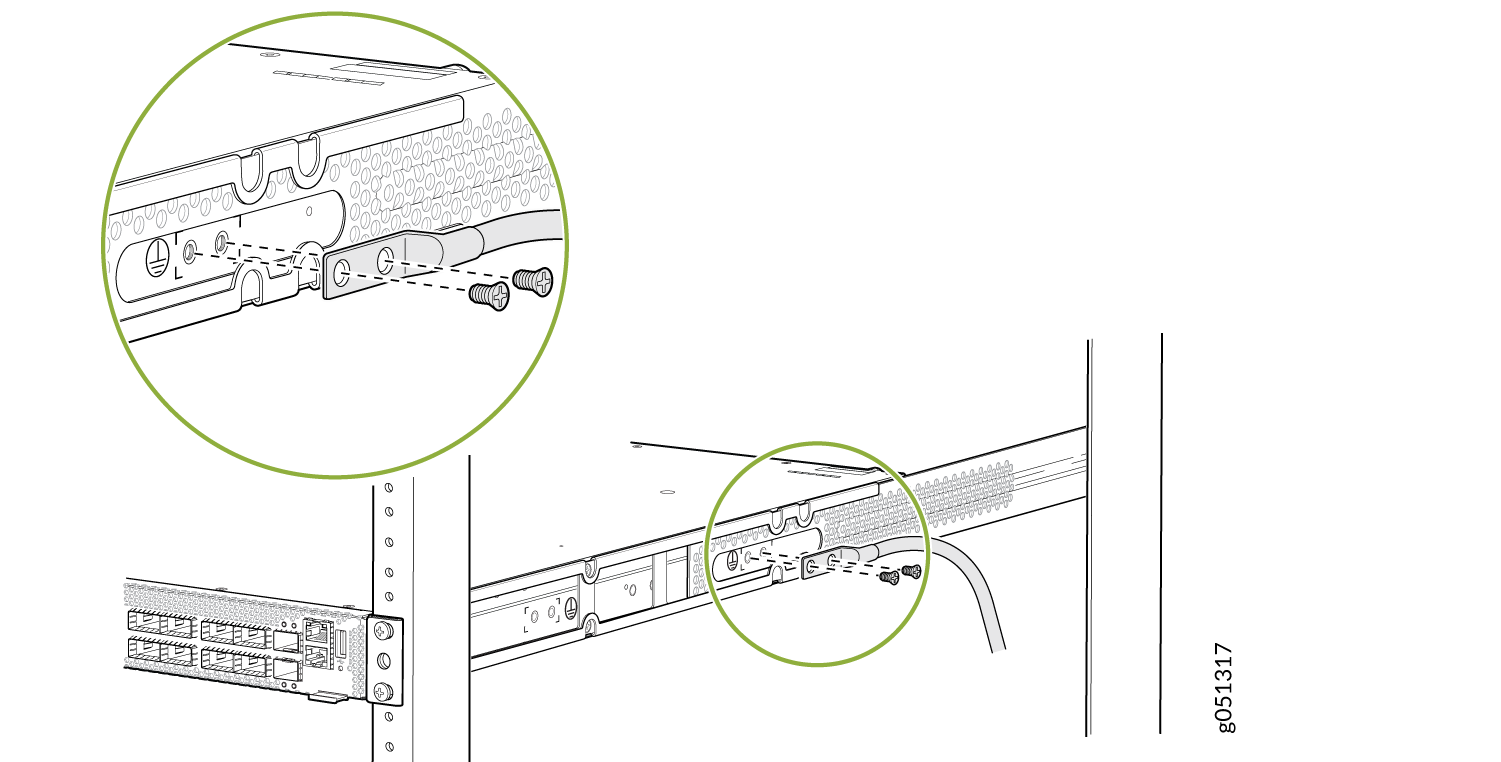
Panduit LCD10-10A-L grounding lug or equivalent
-
Two 10-32 x 0.25 screws with #10 split-lock washers
-
A number two Phillips (+) screwdriver
-
RJ-45 Ethernet cable
-
RJ-45 to DB-9 serial port adapter
-
A serial-to-USB adapter (If your laptop or desktop PC doesn't have a serial port)


