Help us improve your experience.

Let us know what you think.

Do you have time for a two-minute survey?


Replace SSL Certificate for Apstra ZTP Server GUI

For security, we recommend that you replace the Apstra ZTP default self-signed SSL certificate with one from your own certificate authority. Web server certificate management is the responsibility of the end user. Juniper support is best effort only.

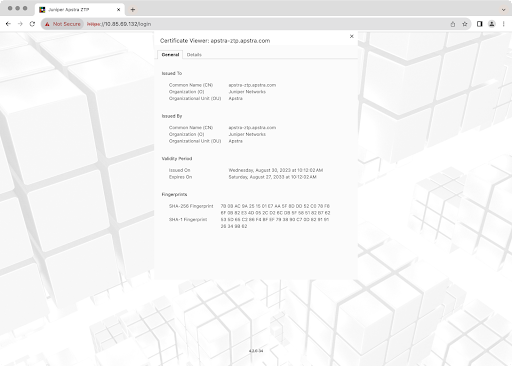
When you boot up the Apstra ZTP server for the first time, a unique self-signed certificate and key are automatically generated and stored on the Apstra ZTP NGINX container. The certificate is used for encrypting the Apstra ZTP server. We recommend replacing the default SSL certificate.

  1. Create a new OpenSSL private key with the built-in openssl command.
  2. Create a certificate signing request. If you want to create a signed SSL certificate with a Subjective Alternative Name (SAN) for your Apstra ZTP server HTTPS service, you must manually create an OpenSSL template. For details, see Juniper Support Knowledge Base article KB37299.
  3. Submit your Certificate Signing Request (nginx.csr) to your Certificate Authority (CA). The required steps are outside the scope of this document; CA instructions differ per implementation. Any valid SSL certificate will work. The example below is for self-signing the certificate.
  4. Verify that the SSL certificates match: private key, public key, and CSR.
  5. Edit the NGINX SSL configuration file /containers_data/nginx/conf.d/ssl.conf pointing ssl_certificate and ssl_certificate_key to the new key and certificate files. Note, the files in the /containers_data/nginx are mapped from files in the /data directory in the NGINX container.
  6. To load the new certificate, restart the nginx container.
  7. Confirm that the new certificate is in your web browser and that the new certificate common name matches (for example, 'aos-server.apstra.com').
Next Step: Configure credentials for the Apstra ZTP server GUI.