Help us improve your experience.

Let us know what you think.

Do you have time for a two-minute survey?


Configure DHCP Server for Apstra ZTP

SUMMARY Define the network parameters that the DHCP service will use

Apstra ZTP software comes with an ISC DHCP server for the device management network. This page describes several methods for editing the supplied DHCP server. If you're using a different DHCP for the device management network, you're responsible for configuring the same options.

Note:

All configuration files are owned by root. You must use sudo to run commands as root using the sudo command or after becoming root with the sudo -s command.

dhcpd.conf Parameters

Optional DHCP Parameters

You can set up optional parameters that the DHCP services will send to every device it asks for DHCP services. You can configure these parameters at a later time via configlets. (If you define these parameters in the DHCP service, don't try to set them up again via Apstra; the device OS may return an error.)

If in doubt, don't enter random parameters; it may result in timeouts as a service tries to resolve IP addresses.

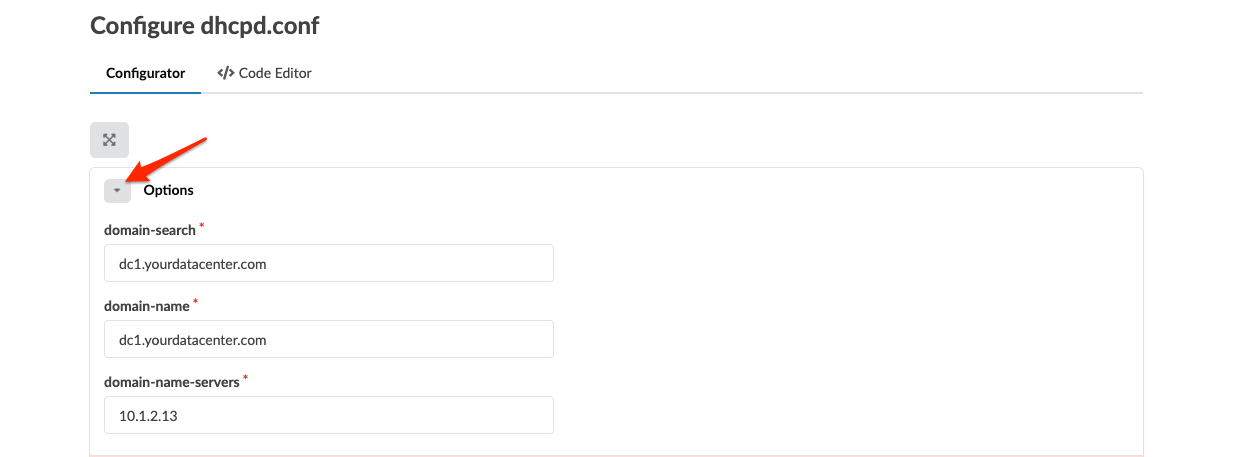
  • option domain-search "dc1.yourdatacenter.com" - set up a domain name. To specify more than one value, separate them with a comma (,). For the parsing of the file to succeed, each line must end with a semicolon (;)

  • option domain-name "dc1.yourdatacenter.com" - set up a list of DNS

  • option domain-name-servers 10.1.2.13, 10.1.2.14 - set up domain-search

Group Parameters

The Group section includes the following parameters:

  • Tftp

    • tftp-server-name - IP address of the ZTP server (not a URL)

  • Subnet

    • subnet (IP v4) - IP management network

    • netmask (IP v4) - IP management netmask

    • range_start - Beginning of range of dynamic DHCP IP addresses. Ensure the full range is available and no statically configured IP addresses from that range are used.

    • range_end - End of range of dynamic DHCP IP addresses. Ensure the full range is available and no statically configured IP addresses from that range are used.

    • routers - default gateway router for management network

  • host

    • name - Hostname of static DHCP management IP address

    • hardware ethernet - Switch MAC address of the management interface, used for DHCP negotiations

    • fixed-address - Static DHCP IP address, for device with hardware Ethernet MAC. Use the switch MAC address.

Use GUI Configurator to Configure dhcpd.conf

Starting in Apstra version 4.2.0, you can use the Apstra GUI to configure Apstra ZTP.
  1. If you're using the wizard, step 2 is to configure the dhcpd.conf file. (You can skip this step for now and come back later to complete this configuration.) If you're not using the wizard, then from the left navigation menu of the Apstra ZTP GUI, click dhcpd.conf.
    The code editor for the dhcpd.conf file opens.
  2. Click Configurator.
    A dialog opens warning you that if you've made any changes in the code editor, you'll lose them if you switch to the configurator. We just opened the file, so there aren't any changes yet.
  3. Click Confirm to switch to the configurator.
  4. You can enter optional DNS details in the Options section. If you want to configure these optional fields, click the Options triangle to expose the fields and enter the details for domain-search, domain-name, and domain-name-servers.
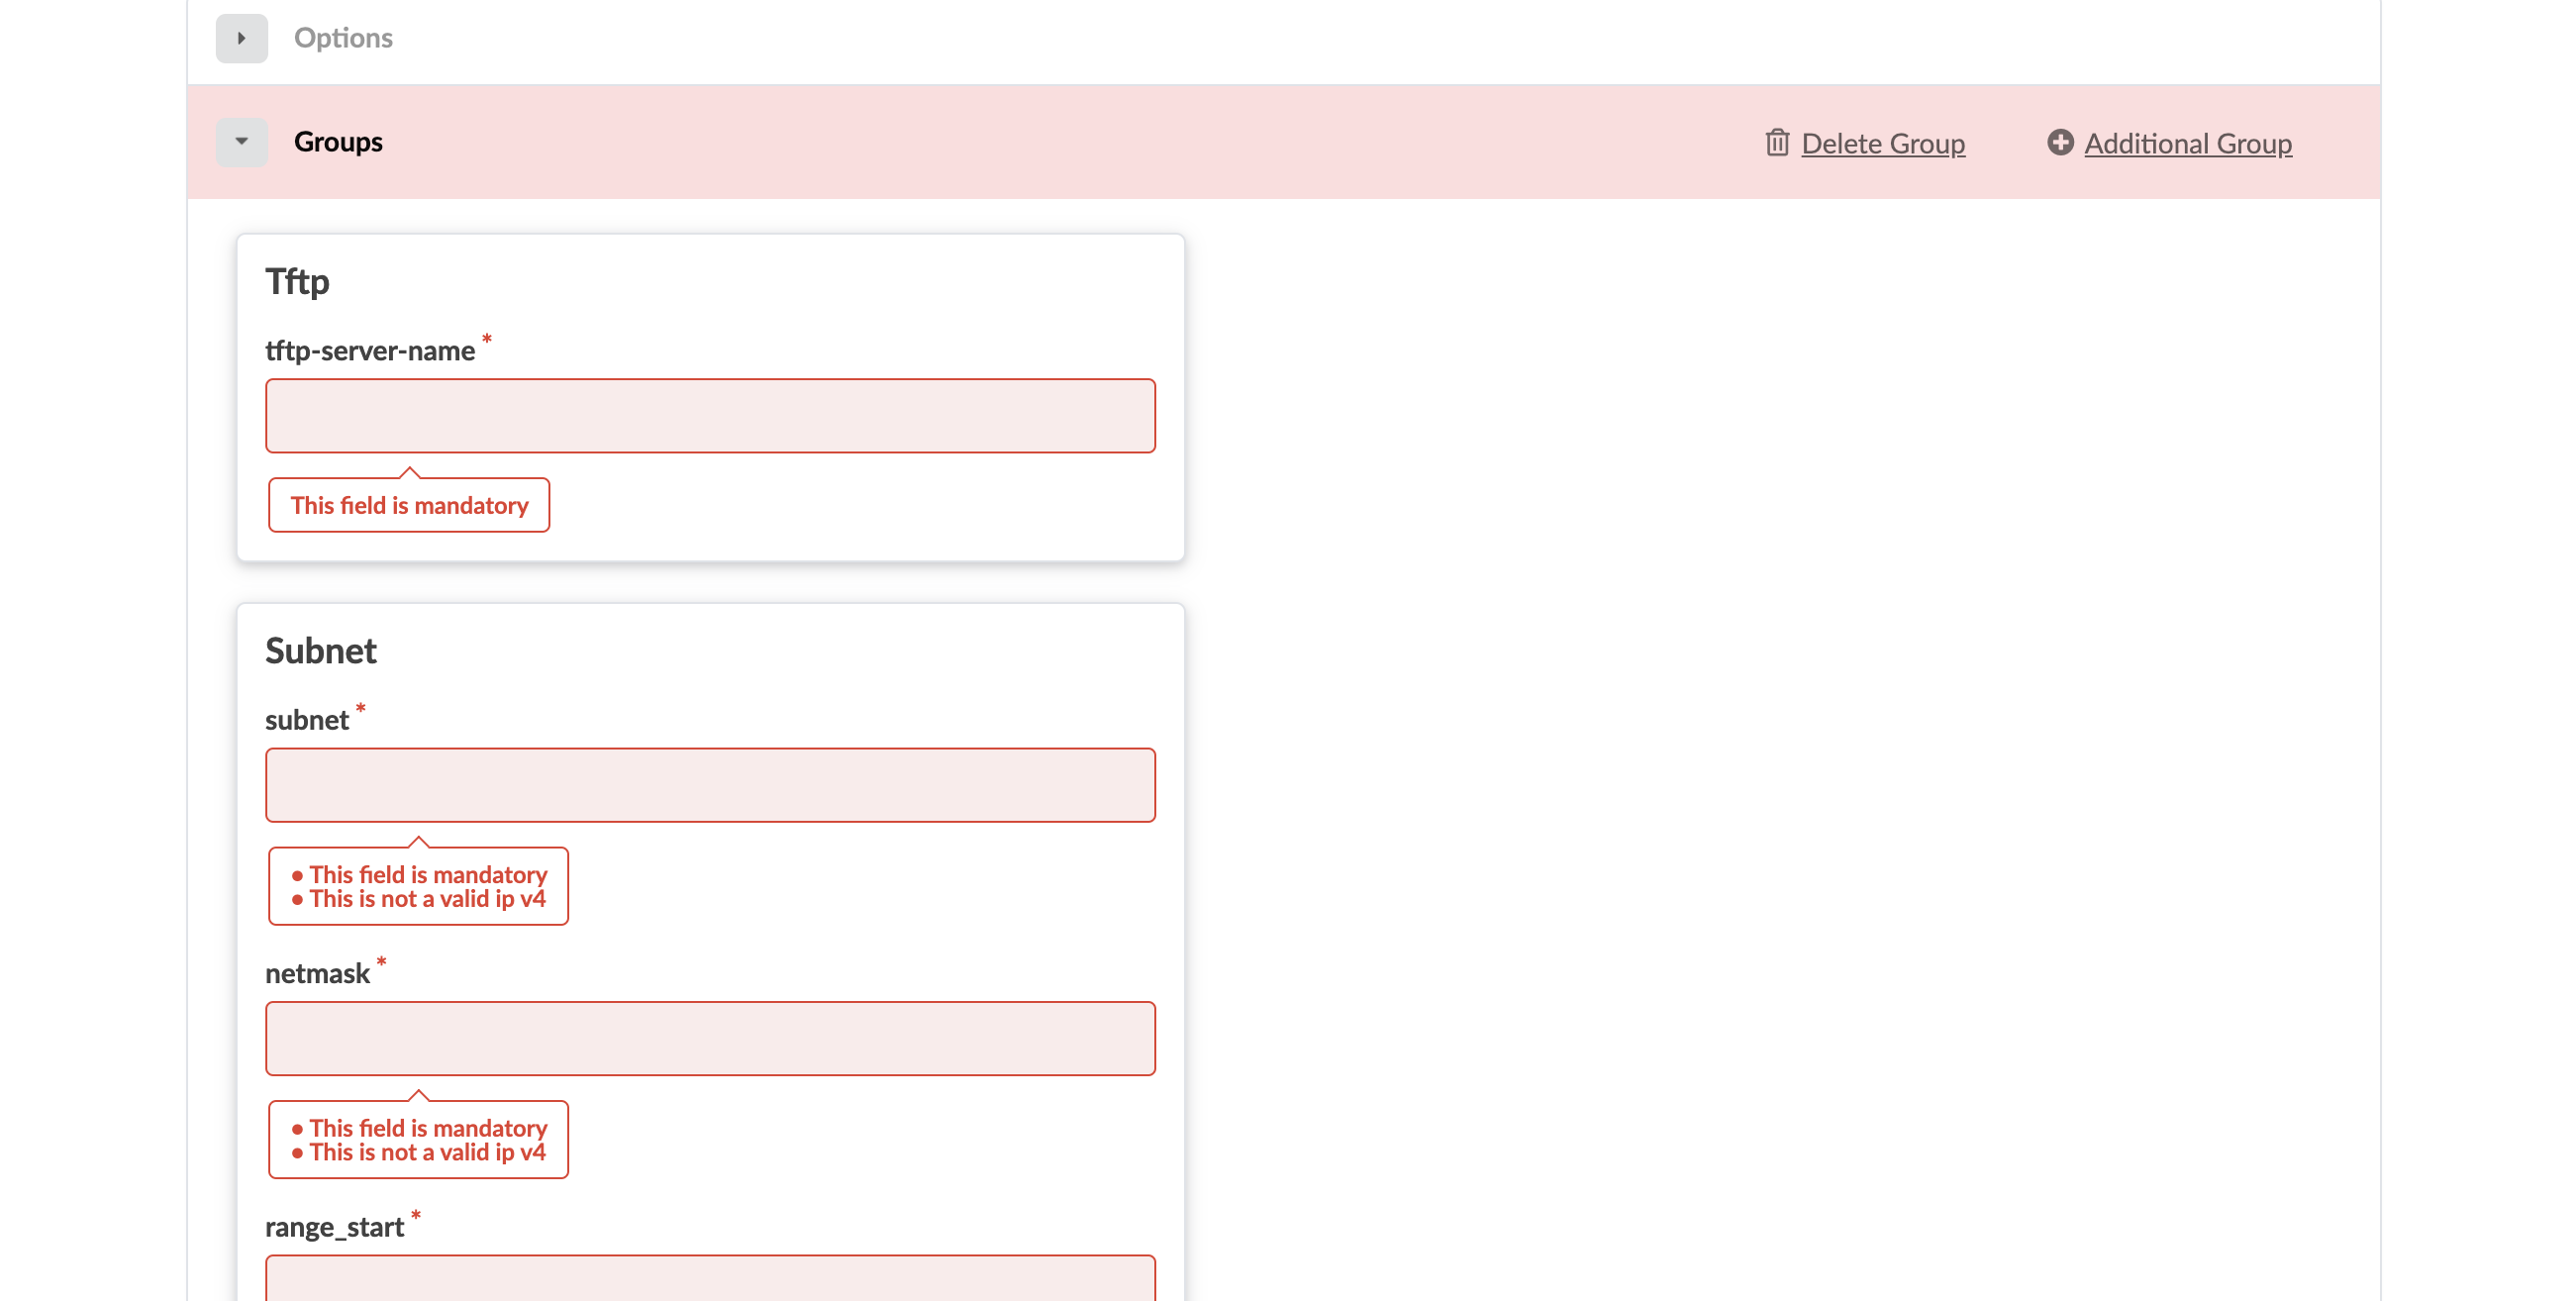
  5. Click Groups to see its parameters
    .
  6. Enter details about your tftp-server-name. Enter details about the subnet that you're servicing with the DHCP server, the netmask, the range of addresses to give out, so there's a starting and ending range and the default router for that particular range.
  7. If you have numerous fabrics (blueprints) within the Apstra environment, they might not all be on the same management or OOB subnet. They might be on different ones. If so, you need to tell the ZTP process each segment that it has responsibility to listen for devices to be added to the Apstra server. To add additional groups, click Additional Group. (You can also remove additional groups.)
  8. Then you can go down and if you want to get specific for a host, if you know the MAC address (you need it to be the physical interface, not the bme(?) vme(?) mac address) This is the real mac address of, either the me0 or em0 interface. Not 1. Do not put in em1. It has to be em0 or me0. Then the fixed addresss you want to give it when it's found. You can more hosts and continue to add them add them add them. You don't have to do that if you don't want to do that. I'm skipping this step. Click 'Restart (ZTP server) Now'. Development topology won't do anything here. [5:12] I'm gonna skip the wizard since it won't go any further cuz development. I'll show you the other parts that you can touch. The Devices screen tells you devices that have attempted or have completely been ztped. Once this has been done, it's completed the ztp they will also appear on the Apstra server. That's why you need to give credentials so it can communicate "I've got these devices that were ztped, do something with them.

  9. Configure Apstra ZTP DHCP Server via Apstra ZTP GUI

    Next in "groups", you can configure static DHCP hosts to map a device hardware ethernet address to an IP fixed-address.

    If you have additional hosts, additional hosts can be configured by clicking the "additional hosts" link.

    If you click on the "Code Editor" tab, entries entered in configurator will be in the dhcpd.conf file.

    When you are finished, click "Save & Proceed". Apstra ZTP will automatically restart DHCP with the updated configuration. If there are errors in the configuration, Apstra ZTP will alert you with an error.

Use GUI Code Editor to Configure dhcpd.conf

Use Text Editor to Configure dhcpd.conf

We recommend that you use the Apstra ZTP GUI configurator to configure dhcp.conf, but you have the option of using CLI. You can configure the DHCP configuration file directly with text editors such as vi or nano.
  1. Open a terminal and SSH into the Apstra ZTP server.
    ssh admin@<apstra-ztp-server-ip> where <apstra-ztp-server-ip> is the IP address of the Apstra ZTP server.
  2. The DHCP configuration file is on the Apstra ZTP VM in the /containers_data/dhcp directory.
  3. Open the dhcpd.conf file in a text editor, such as vi or nano.
  4. Step 1 is to configure your subnet and netmask:
  5. Step 2 is to add groups corresponding to the management network. Configure the following, as applicable:
    • tftp-server-name

    • option routers

    • hardware ethernet

    • fixed-address

  6. Step 3 is to configure DNS. This is optional. You can enter details for domain-search, domain-name, and domain-name-servers.
  7. The following lines in the config file probably don't need to be changed.
  8. If you’re using Juniper Junos OS or Junos OS Evolved devices, you must ensure the server contains the following, so the device loads the proper configuration file.
  9. If you're using SONiC devices, you must configure sonic-provision-url, TFTP URL with IP address of ZTP server
  10. After modifying any DHCP configuration, restart the Apstra ZTP DHCP process with the sudo docker restart dhcpd command. This forces it to read the new file values.