Help us improve your experience.

Let us know what you think.

Do you have time for a two-minute survey?

header-navigation
keyboard_arrow_up
close
keyboard_arrow_left
Juniper Apstra 5.0.1 / 5.0.0 User Guide
Table of Contents Expand all
list Table of Contents
file_download PDF
{ "lLangCode": "en", "lName": "English", "lCountryCode": "us", "transcode": "en_US" }
English
keyboard_arrow_right

Create Tenant

Release: Juniper Apstra 5.0
{}
Change Release
date_range 04-Nov-24
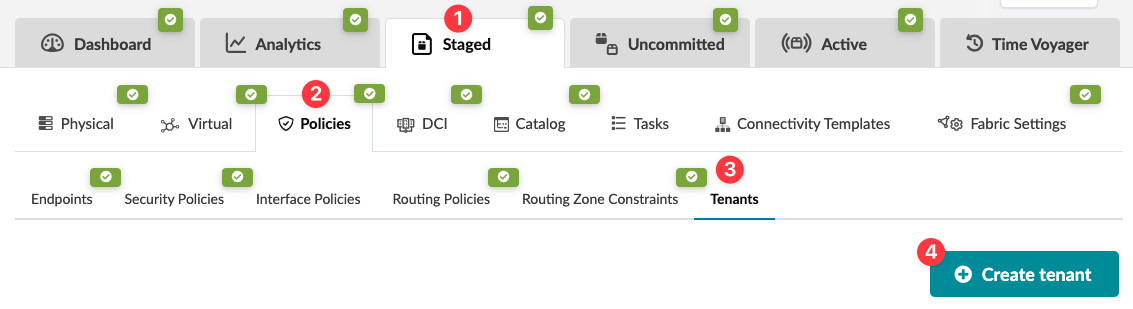
  1. From the blueprint, navigate to Staged > Policies > Tenants and click Create Tenant.
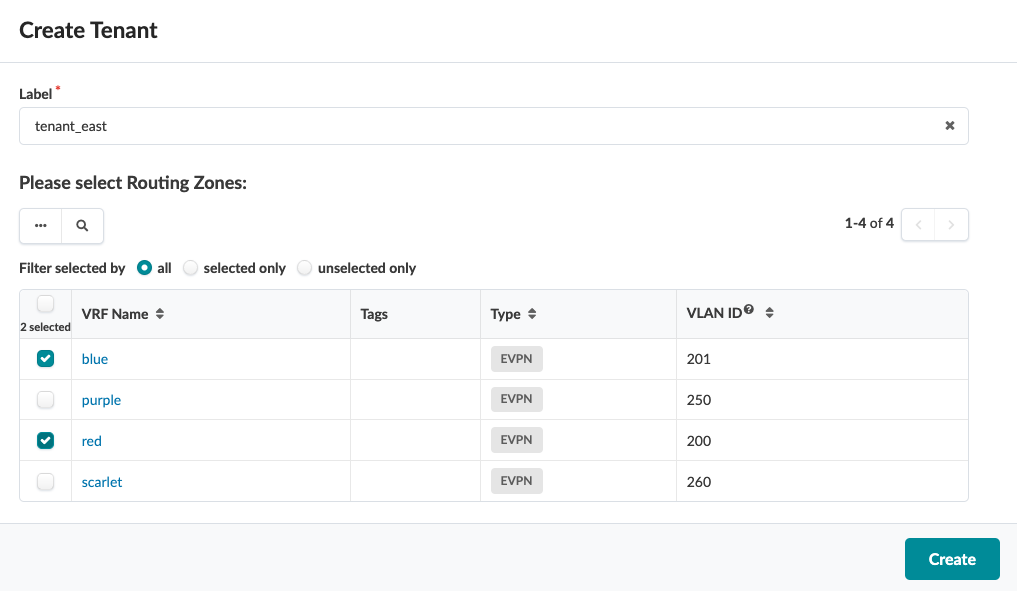
    The Create Tenant dialog opens.
  2. Enter a label that doesn't start or end with space characters and that doesn't contain quotes. The regular expression for the allowed names is a-zA-Z0-9_-. Tenant labels serve as primary keys. After you've create a tenant, you can't change its label.
  3. Select check boxes for one or more routing zones of type EVPN. (The Default Routing Zone is excluded from this feature given the number of design elements it holds which are structural to the fabric underlay.) You can search for routing zones by VRF name, tags, and/or type of routing zone (EVPN).
  4. Click Create to stage the tenant and return to the tenant table view.

When you're ready to activate your changes, go to the Uncommitted tab to review and commit (or discard) your changes.

footer-navigation