Help us improve your experience.

Let us know what you think.

Do you have time for a two-minute survey?

Announcement: Try the Ask AI chatbot for answers to your technical questions about Juniper products and solutions.

close
header-navigation
keyboard_arrow_up
close
keyboard_arrow_left
Juniper Apstra 5.1.0 User Guide
Table of Contents Expand all
list Table of Contents
file_download PDF
{ "lLangCode": "en", "lName": "English", "lCountryCode": "us", "transcode": "en_US" }
English
keyboard_arrow_right

Delete Node

Release: Juniper Apstra 5.1
{}
Change Release
date_range 21-Mar-25
  1. From the blueprint, navigate to Staged > Physical > Topology and select the node to delete. In our example, we've selected a generic system.
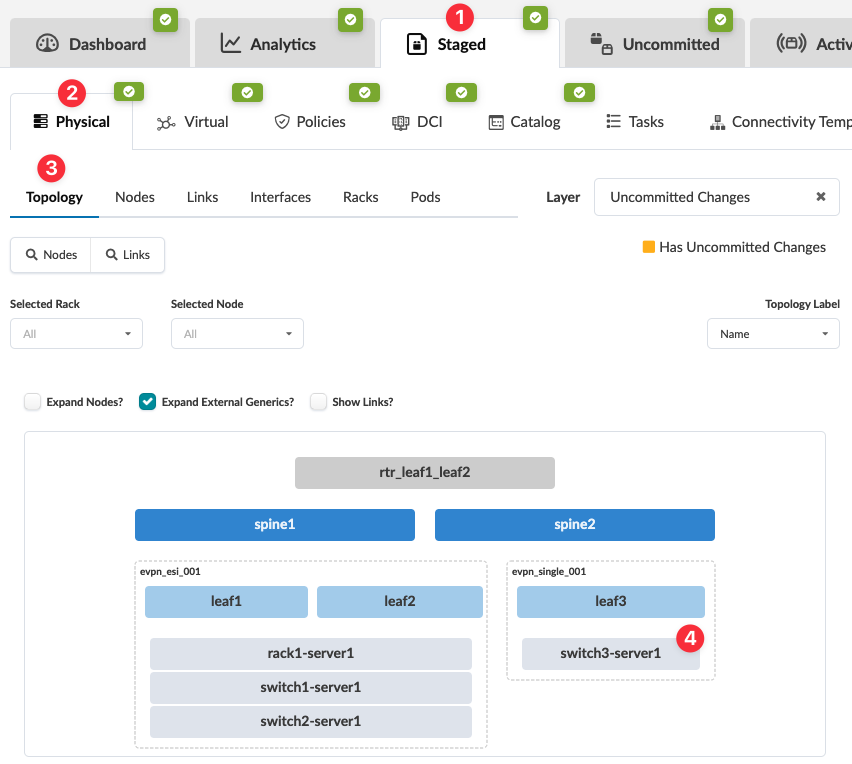
    The topology view of the selection appears.
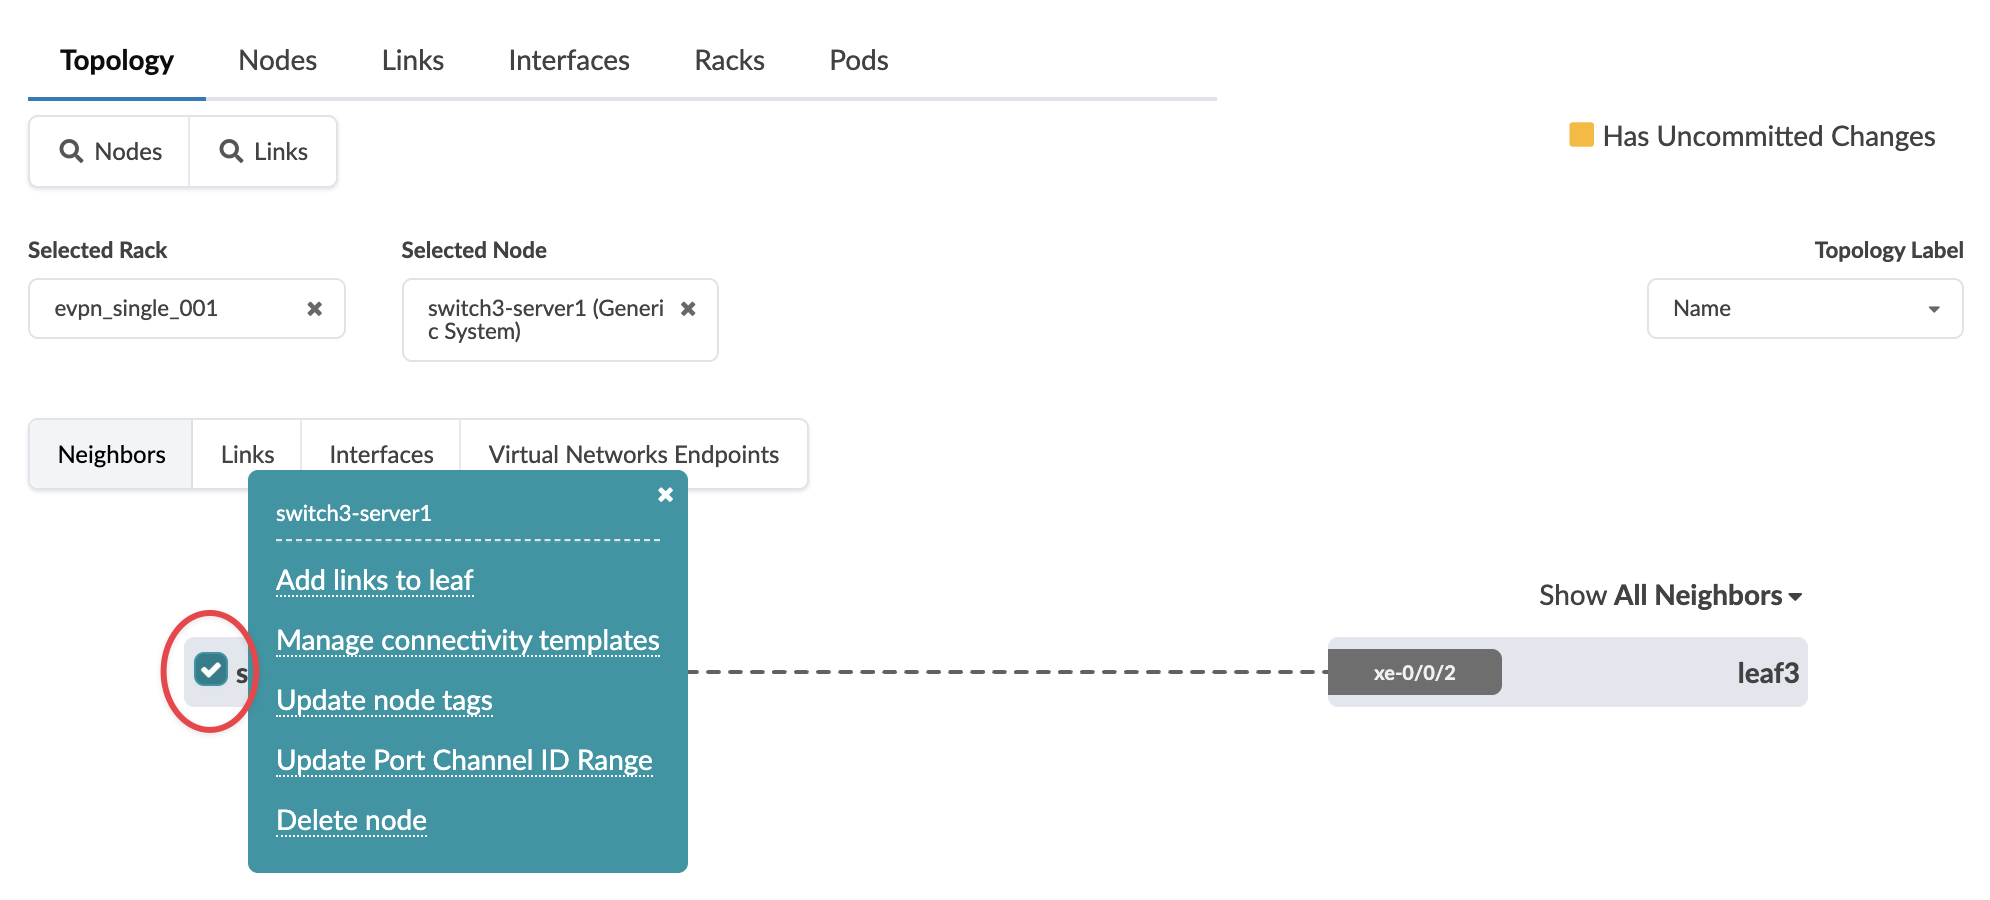
  2. Select the node check box to see the operations available for that node (and that you have permissions for).
    Note:

    You can also get to the selection page from the Nodes view. From the blueprint, navigate to Staged > Physical > Nodes, click the node name in the table, then click the node name that appears at the top of the Selection panel (on the right side of the page).

  3. Click Delete node
    The Delete Node dialog opens.
  4. Click Delete to stage the deletion and return to the Topology view. All links towards the system will be deleted and connectivity templates will be unassigned for you.
When you're ready to activate your changes, commit them from the Uncommitted tab.
footer-navigation