Help us improve your experience.

Let us know what you think.

Do you have time for a two-minute survey?

Announcement: Try the Ask AI chatbot for answers to your technical questions about Juniper products and solutions.

close
header-navigation
keyboard_arrow_up
close
keyboard_arrow_left
Juniper Apstra 5.1.0 User Guide
Table of Contents Expand all
list Table of Contents
file_download PDF
{ "lLangCode": "en", "lName": "English", "lCountryCode": "us", "transcode": "en_US" }
English
keyboard_arrow_right

Assign DHCP Server to Routing Zone

Release: Juniper Apstra 5.1
{}
Change Release
date_range 21-Mar-25
  1. From the blueprint, navigate to Staged > Virtual > Routing Zones and click the name of the routing zone that needs a DHCP server assigned to it. (The screenshot below is for Apstra version 4.2.0. Newer versions include a column for Routing Policy Name that you can link to directly; and you can select which columns to show in the table.)
  2. Click the Assign DHCP Servers button (upper-right).
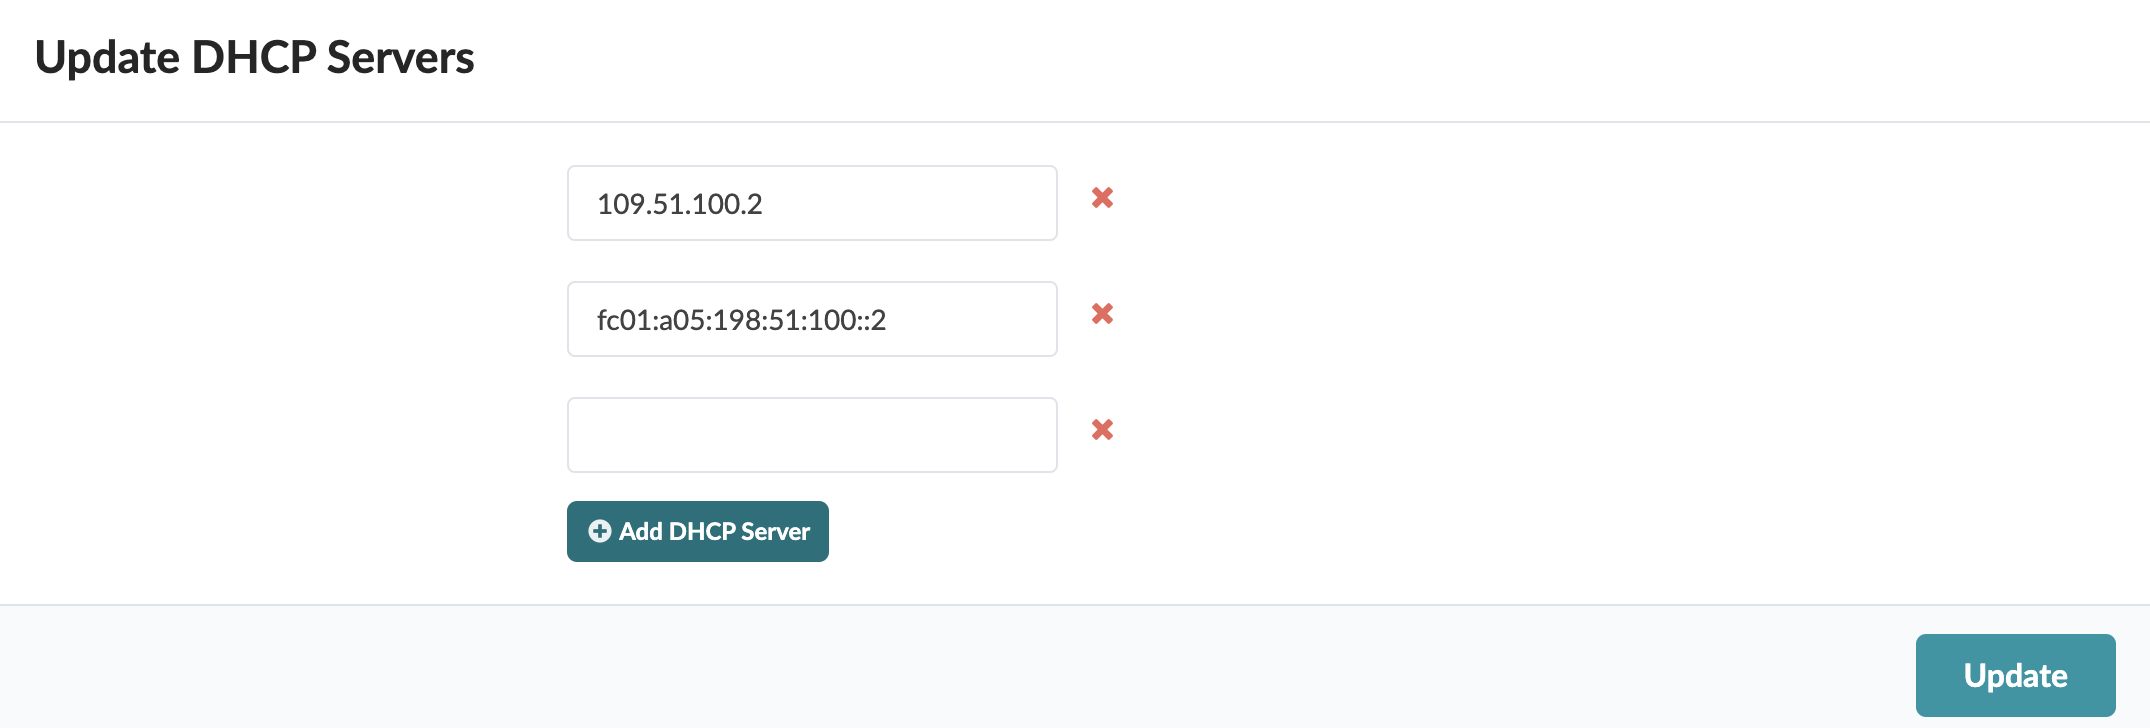
  3. Enter the IPv4 address (or IPv6 address) for the DHCP server and click Add DHCP Server. To add an additional server, enter the IP address and click Add DHCP Server again.
  4. Click Update to stage the assignment and return to the routing zone detail view.

When you're ready to activate your changes, commit them from the Uncommitted tab.

footer-navigation