Help us improve your experience.

Let us know what you think.

Do you have time for a two-minute survey?


Installing WinCollect 10 using the Advanced installer

You can customize your WinCollect installation by selecting the Advanced option on the WinCollect graphical installer. You can select which WinCollect 10 components to install and where they are installed.

  1. Download the latest version of the WinCollect 10 installer.
  2. Double-click the installer to begin.
  3. Click Next.
  4. Accept the License Agreement and click Next.
  5. In the Installer Options window, select Advanced.
  6. In the Custom Setup window, select the components of the agent that you want to install.
  7. Click Next to open the Configuration Options window, and then specify your startup agent configuration. Select one of the following options:
    • Specify a configuration script file to execute immediately after the Agent is installed. Use this option to upload a script file with a set of instructions for the agent that tell the what to collect or where to send the events etc. For more information, see Installing or updating an agent using an update script.
    • Specify a destination to send Application, System, and Security events. This option captures the Application, System and Security events for the local system and specifies which JSA application you would like to send them to. This is similar to using the Quick Installation option.
    • Install the agent without a configuration. This option installs the agent with a blank slate. Then, you must either use the Console to configure the agent or use an update script to configure the agent after installation.
  8. Click Next.
    Tip:

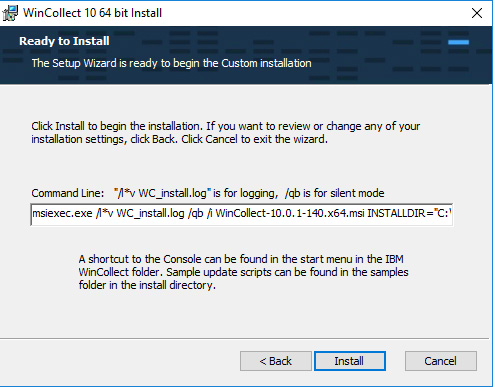
    In the Ready to Install window, you can copy the CLI command that includes all the settings you chose during the Advanced Installation. Use that command to install other agents with the same configuration options that you specified in the Advanced Installer.


  9. Click Install to complete the installation.