Help us improve your experience.

Let us know what you think.

Do you have time for a two-minute survey?


User Activation and Login

To log in to Juniper Apstra Cloud Services application, you must create an account in Juniper Apstra Cloud Services application and then, activate the account. After you activate your account, you either create an organization or join an organization through an invite.

Juniper Apstra Cloud Services application initiates user activation when:

  • You create an account and an organization and access Juniper Apstra Cloud Services without an invite.

  • The superuser invites you to an organization.

    Click the link in the invite and complete the login tasks. Your login procedure depends on whether you are an existing user with a Juniper Apstra Cloud Services application account or a new user without a Juniper Apstra Cloud Services application account.

  1. To log in as the first admin user without an invite:
    1. Access the GUI directly at https://dc.ai.juniper.net.
      Note:

      Juniper Networks recommends that you use the latest version of Chrome, Firefox, or Safari browsers to access Juniper Apstra Cloud Services application.

    2. Click Create Account.
    3. Type your first name, last name, e-mail address, and password on the My Account page.
      The password is case sensitive.
    4. Click Create Account.
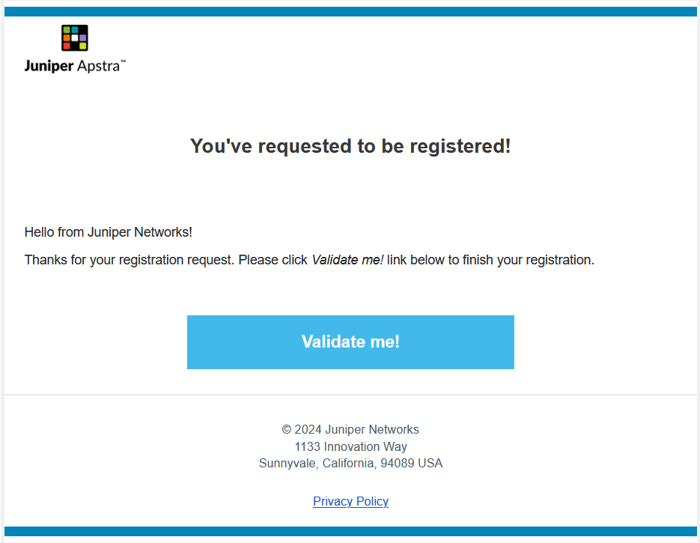
      Juniper Apstra Cloud Services (ACS) application sends a verification e-mail to activate your account.
    5. Click Validate me! in the e-mail body.
      The New Account page appears.
    6. (Optional) Click View Account to check your name and e-mail address. Click Back to return to the Select an Organization page.
    7. Click Create Organization.
    8. Type a unique name for your organization and click Create.
      The New Account page appears.
    9. Click the organization on the New Account page.
  2. To log in as a new user with an invite:
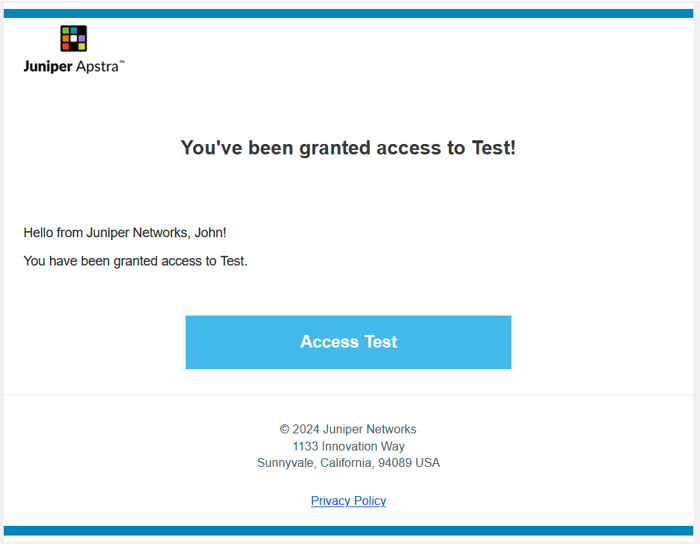
    You receive an invite from an administrator to join an existing organization.
    1. Click Access organization-name in the e-mail body.
      The Invite to Organization page opens in your default browser.
    2. Click Register to Accept.
      The My Account page appears.
    3. Enter your first name, last name, e-mail address, and configure a password.
      The password can contain up to 32 characters, including special characters, based on the password policy of the organization.
    4. Click Create Account.
      Juniper Apstra Cloud Services application sends a verification e-mail to activate your account.
    5. In your confirmation e-mail, click Validate Me.
      The New Account page opens in your default browser.
    6. Click the organization for which you received the invite.
      You are logged in to the application and can access the selected organization's GUI. The tasks you can perform in this organization depends on your user role. See Predefined User Roles Overview for more information.
  3. To access an invite as an existing user:
    1. Click Access organization-name in the e-mail body.
      The Invite to Organization page opens in your default browser.
    2. Click Sign In to Accept.
      The Juniper Apstra Cloud Services page appears.
    3. Enter your username and click Next.
      The Juniper Apstra Cloud Services login page appears.
    4. Enter your password and click Log In.
      The Invite to Organization page appears.
    5. Click Continue.
      The Select an Organization page appears.
    6. (Optional) You can click View Account to verify your account details and click Back to return to the Select an Organization page.
    7. Click the organization for which you received the invite.
      You are logged in to the application and can access the selected organization's GUI. The tasks you can perform depends on your role. See Predefined User Roles Overview for more information.