ON THIS PAGE
Define Applications and Networks
Before you configure templates, hub profiles, or standalone devices, define your networks and applications.
Define Applications
You can think of applications in Juniper Mist as what destinations your network traffic goes to. Examples include network services, SaaS, private subnets, and cloud workloads.
Defining applications is a prerequisite for creating application policies.
You can define applications by entering your own customized settings, selecting brand-name applications, or assigning URL categories.
To configure applications:
Define Networks
Follow these steps to define the networks for your WAN Edge devices.
You can think of networks in Juniper Mist as segments of your user and device population. Networks are attached to interfaces and are used as sources in application policies. A network also is a gateway for traffic.
Creating networks is a prerequisite for other WAN configuration tasks, so you'll do these tasks early in the configuration workflow.
To configure networks:
-
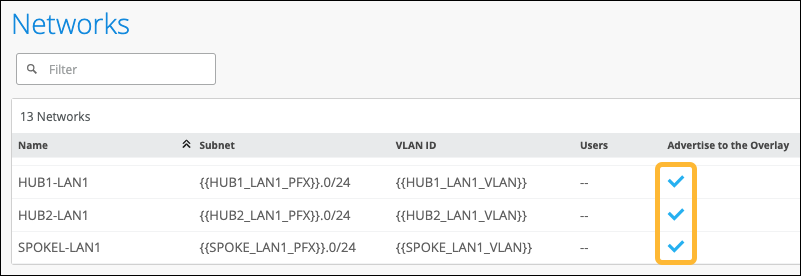
At the bottom of the side panel, click Add.
The screen displays the newly created networks.