Help us improve your experience.

Let us know what you think.

Do you have time for a two-minute survey?


Use an Identity Provider for Guest Access

SUMMARY If you want to give your guests Single Sign-On access, set up an integration with your Identity Provider.

To use an Identity Provider for guest access:

  1. In your IdP admin portal (such as Microsoft Entra ID or OneLogin), create a SAML 2.0 application, set the signature algorithm to SHA-256, add your roles and users, and then copy your new application's identifier and login URL.

    As you go through this procedure, you'll go back and forth between your IdP admin portal and the Juniper Mist portal to complete the necessary fields on both sides. For example:

    • From your IdP admin portal, you'll need your application's identifier (such as application ID or issuer URL) and your application's URL/endpoint to complete the guest portal configuration in the Juniper Mist portal.

    • From the Juniper Mist portal, you'll need your Portal SSO URL to complete the application configuration in your IdP admin portal.

  2. Navigate to the WLAN.
    Note:
    • If the WLAN is in a WLAN template, select Organization > Wireless | WLAN Templates, click the template, and then click the WLAN.

    • For a site-level WLAN, select Site > Wireless | WLANs, and then click the WLAN.

  3. In the Edit WLAN window, select Open Access as the security type.
  4. Under Guest Portal, click SSO with Identity Provider.
  5. Enter the first set of information that you need to provide for your SSO application, as shown below.
    • Issuer—Enter your application's identifier (such as application ID or issuer URL).

    • SSO URL—Enter your application's URL/endpoint.

    • Certificate—Enter some placeholder text, such as the word certificate. Later in this procedure, you'll enter your application's actual certificate.

  6. Click Save at the bottom of the Edit WLAN window.
    You need to save the configuration so that Juniper Mist can generate the Portal SSO URL for the next step.
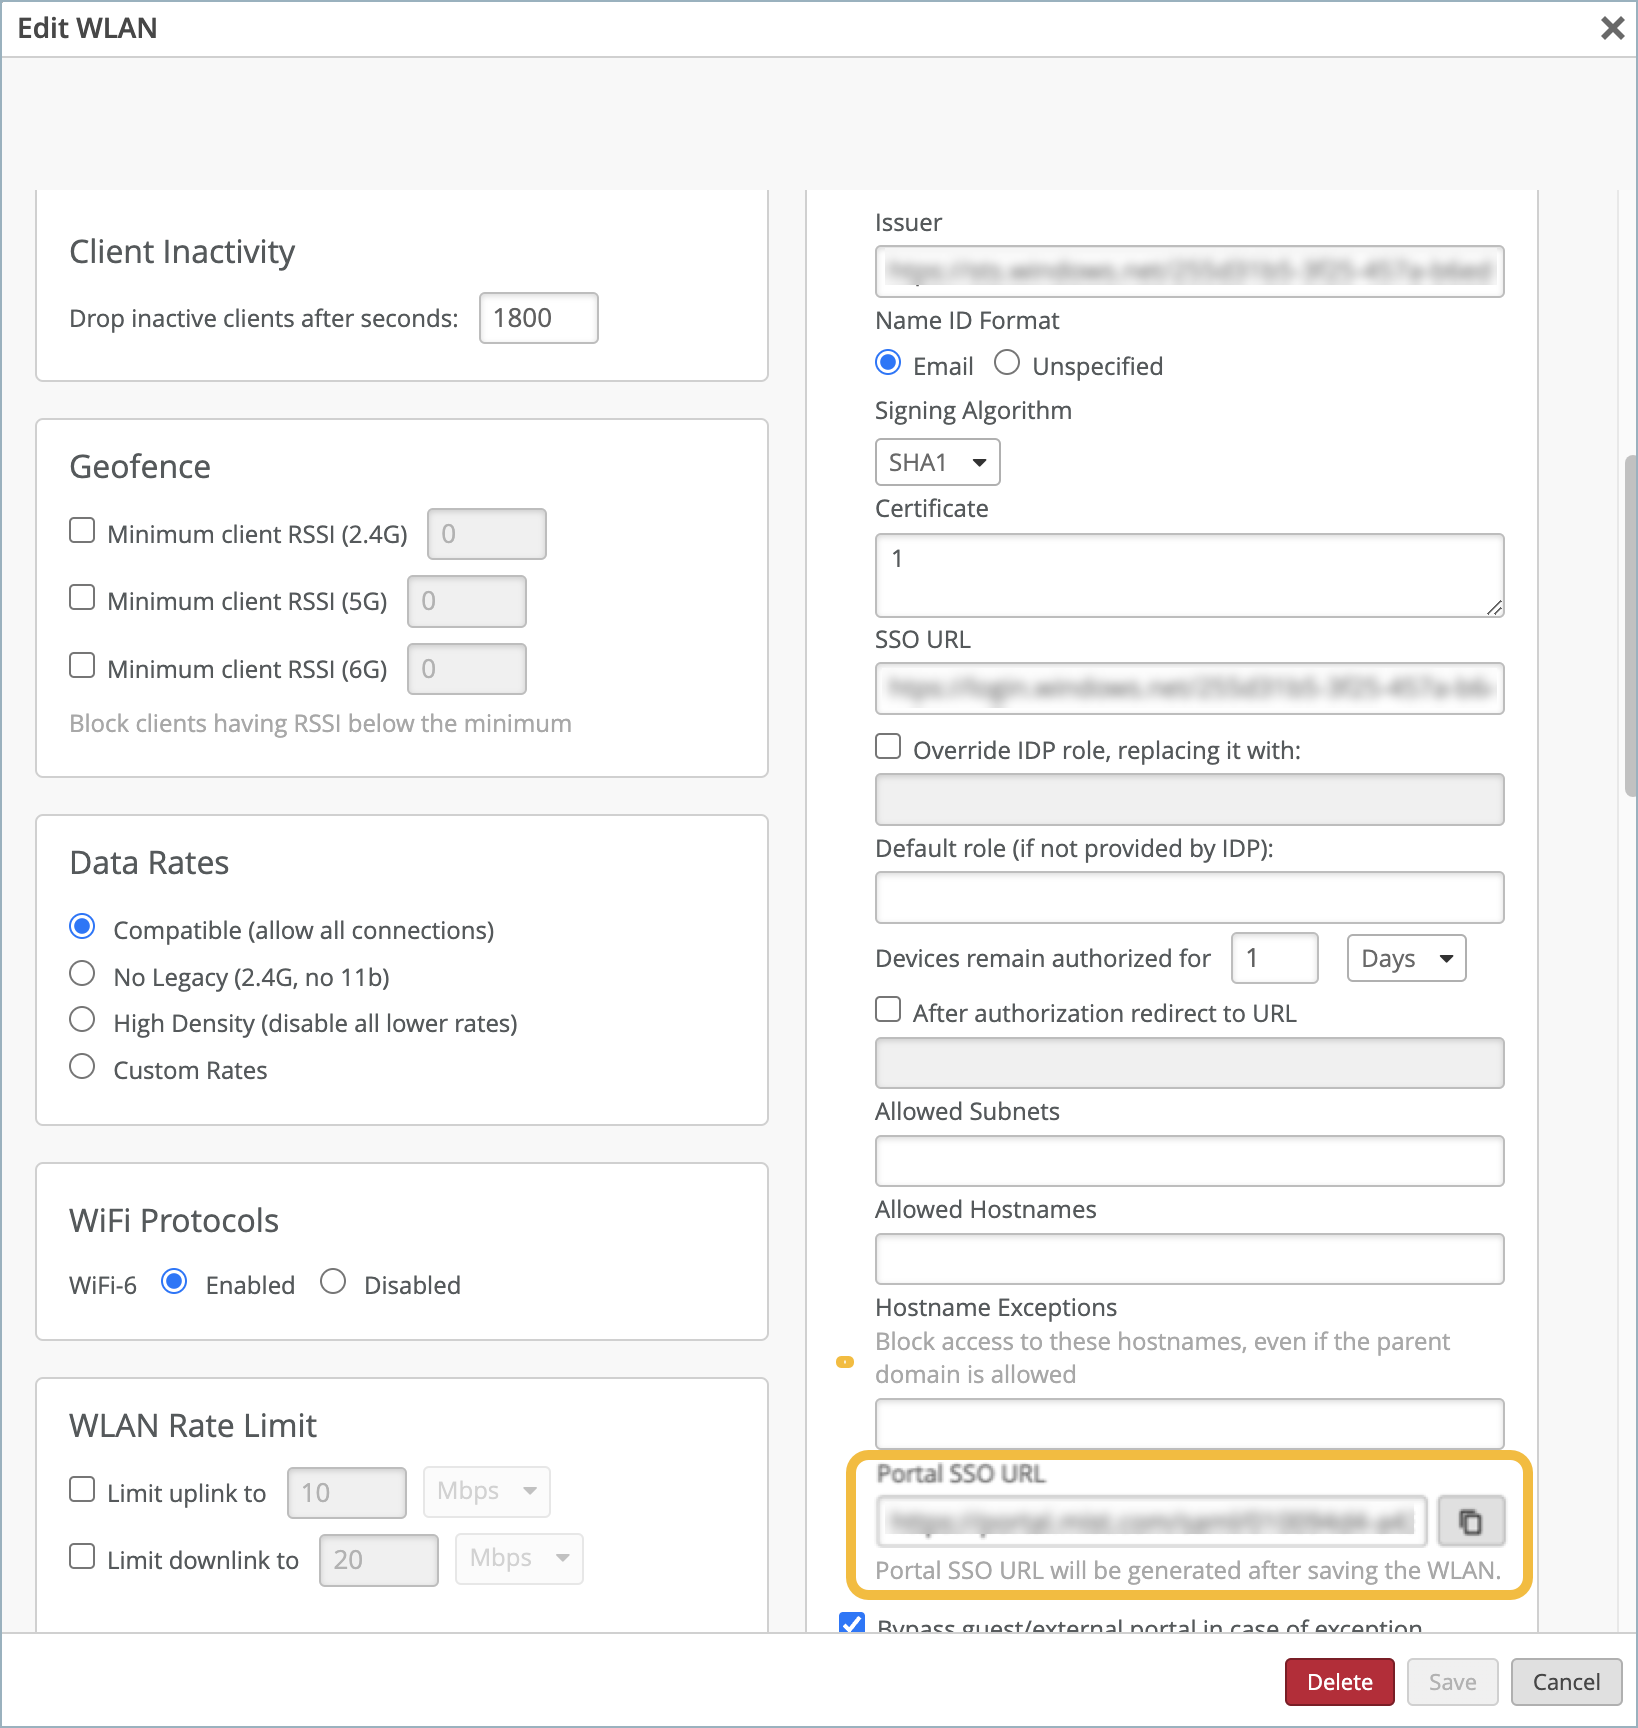
  7. Click the WLAN to reopen the Edit WLAN window, and then copy the Portal SSO URL.

    The Portal SSO URL and Copy button appear near the end of the SSO section.

    Portal SSO URL and Copy Button in the Edit WLAN Window
  8. Keep the Edit WLAN window open because you'll need to add the actual certificate later in this procedure.
  9. In your IdP admin portal, finish configuring your application by entering the Portal SSO URL and downloading your application's certificate.
    Refer to your IdP documentation for help configuring your application.
  10. Copy the contents of your application's certificate and paste it into the Certificate field in the Edit WLAN window.
  11. Enter other settings as needed.
    For example, you can enter authorized roles, subnets, and hostnames.
  12. Select or clear the Bypass guest/external portal in case of exception check box.

    When this feature is selected, each access point will try to reach the portal or IdP, but if it is not reachable then the AP will automatically authorize the guests to connect to the WLAN.

  13. Click Save at the bottom of the Edit WLAN window.

Test your configuration by connecting to the WLAN. You should be redirected to your IdP's sign-in form to get access.