Adding Primary Tunnels
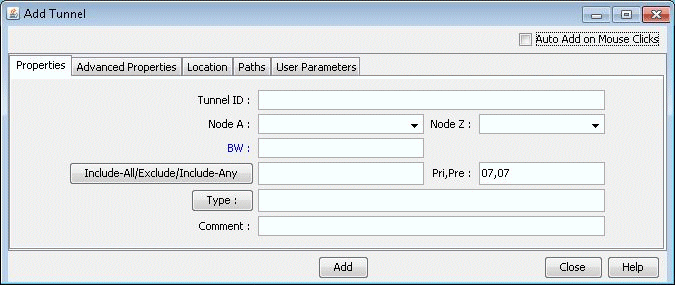
Select Modify > Elements > Tunnels from the Modify pull-down menu. In the Tunnels window, click Add and select One Tunnel. The Add Tunnel window is displayed as shown in Figure 1.

In the Properties tab, specify a TunnelID, the BW (bandwidth) for the tunnel, and the Pri,Pre (setup priority/holding priority) fields. Also select the source and destination nodes (Node A and Node Z).
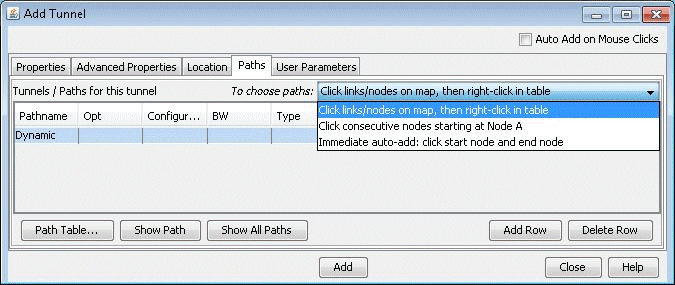
In the Paths tab, Note the different ways of configuring a path under the To choose paths field.

How to specify a configured and/or dynamic route is described later in this chapter.
After you have specified your route, click “Add” to add the tunnel. A yellow line between the source and destination will be drawn on the map to represent the logical tunnel. Note that the routing of the tunnel has not been performed yet.
