Adding Traffic Inputs
The user can input traffic information for different classes through the NorthStar Planner client. When creating or modifying a particular demand, the user may assign a particular CoS Class to that demand in the Demand Types window, as explained below. The policies for that class are then applied to the demand/traffic.
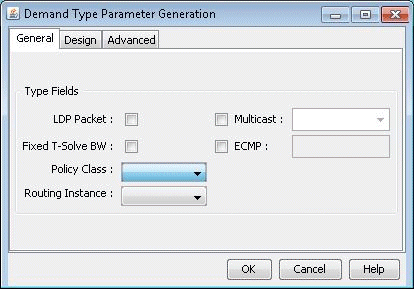
While adding or modifying a demand, click on the Type button in the Demand window. The Demand Type Parameter Generation window will appear. From this window, choose a class from the Policy Class drop down menu and then click the OK button.
Figure 1: Demand Type Parameter Generation Window

