L3 Hub-and-Spoke VPN
Merging Hub and Spokes
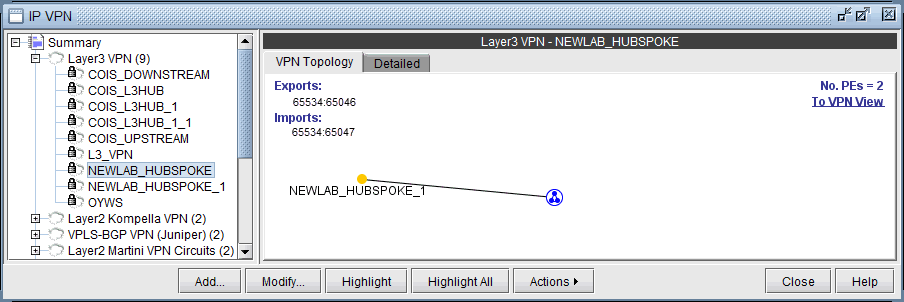
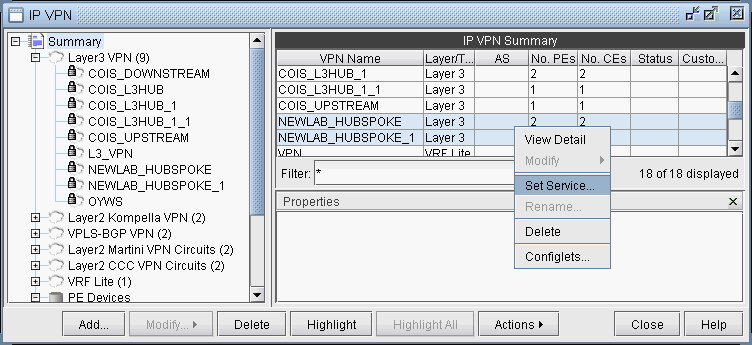
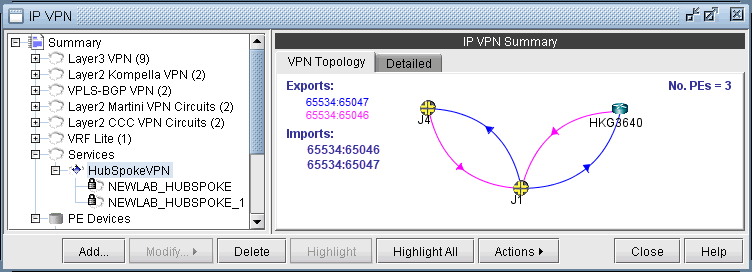
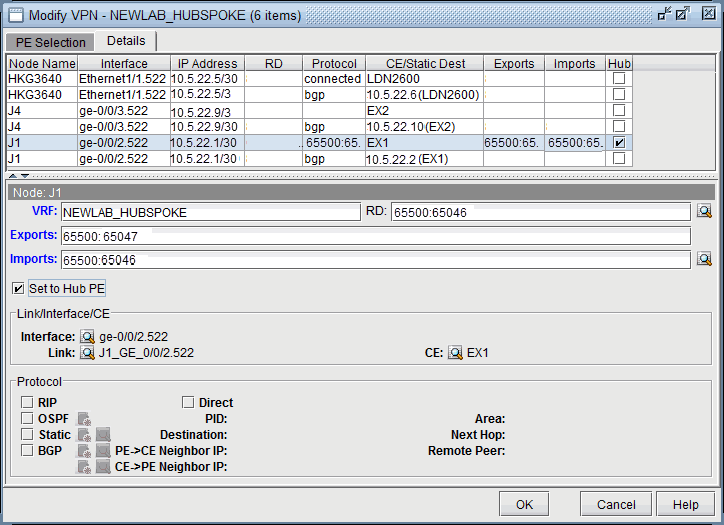
For the existing hub-and-spoke VPNs, NorthStar Planner does not automatically group together the vrf associated with the hub and the vrf associated with the spoke. This should not affect routing, but for readability purposes, users can manually group together the hub and spoke into one VPN using the following procedures.
Adding a New Layer 3 Hub-and-Spoke VPN
Configuring a L3 Hub-and-Spoke VPN is similar to configuring a regular L3 full-meshed VPN, except for the following additional steps.
First follow the steps outlined in previous section on L3 VPN configuration until you reach the Hub-and-Spoke configuration window. Click on the checkbox that says Configure Hub-and-Spoke MPLS VPN, and then move each PE to the appropriate list (Spoke Site Device(s) list or Hub Site Device(s) list) by using the Hub-> and <-Spoke buttons. The VPN Wizard automatically suggests RT exports and imports for both the hub sites and the spoke sites in order to establish a hub-and-spoke relationship. As before, you have the option to change the RT list by editing the suggested export or import values or by using RTs from the Route Targets table (by clicking on the magnifying glass icon).
Figure 6: Hub-and-spoke VPN configuration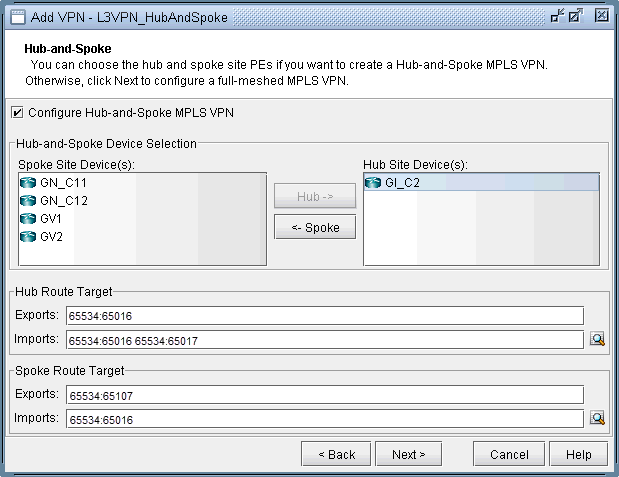
Click on Next to get to the window where you would configure PE facing CE interfaces as described in the previous section on L3 VPN configuration. The following figure shows what the configuration looks like after the interfaces have been assigned. Notice that GI_C2 is configured as the hub site.
Figure 7: Assigning PE facing CE interfaces in the Hub-and-Spoke VPN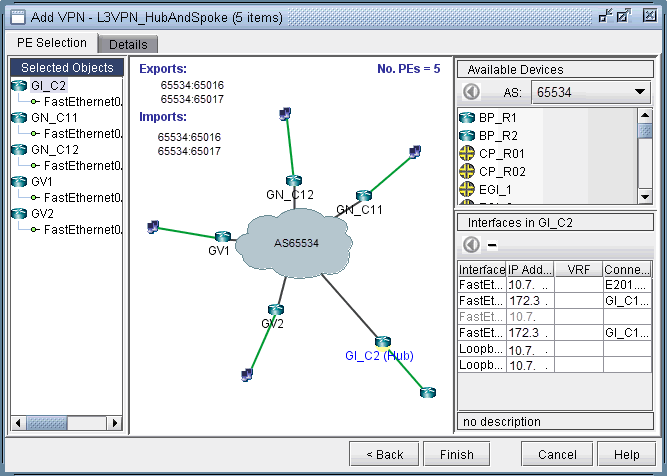
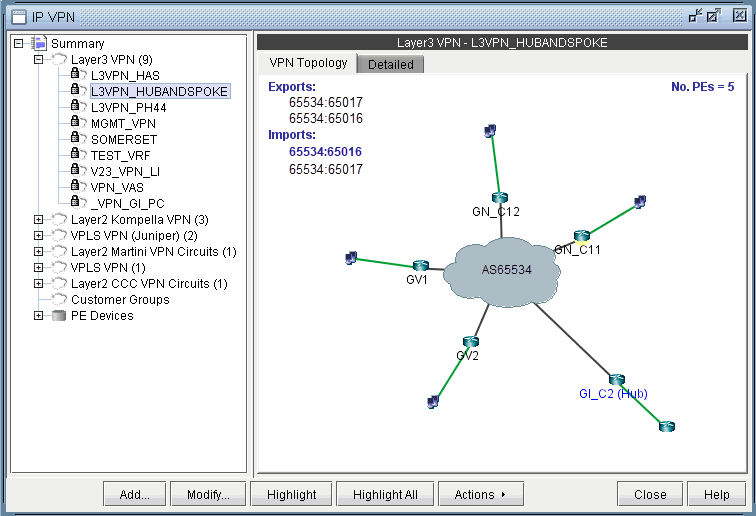
After configuring the PE-CE protocol details under the Details tab (as described in the previous section on L3 VPN configuration), the resultant L3 hub-and-spoke VPN is shown in the following figure. Notice that Import RT 17301:65016 is highlighted to indicate that it is only an import RT for the HuB site(s).
Figure 8: Newly created Hub and Spoke VPN