NorthStar Application UI Overview
NorthStar has two user interfaces (UIs):
-
NorthStar Controller—Web UI for working with a live network.
-
NorthStar Planner—Simulates the effect of various scenarios on the network, without affecting the live network.
Comparison Between NorthStar Controller and NorthStar Planner
Table 1 summarizes the major use cases for the NorthStar Controller and NorthStar Planner.
All user administration (adding, modifying, and deleting users) must be done from the NorthStar Controller web UI.
|
NorthStar Controller (web client) |
NorthStar Planner (Java client) |
|---|---|
|
Manage, monitor, and provision a live network in real-time. |
Design, simulate, and analyze a network offline. |
|
Live network topology map shows node status, link utilization, and LSP paths. |
Network topology map shows simulated or imported data for nodes, links, and LSP paths. |
|
Network information table shows live status of nodes, links, and LSPs. |
Network information table shows simulated or imported data for nodes, links, and LSPs. |
|
Discover nodes, links, and LSPs from the live network using PCEP or NETCONF. |
Import or add nodes, links, and LSPs for network modeling. |
|
Provision LSPs directly to the network. |
Add and stage LSPs for provisioning to the network. |
|
Create or schedule maintenance events to re-route LSPs around the impacted nodes and links. |
Create or schedule simulation events to analyze the network model from failure scenarios. |
|
Dashboard reports shows current status and KPIs of the live network. |
Report manager provides extensive reports for simulation and planning. |
|
Analytics collects real-time interface traffic or delay statistics and stores the data for querying and chart displays. |
Import interface data or aggregate archived data to generate historical statistics for querying and chart displays. |
Browser Compatibility
For accessing the NorthStar Controller web UI, we recommend using Google Chrome and Mozilla Firefox browsers for Windows and Mac OS. We also recommend that you keep your browser updated to a recent version.
Logging in to NorthStar
Use this procedure to log in to the NorthStar controller. You can launch the NorthStar Planner desktop application from within the NorthStar Controller.
-
Enter your external IP address and port number that was provided to you when you installed NorthStar (for example,
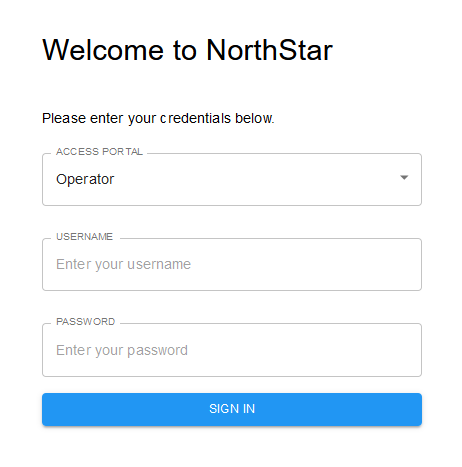
https://10.0.1.29:8443).The NorthStar login window is displayed, as shown in Figure 1.
Figure 1: NorthStar Login Window
-
Select Operator.
-
Enter your username and password, and click SIGN IN.
You have now logged in to the NorthStar Controller.
-
If you want to log in to the NorthStar Planner, click the four-square icon in the top right corner and select Planner Desktop for the desktop application. After you choose the desktop application, you will be prompted to download and run the desktop .jnlp executable.
If you attempt to reach the login window, but instead, are routed to a message window that says, “Please enter your confirmation code to complete setup,” you must go to your license file and obtain the confirmation code as directed. Enter the confirmation code along with your administrator password to be routed to the web UI login window. The requirement to enter the confirmation code only occurs if the installation process was not completed correctly and the NorthStar application needs to confirm that you have the authorization to continue.
To avoid a Browser Exploit Against SSL/TLS (BEAST) attack, whenever you log in to NorthStar through a browser tab or window, make sure that the tab or window was not previously used to surf a non-HTTPS website. A best practice is to close your browser and relaunch it before logging in to NorthStar.
User Inactivity Timer
(System Administrator only) You can configure an inactivity timer and apply it to any user who is idle (and has not performed any actions (keystrokes or mouse clicks), so they are automatically logged out of NorthStar after a specified number of minutes. By default, the timer is disabled. To set the timer, select System Settings from the Administration menu.
