Auto-Tunnel Creation
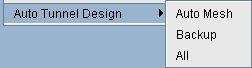
If you choose No when prompted with "Generate auto tunnels from atconfig file?" in the previous step, then the tool will not create any auto-tunnels. You may still generate the auto-tunnels at a later time by switching to Design mode and then choosing one of the three options under the Auto Tunnel Design menu (Design > TE Tunnels > Auto Tunnel Design) as shown in the following figure. Selecting Auto Mesh or Backup will cause the tool to generate mesh group auto-tunnels or backup auto-tunnels, respectively.
To generate both mesh group and backup auto-tunnels, choose the All option.
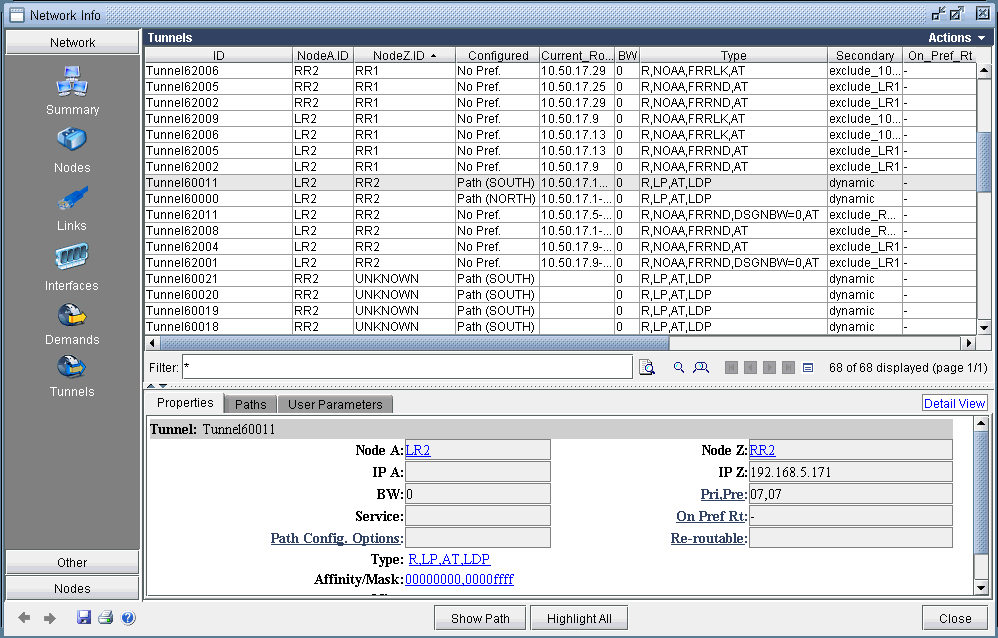
If you choose Yes when prompted with "Generate auto tunnels from atconfig file?" in the previous step and your network configuration files have auto-tunnels configured, then the tool proceeds to create auto-tunnels using the information stored in the atconfig file. If backup auto-tunnels are configured in the network, then FRR design is performed in the background to provide FRR node or FRR link protection for the primary tunnel. To view the auto-tunnels created by the tool, bring up the Tunnels window (Network > Elements >Tunnels) as shown in the following figure:
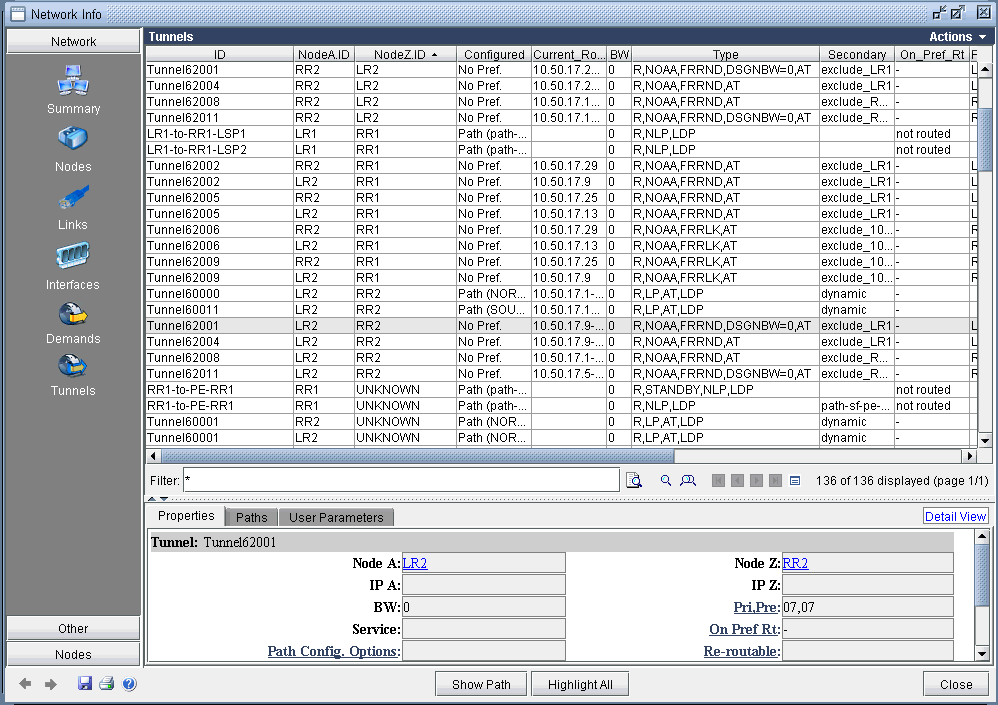
The figure has the Type column expanded to show that auto-tunnels have been tagged with an "AT" flag. In this example, routers LR2 & RR2 have mesh group & backup auto-tunnels configured, as indicated by the corresponding "AT" flag.
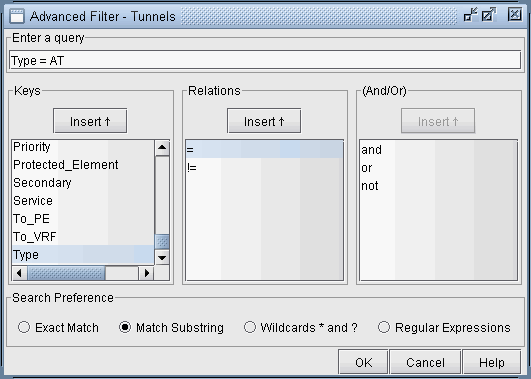
If you wish to filter for only auto-tunnels, you may use the advanced filter. Set "Type=AT" for the Enter query box and choose Match Substring as the Search Preference, as shown in the following figure.
The resulting filtered tunnels window is shown in the following figure:
If auto-tunnels have been generated by the tool, and you exit without first saving, then you will be prompted with the following popup message window.

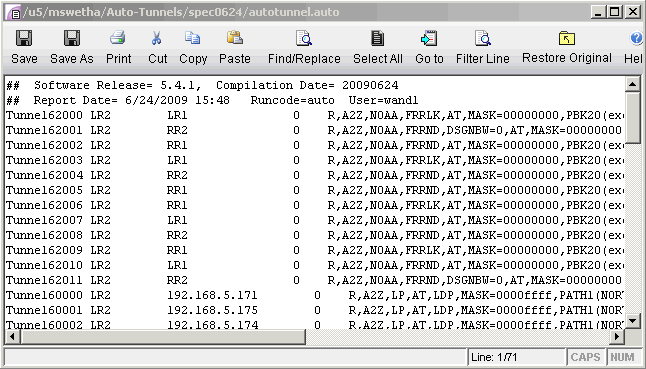
Clicking on Yes will cause the auto-tunnels to be saved and placed into an autotunnel.runcode file. An example is shown in the following figure