Onboarding ServiceNow applications
The following section provides instructions for onboarding ServiceNow applications.
Configuration steps
Before onboarding the ServiceNow application, create an OAuth application.
-
Log in to ServiceNow as an administrator.
-
To create an OAuth application, go to
System OAuth > Application Registry > New > Create an OAuth API endpoint for external clients.

-
Enter the following information:
-
Name – Enter a name for this OAuth app.
-
Redirect URL – Enter the appropriate URL.
-
Logo URL – Enter the appropriate URL for the logo.
-
PKCE Required -- Leave unchecked.
-
Click Submit.
-
Open the newly created app and note the Client ID and Client Secret values.
Onboarding steps
-
From the Management Console, go to Administration > App Management.
-
In the Managed Apps tab, click New.
-
Select ServiceNow and click Next.
-
Enter a Name (required) and a Description (optional). Then click Next.
-
Select one or more protection modes and click Next.
-
On the Configuration page, enter the information for the protection modes you selected in the previous step.
-
For API Access, enter:
-
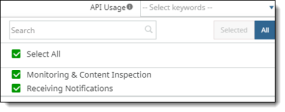
The API Usage type, which defines how this application will be used with API protection. Check Monitoring & Content Inspection, Receiving Notifications, or Select All.
If you select only Receiving Notifications, this cloud application is not protected; it is used only to receive notifications.

-
The OAuth App Client ID
-
The OAuth App Client Secret
-
The ServiceNow Instance ID
-
For Cloud Data Discovery, enter
-
The OAuth App Client ID
-
The OAuth App Client Secret
-
The ServiceNow Instance ID
-
Click Authorize.
-
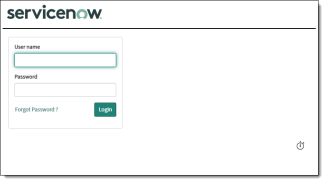
When prompted, log in to the ServiceNow application.

-
When prompted, click Allow.
If authorization is successful, you should see a Re-Authorize button when you return to the Management Console. Click Next and Save to complete onboarding.