Step 1: Begin
This guide walks you through the simple steps that network administrators should complete to set up the Juniper Routing Assurance application, onboard routers, and monitor their performance.
Create Juniper Routing Assurance Account
To access Juniper Routing Assurance, you must create an account in Juniper Routing Assurance and validate your account. You can create an account in Juniper Routing Assurance in one of the following ways:
-
Access the Juniper Routing Assurance portal at https://routing.ai.juniper.net, create an account, and create your organization.
-
Use the invite received from an administrator in Juniper Routing Assurance to join an organization.
To access Juniper Routing Assurance and create an account:
-
Access Juniper Routing Assurance at https://routing.ai.juniper.net from a web browser.
-
Click Create Account.
-
On the My Account page, type your first name, last name, e-mail address, and password, and click Create Account.
The password can contain up to 32 characters, including special characters, based on the password policy of the organization.
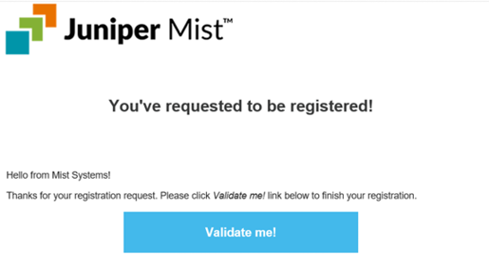
Juniper Routing Assurance sends you a confirmation e-mail to the email address you entered, to validate the account.

-
In the verification e-mail that you received in the email address you used for registering your account, click Validate Me.
The Juniper Routing Assurance page appears. As the next step, you can now create your organization.
Note:If you do not see the verification e-mail in your e-mail inbox, check that the Spam or Junk folders.
To access Juniper Routing Assurance using the invite from an administrator:
-
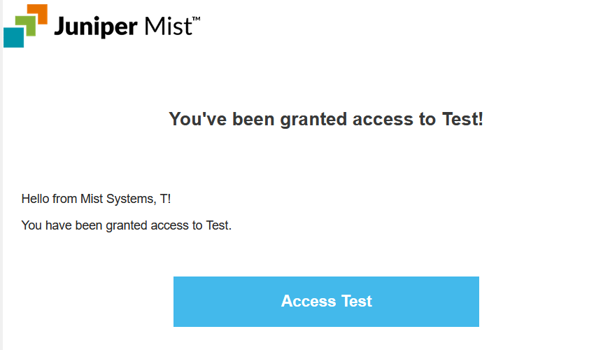
Click Access organization-name in the e-mail body of the invite that you received.

The Invite to Organization page appears.
-
Click Register to Accept.
The My Account page appears.
-
Enter your first name, last name, e-mail address, and the password that you'll use to access your account.
The password can contain up to 32 characters, including special characters, based on the password policy of the organization.
-
Click Create Account.
-
In the verification e-mail that you received, click Validate Me.
The Juniper Routing Assurance page appears. You can now access the organization to which you received the invite.
Note:If you do not see the verification e-mail in your e-mail inbox, check that the Spam or Junk folders.
-
Select the organization for which you received the invite.
You can access the organization in Juniper Routing Assurance. The tasks you can perform in this organization depend on the role assigned to you.
By default, the first user who creates an account and the organization has the superuser privileges in that organization. The Super User can perform functions such as create organization, add sites, add users to various roles, and so on. For more information about roles, see Predefined User Roles Overview.
Create Organization and Configure Settings
A super user in Juniper Routing Assurance can create an organization and configure organization settings.
To create an organization:
-
Log into Juniper Routing Assurance.
-
Click Create Organization.
The Create organization page appears.
-
Enter a unique name for your organization and click Save.
You have successfully logged in to your organization in Juniper Routing Assurance. You can now proceed with configuring the organization settings, adding additional users, creating sites, and so on.
For detailed information and the steps to configure organization settings, see Manage Organization Settings.
Add Users to Administrator Roles
To add users to an organization, you must be a user with the Super User privileges. You add a user by sending them an invite from Juniper Routing Assurance. When you send an invite, you can assign a role to the user depending on the function they need to perform in the organization.
To add user to the organization:
