Help us improve your experience.

Let us know what you think.

Do you have time for a two-minute survey?


Configure Your Network and Flow Collector

Note:

Before you begin the configuration, make sure that you download the image file for your virtualization platform. See your platform documentation for details.

Note:

You can install KVM with Virtual Machine Manager or with the CLI.

Let's get started!

Configure Your Network

Note:

If you have a DHCP server, by default, the Apstra Flow VM automatically obtains an IP address. To assign a static IP address instead, SSH to the VM and skip to Step 2 in this procedure. Otherwise, start at Step 1.

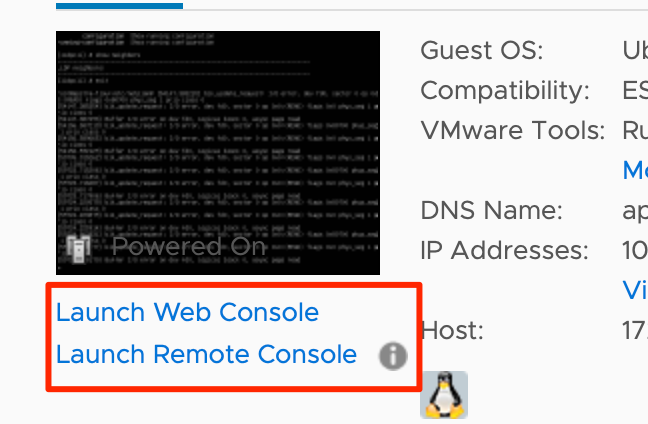
  1. If the console is already started, click the play button at the top of the VM summary.
  2. Login to the CLI. The default credentials for the Apstra Flow console are: user=apstra and password=apstra. You'll want to change this password after the VM is deployed.
  3. Change the directory to /etc/netplan.
  4. Add an IP address to your network interface. Edit the 01-netcfg.yaml file as follows:
  5. Enter sudo netplan apply to power up your network.
    You can now SSH to the VM with your configured IP address and Apstra credentials, as shown in the following example:
    Note:

    Optionally, you can create a VM with a multinode cluster for scaling and high availablity. See Create an OpenSearch Multinode Cluster (Optional) for more information.

Configure the Flow Collector

You can configure the collector to specify a hostname or IP address, the port the collector is listening on, and username and password for the Apstra controller.

To configure the flow collector:

  1. SSH to the Flow VM with the default VM username and password (apstra/apstra).
  2. Modify the /etc/juniper/flowcoll.yml file as follows:
    • Set EF_JUNIPER_APSTRA_API_TLS_ENABLE: "true"

    • Set EF_JUNIPER_APSTRA_API_ADDRESS (for example: 10.101.3.132)

    • Set EF_JUNIPER_APSTRA_PORT: 443 (default port)

    • Set EF_JUNIPER_APSTRA_API_USERNAME to the Apstra controller username (for example: admin)

    • Set EF_JUNIPER_APSTRA_API_PASSWORD to the Apstra controller password (for example: admin)

    Note:

    By default, Apstra Flow reports the interface index values, like index:14. To enrich the reporting with actual interface names, like xe-0/0/1, configure Apstra Flow to query devices through SNMP using the following settings:

    • EF_PROCESSOR_ENRICH_NETIF_SNMP_COMMUNITIES: public

    • EF_PROCESSOR_ENRICH_NETIF_SNMP_ENABLE: “true”

You completed configuring your network and flow collector. If you have an extra-large or custom deployment, continue to Create an OpenSearch Multinode Cluster (Optional). Otherwise, continue to Apply Your License.