Help Menu
Juniper Secure Connect Help menu provides you the log related options and configuration tips to use the Juniper Secure Connect effectively.
What's Next
For more information on Juniper Secure Connect GUI elements, see Juniper Secure Connect GUI Elements.
For more information on Juniper Secure Connect features and how to configure the options, see Connection Menu and View Menu.
Help Menu Option
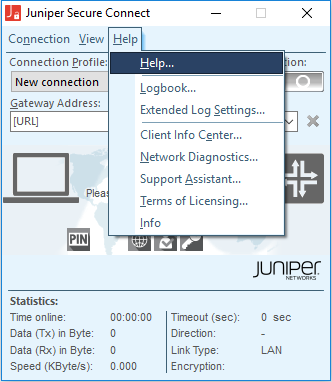
The Help menu displays all available information on the Juniper Secure Connect, regarding the help file, including the product description. See Figure 1.
Logbook Menu Option
The log is continuously active in the background, even if the log window is not open. All the relevant Juniper Secure Connect communication events are displayed and saved for one week per operation day, in a log file. The files older than seven online days are automatically deleted. The log file is generated automatically in the installation directory under log folder when the communication process is completed. The log file is named in ncpyymmdd.log format, where yy=year, mm=month, dd=date. You can change the storage time for log files in Extended Log Settings option. You can open and analyze the log files using a text editor.
Open the Log windows to view and follow the current log messages. In the log window, you can manually save or search for specific events.
Figure 2 shows the Help menu options with Logbook option selected.
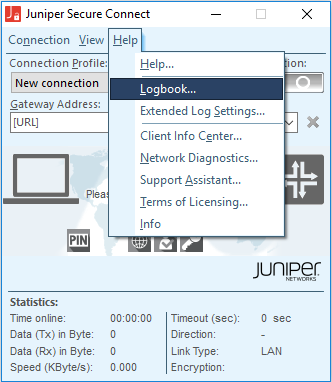
Figure 3 shows an example of log messages for a VPN connection when Logbook option is selected from the Help menu.
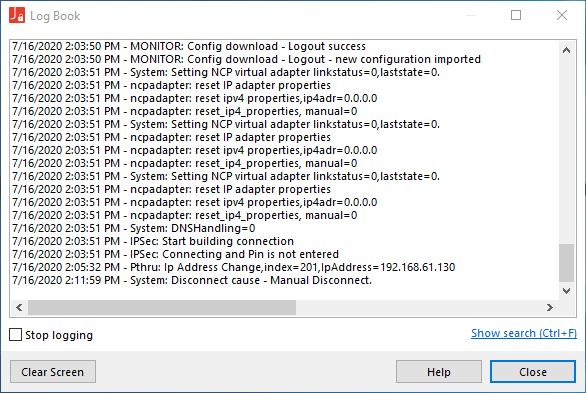
Table 1 lists options in the Logbook window.
LogBook Option |
Action |
|---|---|
Close |
Closes the Logbook window and saves the log entries in to a file. When you close the Logbook window, the log information is captured continuously and you can view the latest logs when you open the log file from the Log folder. |
Clear Screen |
Clears the log entries in the log window. |
Show Search |
Searches for strings and expressions in the log text. |
Extended Log Settings Menu Option
In the Extended Log Settings window, you can enable the additional log settings. See Figure 4.
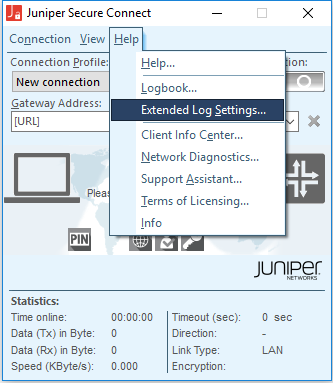
Figure 5 shows an example of the Extended Log Settings window.
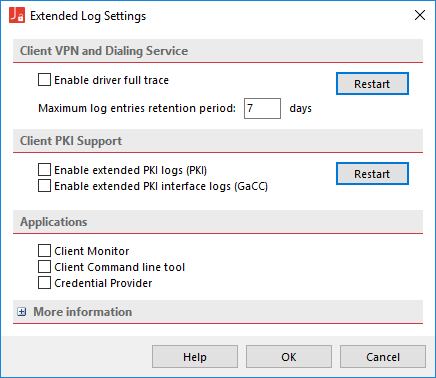
You can collect additional log details for the following client PKI support functions:
PKI logs (PKI)
PKI interface logs (GaCC)
You can view the log information for PKI modules (or application) only if they are enabled at:
Client Monitor
Client Command line tool
Credential Provider
You can enable also log settings for the modulated applications, such as client monitor, RWSCMD, and credential providers. If you enable the Extended Log Settings options, a flashing message appears in the Juniper Secure Connect window. Double-click on the flashing text to open the Extended Log Settings screen.
When you activate or deactivate log for a service, you must click corresponding Restart button to restart that particular service. Only that service restarts and not the system.
To restart a particular service, you do not need administrator rights.
Client Info Center Menu Option
Figure 6 shows the Client Info Center in the Help menu options.
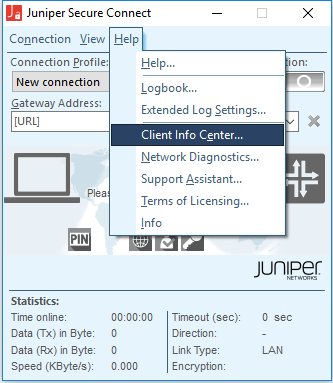
The Client Info Center optimizes your support at user helpdesk. The overview provides the following general information:
Client Version (including Build Number)
Current Connection Status (connected, disconnected, and interrupted due to error)
Client Service Status
Current Certification Configuration (including Lifespan)
VPN User ID
Following additional informations are also displayed:
Connections
Services
Certificate Configuration
Network Adapters
Figure 7 shows an example of the Client Info Center window.
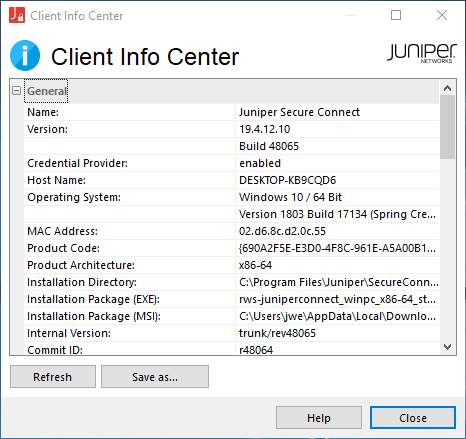
You can click the Save to file button at the bottom of Client Info Center screen to export the data to a text file. Irrespective of Juniper Secure Connect’s operational state, you can also run the can following RWSCMD command to export the information:
rwscmd /writeClientInfoCenterData [OutFileName].
Network Diagnostics Menu Option
Navigate to Help > Network Diagnostics as shown in Figure 8 to conduct network tests or test internet availability. Juniper Secure Connect supports both PING to an IP address in the Internet as well as resolution of an Internet Domain Name to an IP address. Enter the domain name in name.com format.
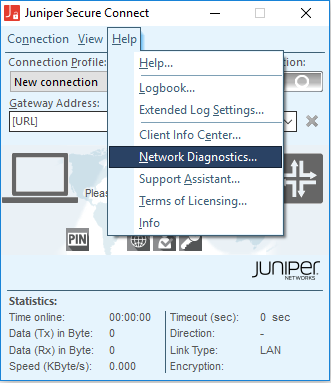
Figure 9 shows an example how to test the availability of a host in a network.
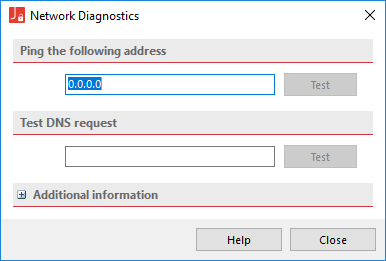
To conduct network test:
- Enter the address and click the Test button.
- If the test is successful, the Network Diagnostics window displays a green tick symbol and if the test fails, the Network Diagnostics window displays a red cross symbol. Additional details are displayed in a clear text log. This test is particularly useful for testing firewall rules for DNS requests and outgoing connections to the internet.
Support Assistant Menu Option
Terms of Licensing Menu Option
Info Menu Option
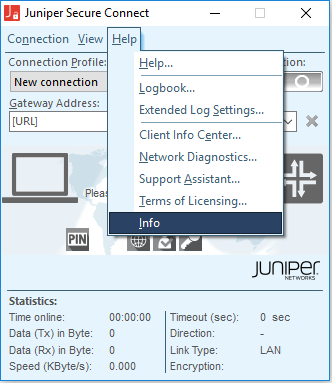
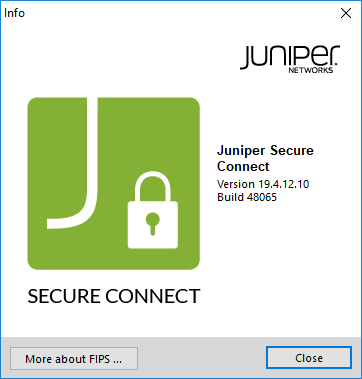
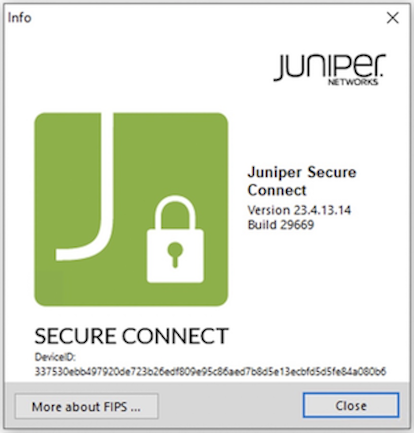
The Info window displays Juniper Secure Connect product label and version number (as show in Figure 15) you’ve currently installed. See Figure 14. See Figure 16 for Device ID details. Device ID is available for Juniper Secure Connect application released on or after March 2023.
