RMA WAN Assurance Workflow for Juniper Hardware
Return Merchandise Authorizations (RMAs) are a necessary component in the lifecycle of networking equipment, ensuring operational continuity, customer satisfaction, and the efficient resolution of hardware issues.
RMAs streamline the process of returning defective hardware and obtaining a replacement, minimizing downtime for businesses and ensuring network functionality is restored promptly.
The following workflow walks through the procedure of replacing a defective WAN Edge node of an HA router. This procedure is the same for a standalone router. This document presumes you have already contacted Juniper support, identified that a replacement unit is necessary, and received your replacement unit.
This guide is intended to be used for Juniper-branded hardware in WAN Assurance deployments only.
RMA Process
If you are replacing a Juniper-branded hardware platform, the device already has SSR software installed on it. The version of software installed on the replacement unit may not be the same version as the node being replaced. The device must be upgraded upon completion of the RMA procedure.
Configuration Example
Do NOT unassign any nodes from the cluster until you complete the reassignment process.
The following example shows the process of replacing node0 of an HA pair. The SSR software used in this example is SSR-6.1.6. The MAC addresses are provided here for reference.
-
MACs for the original cluster:
Node0 =
90:ec:77:38:e6:73Node1 =
90:ec:77:39:1a:76 -
MAC of the new node:
Node0 =
90:ec:77:39:1e:f6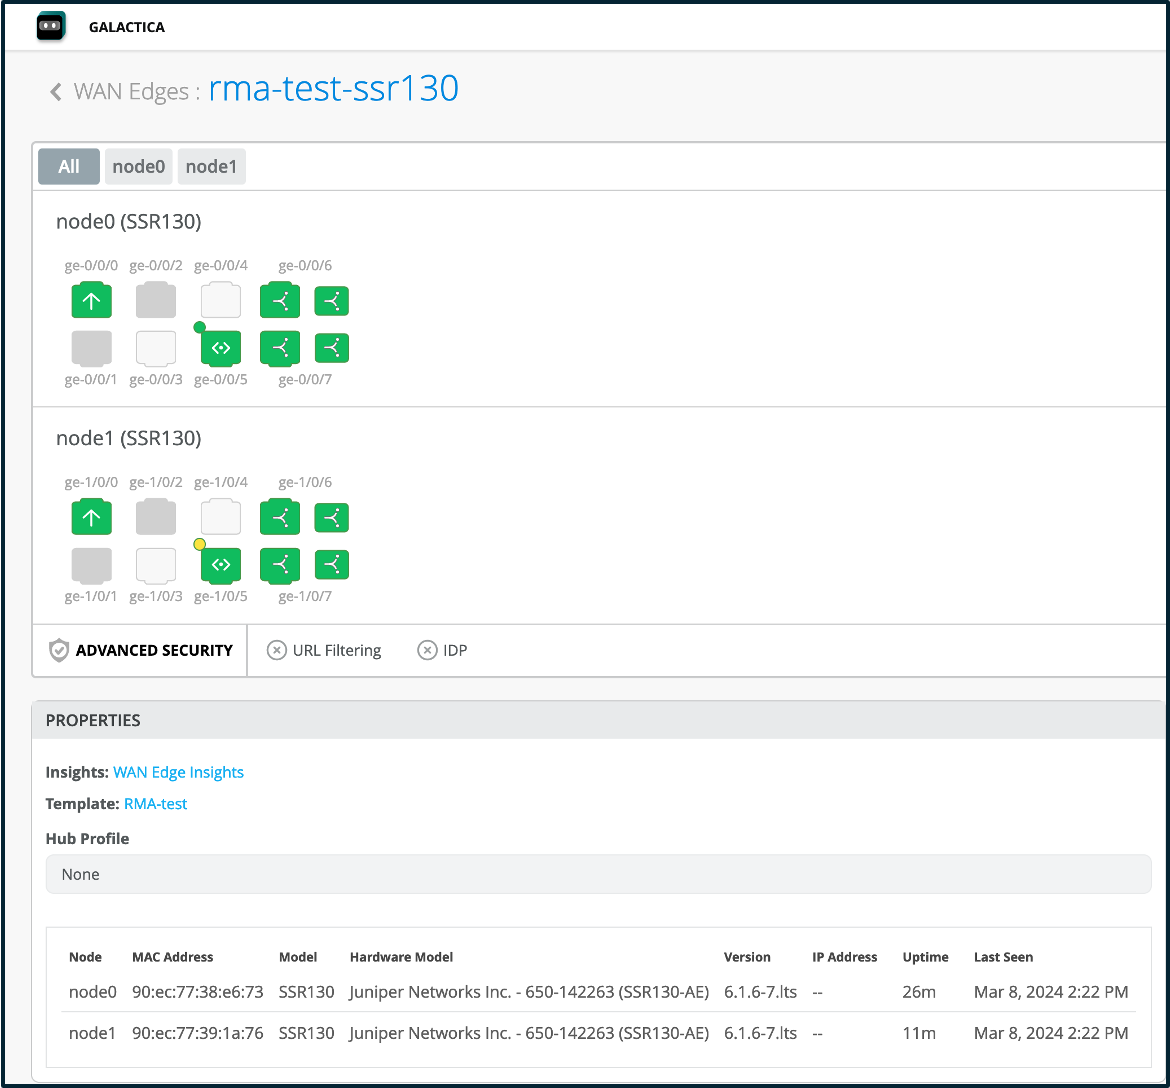
1. Replace the bad SSR node (node0) with the new SSR node
- Power down the node to be replaced.
- Take note of the location of each of the connections.
- Swap the old device for the new one, replacing each of the connections in the exact location. Do not power on the new unit at this time.
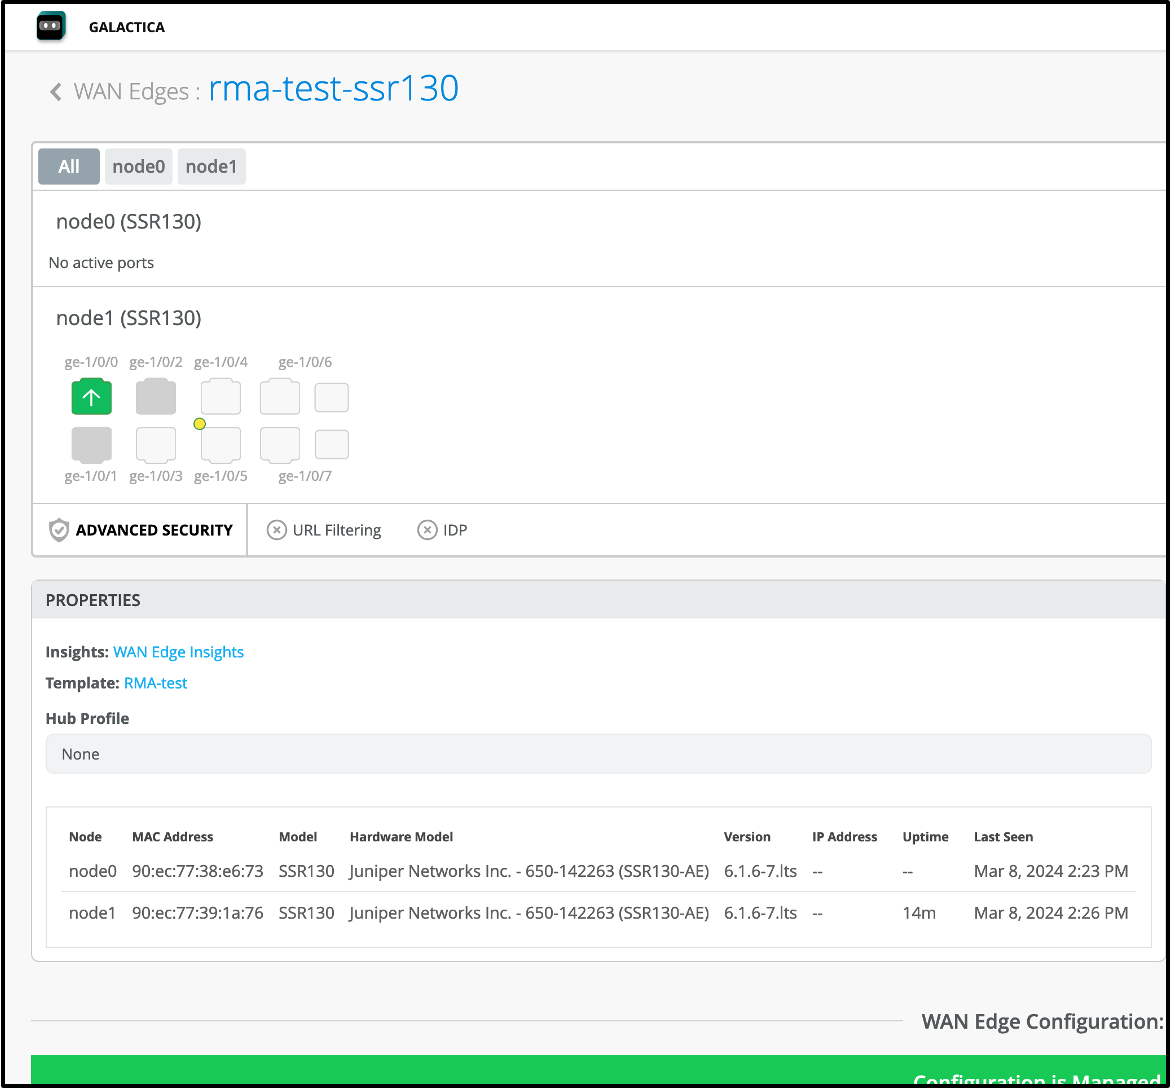
2. Verify that the bad node - node0 - is offline
Verify that node0 is not connected to Mist and that node1 is still connected to Mist.
3. Claim the new node in Mist
You must also verify the node is in the Mist inventory and Unassigned.
Do NOT assign the new node to a site at this time.
- Select WAN Edges.
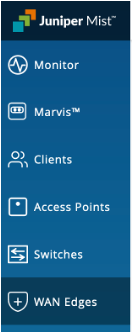
- Select Inventory.
- Select Claim WAN Edges in the upper right of the Inventory view.
-
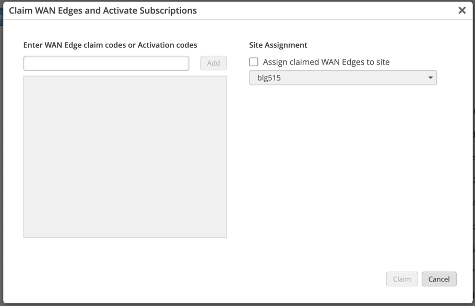
In the Claim WAN Edges and Activate Subcriptions dialog, add the device claim code to the list of devices to claim and select Add.
-
Un-check the Assign claimed WAN edges to site box. This will place the device into inventory, to be assigned to a site later.
-
Click the Claim button to claim the device into your inventory.
- Verify that the new node shows in the WAN Edge Inventory.

-
Connect power to the new node.
-
Verify the Model is the same between the new node and the cluster.
4. Replace the bad node in Mist
- Select the device to be replaced in the Inventory window.
- In the WAN Edges window, click on the Utilities dropdown and select Replace WAN Edge.

- When the Replace WAN Edge dialog appears, use the radio buttons to select the node to be replaced.
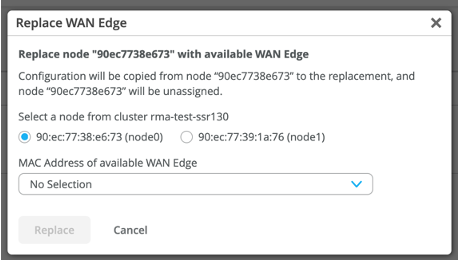
- Enter or select the MAC Address of the replacement node.
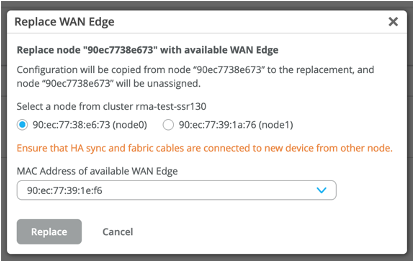
- Click Replace.
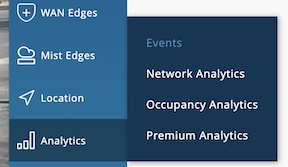
- From the Analytics menu, select Events to verify the WAN Edge Replacement is in progress.
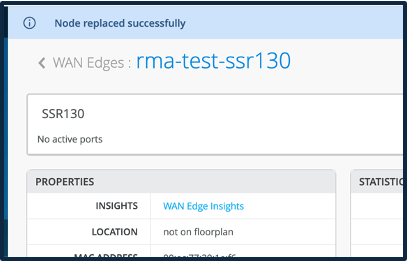
When the replacement is complete the following message is displayed.
Verify Replacement and Return the Old Device
Verify new node is online and running in the WAN Edges view for All Nodes.
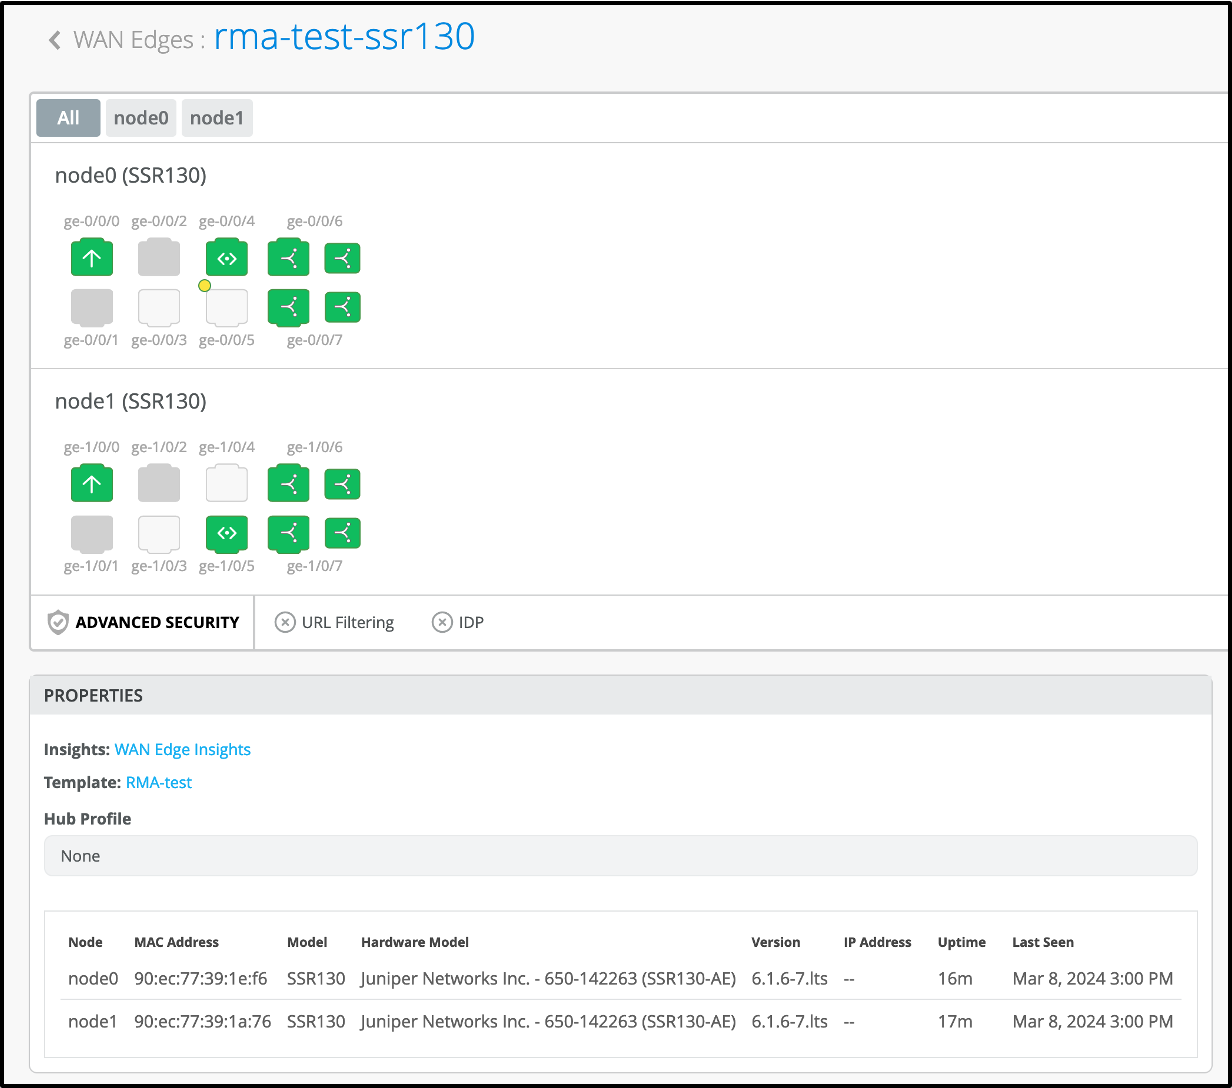
If the new device is not the same version as the existing one, upgrade the device at this time
Once you have verified the state of the device, and upgraded the firmware as necessary, place the replaced unit in the box and return to Juniper.