MPLS Tunnel Extraction
MPLS Tunnel Extraction retrieves the actual placement of the tunnel and the status (up or down) of the LSP paths by parsing the output of the tunnel_path command:
Juniper:
show mpls lsp statistics extensive
Cisco:
show mpls traffic-eng tunnels
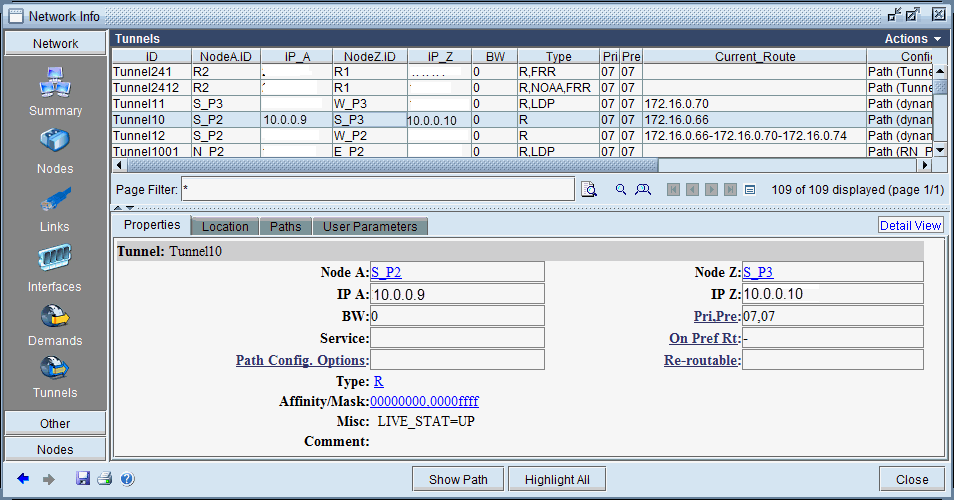
This feature shows the exact network view of tunnel paths. This is useful if the LSPs can be dynamic (as opposed to explicit). NorthStar Planner will display the current status and routing of the LSP tunnels within the defined network.
Command Line Tunnel Path: rdjpath
The program /u/wandl/bin/rdjpath can be used to automate the tunnel info extraction. The command line options are as follows: /u/wandl/bin/rdjpath -r runcode tunnel_path_dir
Substitute the runcode with the same file extension used by your network project and tunnel_path_dir with the directory containing the tunnel path files collected from the router.
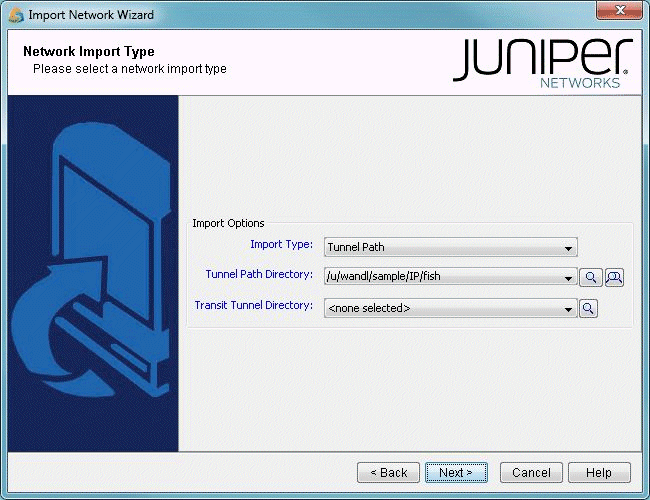
The resulting file, tunnelpath.runcode can be imported into the network via /u/wandl/bin/bbdsgn, option M. MPLSView, 3. Read MPLS Tunnel Path. This can also be automated via input trace file.
The tunnel path file must be in UNIX format.
Command Line Tunnel Traffic (Juniper only): convjtraf
The program /u/wandl/bin/convjtraf can be used to extract the tunnel traffic data from Juniper routers. The command line options are as follows:
/u/wandl/bin/convjtraf
Usage: /u/wandl/bin/convjtraf {[-start hh:mm] [-pct [avg|max|99|95|90|80]]}
runcode tunnelfile duration traf1 traf2 ...
Example1: /u/wandl/bin/convjtraf runcode tunnel.x 60 traf1
 groups traffic in traf1 into 60-min periods
Example2: /u/wandl/bin/convjtraf runcode tunnel.x 5 traf1
 groups traffic in traf1 into 5-min periods
 If data spans more than 24 periods, the traffic
 of last two hours are displayed
The resulting file can be imported into the network via File > Load Network Files > Tunnel Traffic > t_trafficload.


