SSR Installation
Before installing the SSR software on a whitebox or re-imaging an SSR device with the 6.3.0 software, ensure that you have an appropriate rollover cable available to connect to your computer. The SSR has a console port (CONSOLE) with an RJ-45 connector. Use the console port to connect the SSR to a management console or to a console server. The baud rate of the console port is 115200 bps.
For users with SSR devices shipped with 6.3.0 installed, simply power up your device, point your web browser at the device IP address, and begin with Initialize Your Device - Web Workflow!
- Connect an RJ45 rollover cable to the console port on the SSR device.
- Connect the other end of the cable to your computer.
- Insert your bootable USB with the new ISO image into the USB port of the SSR device.
- Connect the power input to the SSR device.
- Power on the SSR.
- At the instruction in the terminal window:
Press ESC for boot menu, do so. - From the boot menu, enter the boot device number corresponding to your USB, and press Enter.
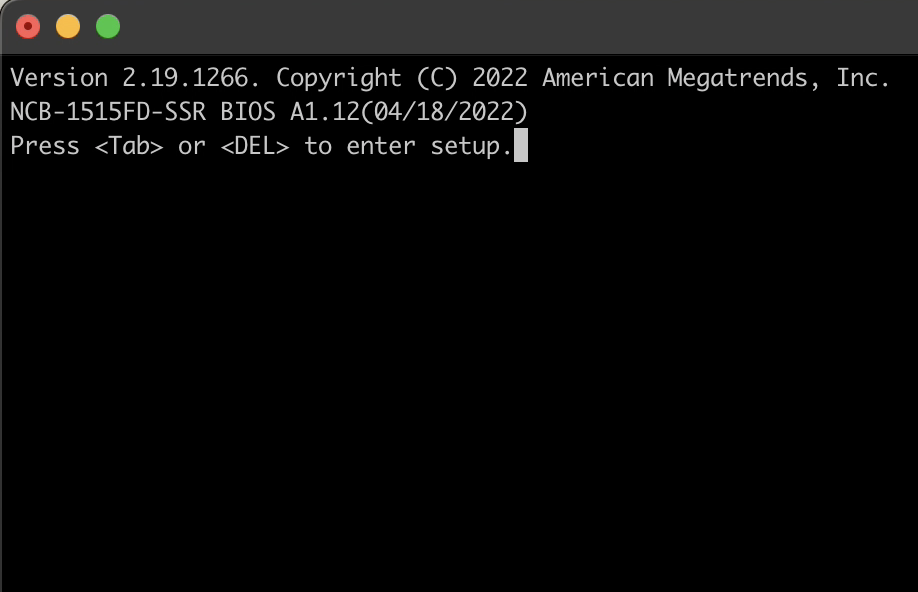
- From the boot menu select TAB or DEL to enter Setup.
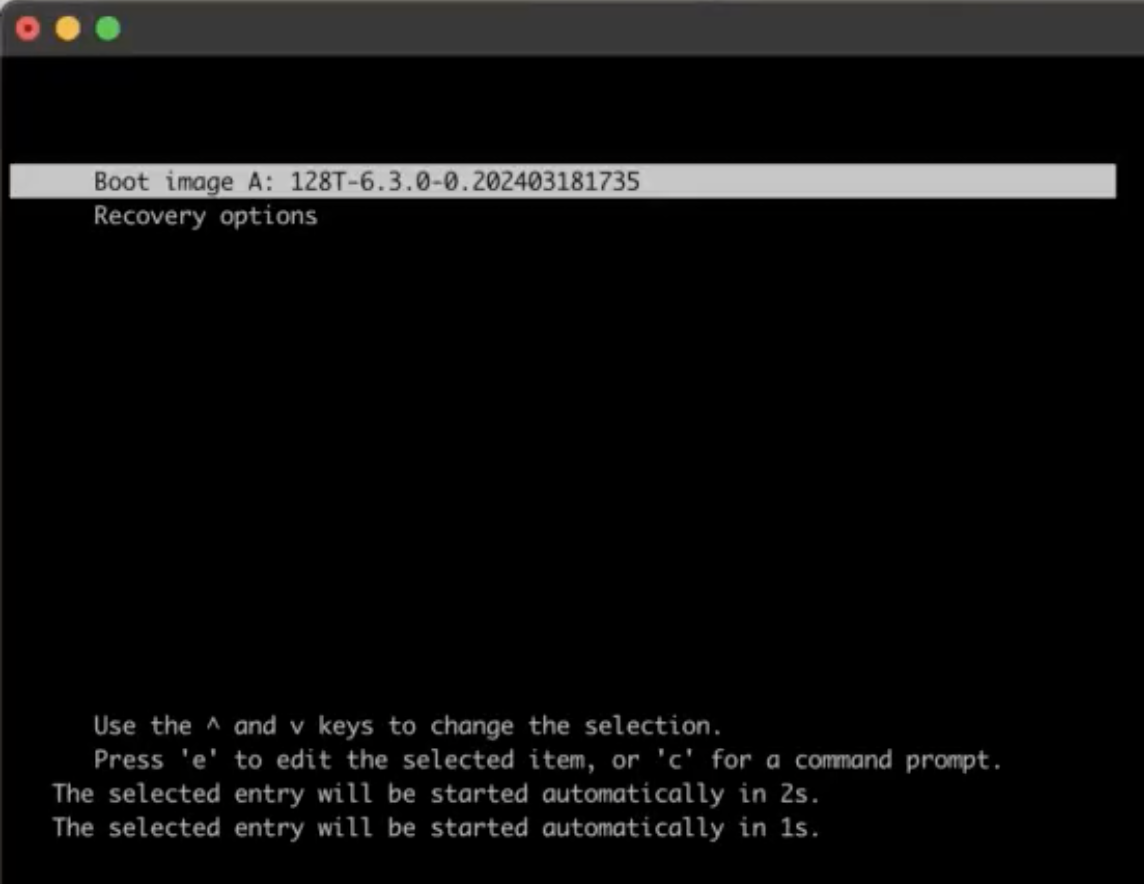
- Select the Boot image on the USB device you wish to install. In the example below, there is only one image downloaded.
- At the Install menu, select Serial or VGA.

- If you are installing a FIPS enabled system, select Install Option 1, and select Enter.
IDP is not currently compatible with systems running in FIPS 140-3 mode, including Common Criteria or JITC deployments.
If after installation you require IDP, FIPS mode must be disabled on the target system if IDP is to be enabled. Refer to IDP Troubleshooting for information to disable FIPS mode.
If you are installting a virtual device, select option 2 (Cloud-init), and select Enter.
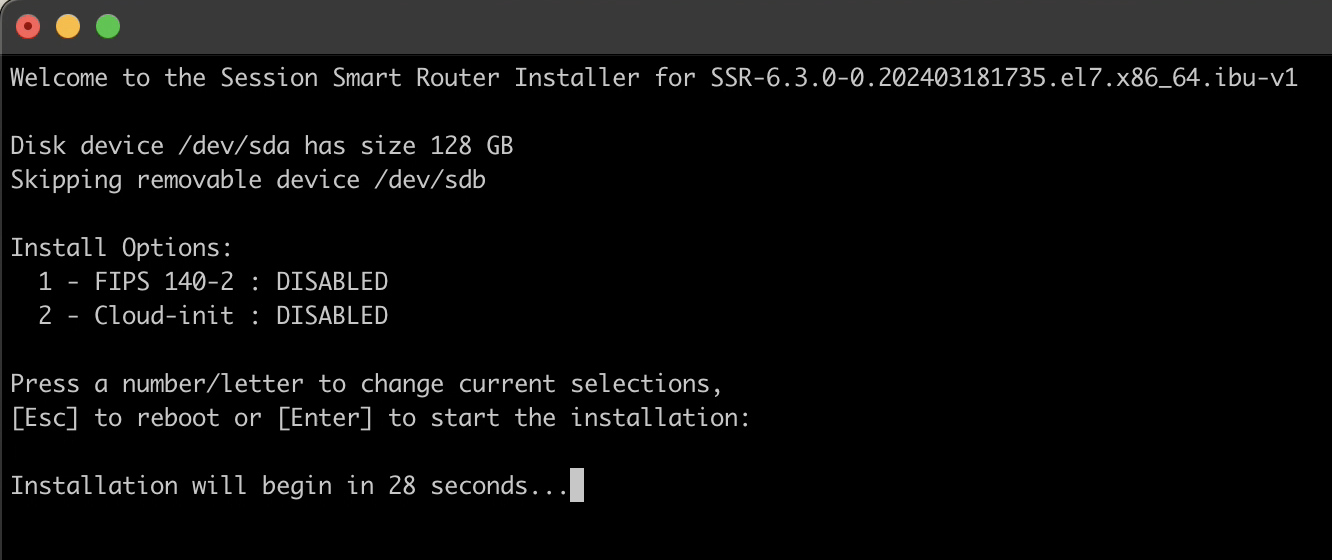
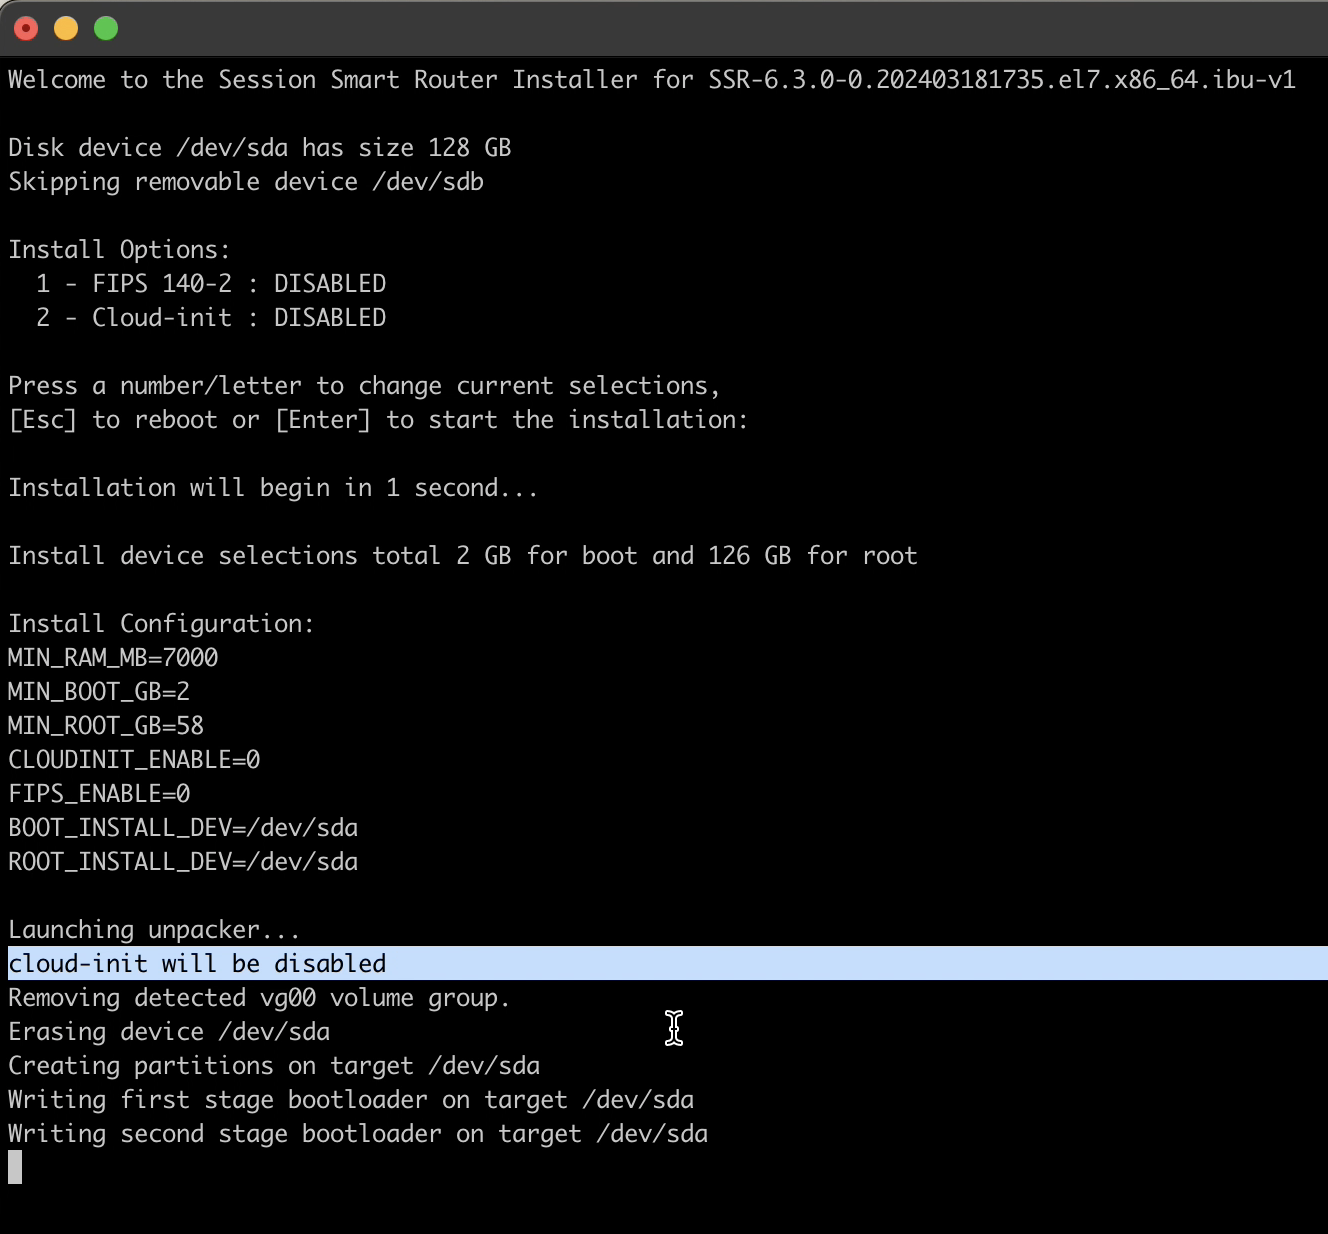
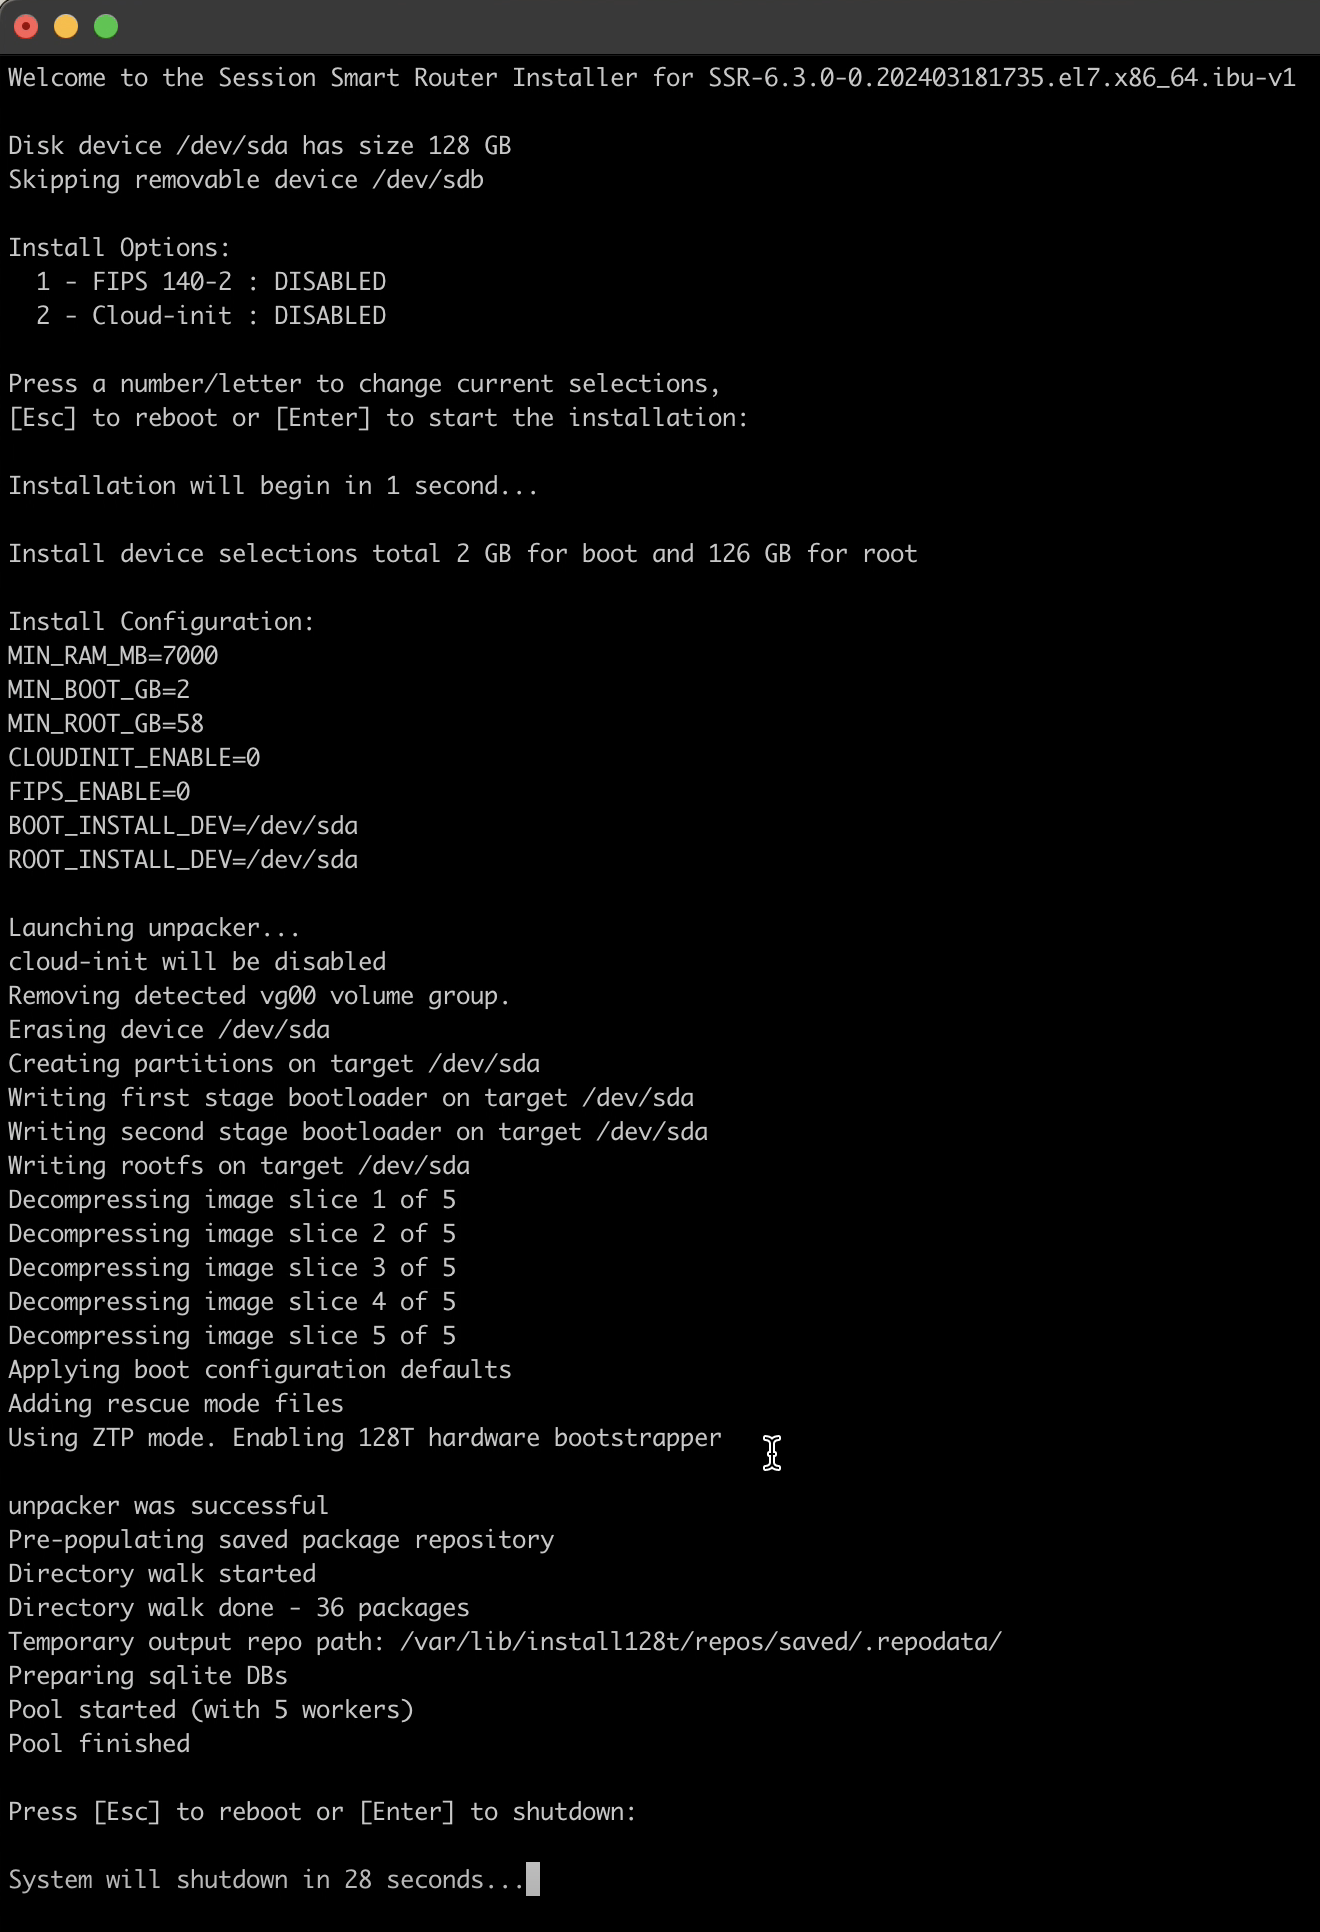
If you are installing a physical device and do not require FIPS, skip the options and select Enter. The download and installation begins.
- When the installation completes, you will be prompted to reboot. A reboot is necessary to start the services and launch the GUI. Device intialization and management is performed from the GUI.
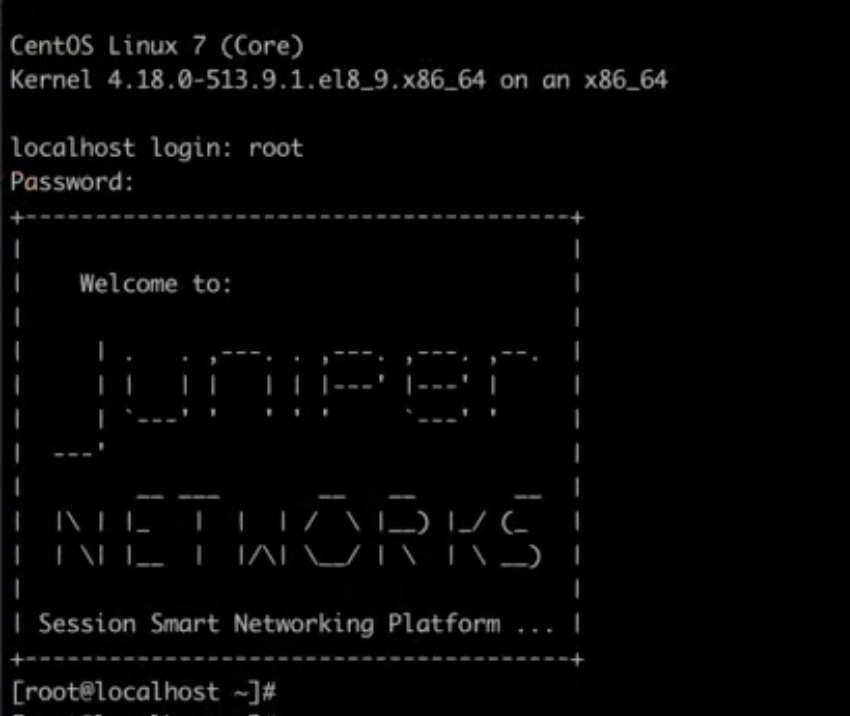
Great job! Your software has installed, now let's go initialize your device!