ON THIS PAGE
Before You Install
To successfully install and deploy the vLWC, you must have VMWare vSphere installed on a single ESXi server, VMWare vCenter Server, and you must meet the hardware requirements listed in Hardware Requirements. You must also have one network with Internet connectivity either directly or through an active proxy server along with the other requirements listed in VMWare Requirements.
Prepare VMware vSphere
Before you begin the installation process for vLWC, you must prepare your VMware vSphere:
-
Make sure that you are able to connect to the vSphere and login to the vCenter Server. As the vLWC will be deployed as a vApp in the vCenter Server, an active user on the vSphere with privileges to deploy vApps is required for this installation process.
-
Make sure that all the networks are created in vCenter Server to attach the three network interfaces in the vLWC. These networks need to be setup and functional before vLWC is installed. For more information, see Virtual Network Interfaces for vLWC.
Download vLWC Software
The vLWC software will be provided to you by Juniper Networks® as a single downloadable OVA file. Follow the steps below to request and download the vLWC software:
-
Visit the vLWC request page on Juniper Support Portal at https://supportportal.juniper.net/s/vlwc-form.
-
There are two end-user scenarios:
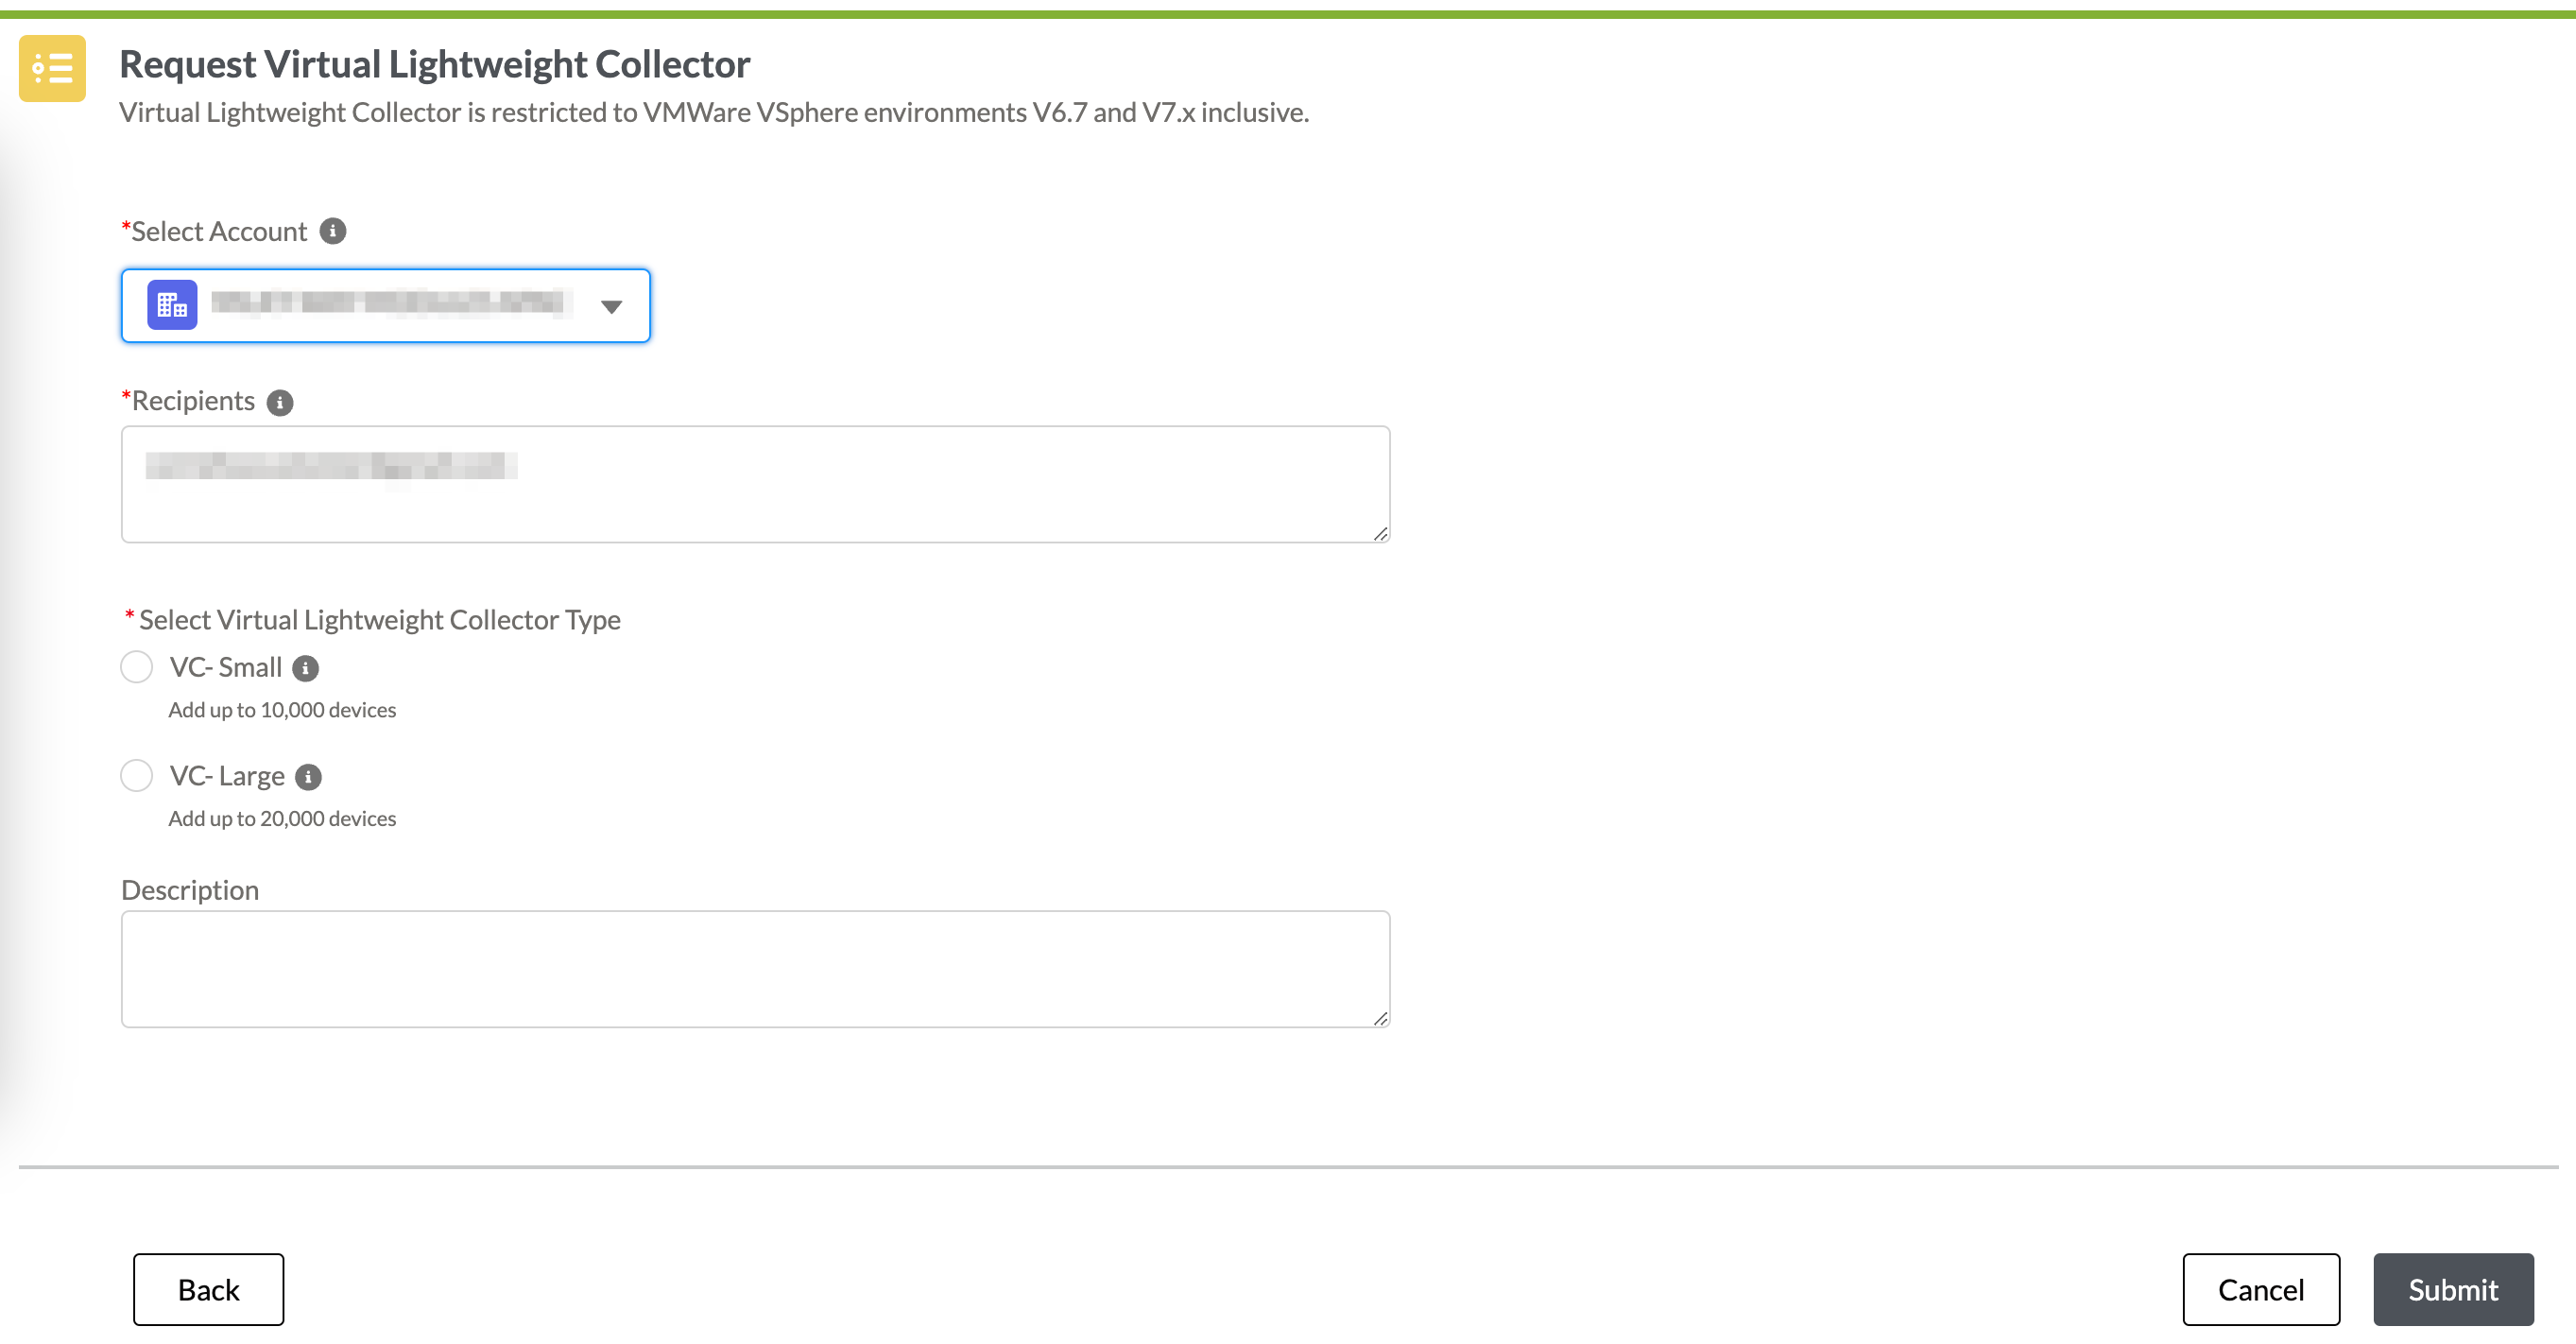
Customer—Can request the vLWC software to associate with your customer account IDs.
Figure 1: Request Virtual Lightweight Collector Page for a Customer
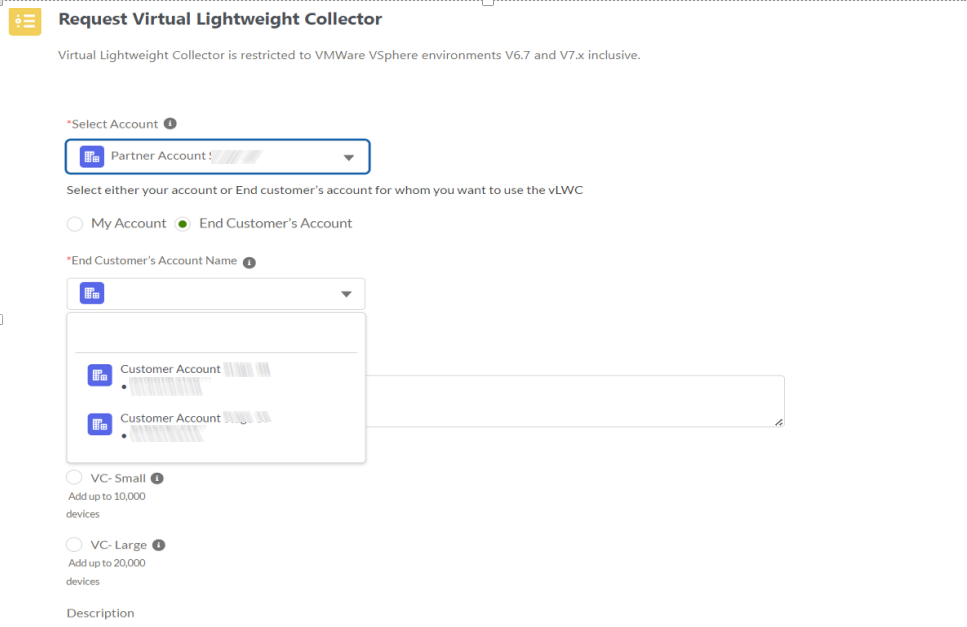
Partner—Can request the vLWC software and then either associate it to your account ID or to one of your customer's account IDs.
Figure 2: Request Virtual Lightweight Collector Page for a Partner
Fill the fields in the Request Virtual Lightweight Collector page with the necessary information. See Table 1.
-
Verify the information in the form and click Submit.
An OVA file will be created specifically for your installation. The OVA file contains your serial number as an encrypted vApp property that will be installed to the vLWC during the initial boot process of the VM. Once the OVA file is created, you will receive an email with a link.
Note:You can deploy only one vLWC OVA image with a unique serial number in your network. Deploying multiple vLWC OVA images with the same serial number is not supported. If you want to deploy multiple instances of vLWC in your network (example: vLWC for production and lab), you must request a separate vLWC OVA image by submitting another request form.
-
Open the email you received from Juniper Support Portal, and click the link to visit the download portal where you can download the vLWC software.
-
Download the vLWC software from the download portal.
Note:Ensure that you have a stable internet connection to download the vLWC software as the file size can be between 2 GB and 3 GB approximately.
-
Once the vLWC software is downloaded, refer Install vLWC and Verify Installation to install the vLWC software and verify your installation.
|
Field |
Description |
|---|---|
|
Select Account |
Account to associate with the vLWC. Customer—The customer account ID to associate with the vLWC. By default, it is the primary account ID. Partner—You can either associate your account ID or one of your customer's account IDs with the vLWC. |
|
End Customer Account Name (Partner only) |
Select the customer's account ID that you want to associate with the vLWC from the drop-down list. |
|
Recipients |
Email IDs associated with the selected account that will receive the vLWC download link. These recipients can onboard devices in the vLWC. |
|
Select virtual Lightweight Collector Type |
Hardware configuration for the desired scale of Junos devices being collected from. Values include:
|
|
Description |
(Optional) A custom description for the vLWC setup. |
