- play_arrow Introduction
- play_arrow Install
- play_arrow Configure
Troubleshoot Network Settings
If you face connectivity issues with the vLWC, you can troubleshoot the vApp VM using the Captive Portal webpage or the JSI Shell.
You can check the status of the management (cap) interface by accessing the Captive Portal at https://cap_interface_address from the web browser. For more information on accessing the Captive Portal, see Configure Network Settings through Captive Portal.
If the management (cap) interface is not accessible, you can access the JSI Shell through the VMware console. This option will always work even if none of the network interfaces are functioning properly. You can use the JSI Shell menu system to check the current network status of the vLWC interfaces and also change the network settings of any of the interfaces (external, internal, management).
Reset Network Settings to Factory Default
You can use the JSI Shell to reset the network settings of vLWC to factory default of DHCP for IPv4 on all interfaces, and reboot the vLWC to apply the changes. To perform this operation, select Reset vLWC to factory defaults and reboot option from the vLWC Main Menu (JSI Shell). Select Yes in the confirmation prompt.
On confirmation, you will see the output of scripts performing the reset operation. This operation may take some time and vLWC reboots once the reset operation is complete. After vLWC reboots, you can log back in to the JSI Shell and check the network status to confirm if IP addresses are received through DHCP.
Reapply vApp Properties
You can force VMware to reload the current vApp property settings in the following cases:
When the vApp properties modified through the vCenter Server did not get applied properly.
When you need to revert the network changes made through the Captive Portal or JSI Shell to what was set in the vApp properties.
To perform this operation, select Reapply vApp network properties to vLWC and reboot option from the vLWC Main Menu (JSI Shell). Select Yes in the confirmation prompt.
On confirmation, you will see the output of scripts reapplying the vApp properties. This operation may take some time and vLWC reboots to ensure that the settings are applied correctly.
Display Network Status
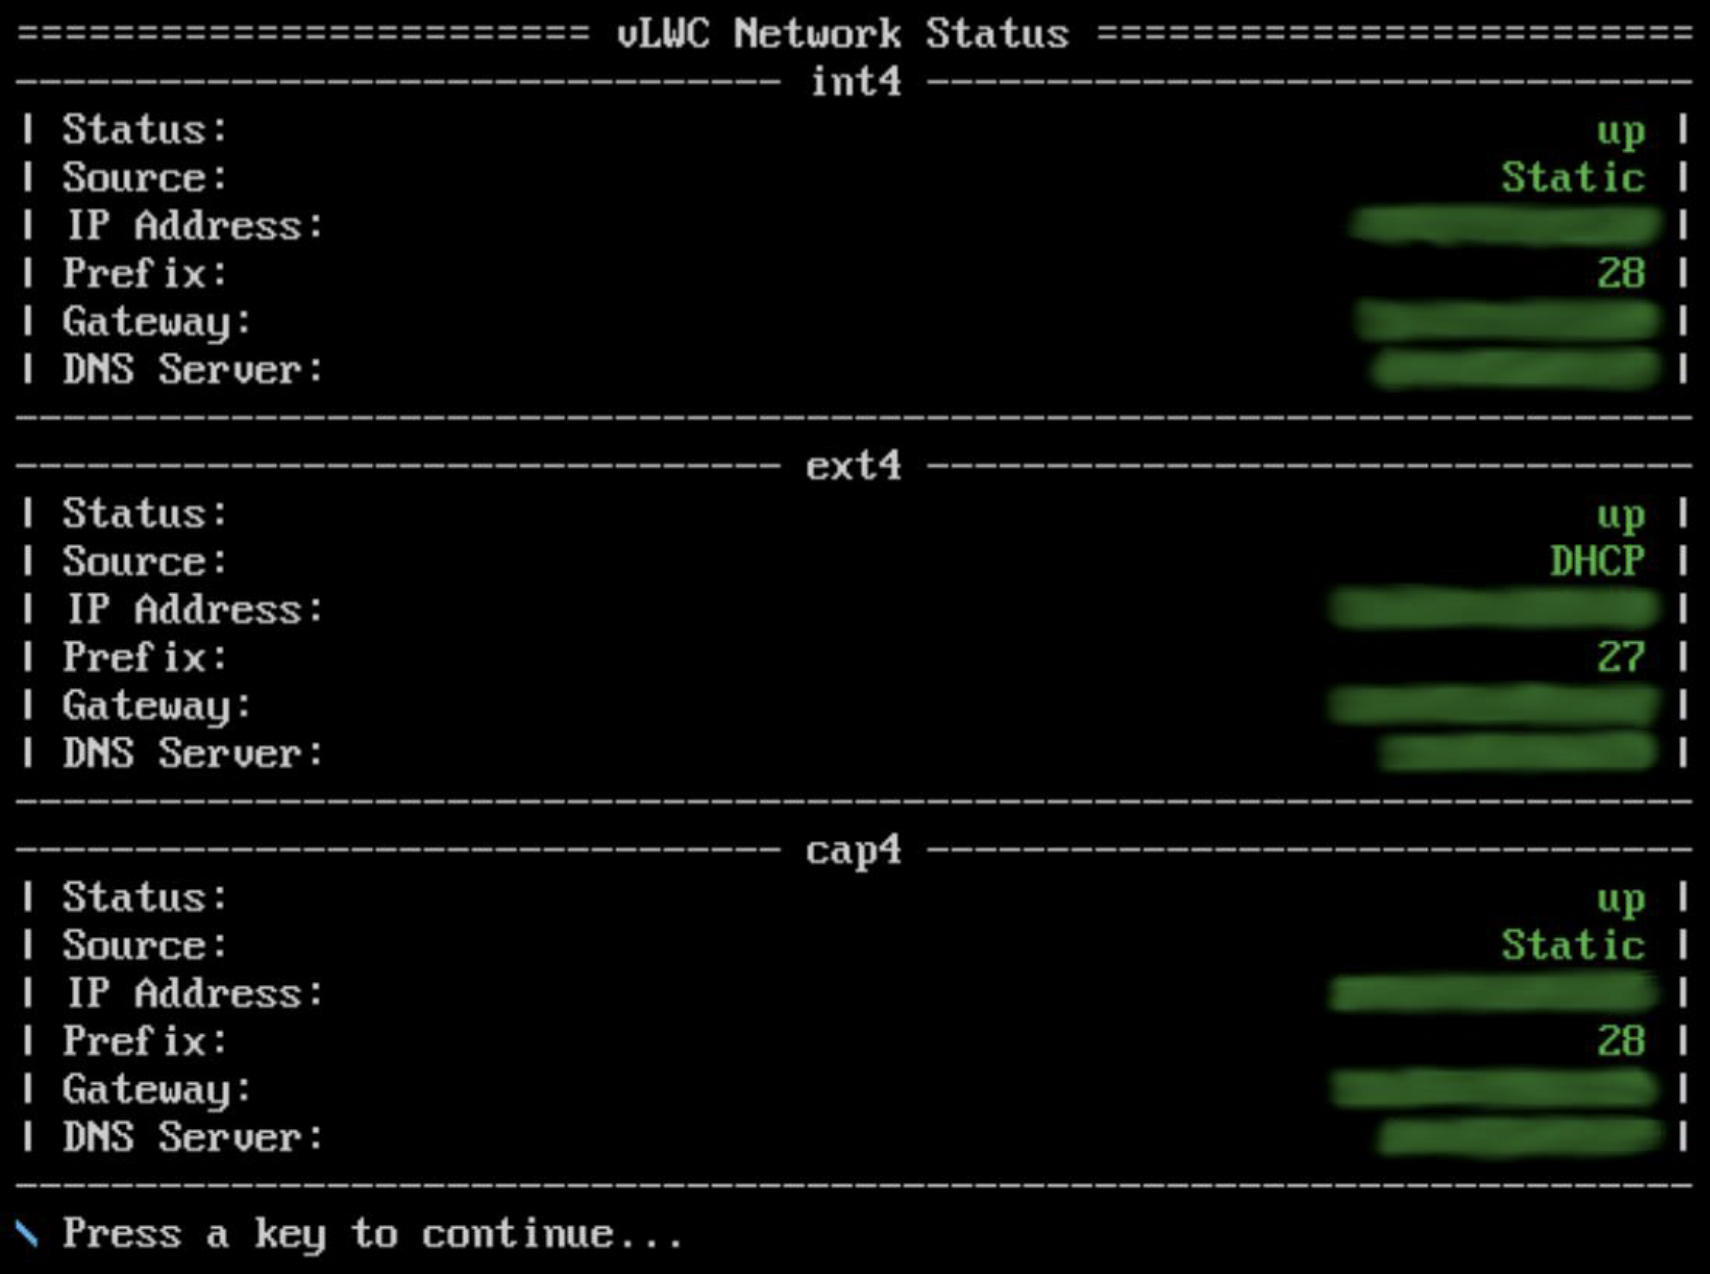
You can confirm the current network status of the vLWC by selecting the View Current Network Status option from the vLWC Main Menu (JSI Shell). vLWC performs reachability test on the network. This operation might take some time to complete. Once the tests complete, the JSI Shell will display the network status for each interface that is currently configured and operational in the vLWC Network Status screen. For more information on each field, refer Table 1.
| Field | Description |
|---|---|
| Status | The current status of the interface, and whether the network gateway can be reached. |
| Source | Where the interface is getting its IP information from. Can be either DHCP or Static. |
| IP Address | Current static IP address assigned to the interface, or the DHCP address assigned by the DHCP server. |
| Prefix | Current static IP prefix assigned to the interface or the DHCP prefix assigned by the DHCP server. |
| Gateway | Current gateway address assigned to the interface or the DHCP gateway assigned by the DHCP server. |
| DNS Server | Current DNS server assigned to the interface or the DHCP DNS provided by the DHCP server. Note: vLWC currently supports only one DNS server per interface. |

Reboot the vLWC
Reboot the vLWC if the network settings that you modify do not apply properly to the underlying Operating System of the vLWC. If you face issues while applying new network settings, always attempt a vLWC reboot and confirm if the new network settings are applied before continuing with the other troubleshooting options.
You can reboot the vLWC in one of the following ways:
JSI Shell—Select Reboot vLWC (using the arrow key or pressing 5 on the keyboard) from the vLWC Main Menu, press, and confirm reboot.
Captive Portal—Click REBOOT in the Captive Portal webpage.
vCenter Server—Right-click ggc-lnx VM and click Power > Restart Guest OS from the Actions menu to restart the VM.
Contact Juniper Support
If the vLWC does not connect to the cloud, you can click Download Light RSI in the Captive Portal webpage to download the light RSI file, create a Tech Case in the Juniper Support Portal, and attach the downloaded RSI file to the case.
In some cases, the Juniper support engineer may ask you to attach the Extensive RSI file to the case. To download it, click Download Extensive RSI.
