- play_arrow Overview
- play_arrow Site Planning, Preparation, and Specifications
- play_arrow Initial Installation and Configuration
- SRX345 Installation Overview
- Unpacking and Mounting the SRX345
- Connecting the SRX345 to Power
- Connecting the SRX345 to External Devices
- Register Products—Mandatory to Validate SLAs
- Configuring Junos OS on the SRX345
- Installing the Optional SATA Solid-State Drive in SRX340 and SRX345 Services Gateways
- play_arrow Maintaining Components
- play_arrow Troubleshooting Hardware
- play_arrow Contacting Customer Support and Returning the Chassis or Components
- play_arrow Safety and Compliance Information
- Definitions of Safety Warning Levels
- General Safety Guidelines and Warnings
- Restricted Access Warning
- Qualified Personnel Warning
- Prevention of Electrostatic Discharge Damage
- Fire Safety Requirements
- Laser and LED Safety Guidelines and Warnings
- Radiation from Open Port Apertures Warning
- Maintenance and Operational Safety Guidelines and Warnings
- Action to Take After an Electrical Accident
- General Electrical Safety Guidelines and Warnings
- AC Power Electrical Safety Guidelines
- DC Power Electrical Safety Guidelines
- SRX345 Firewall Agency Approvals
- SRX345 Firewall Acoustic Noise Compliance Statements
- SRX345 Firewall EMC Requirements
ON THIS PAGE
Fast Track to Rack Installation and Power
This procedure guides you through the simplest steps to install your SRX345 Firewall in a rack and connect it to power. Have more complex installation needs? See Installing the SRX345 Firewall into a Rack.
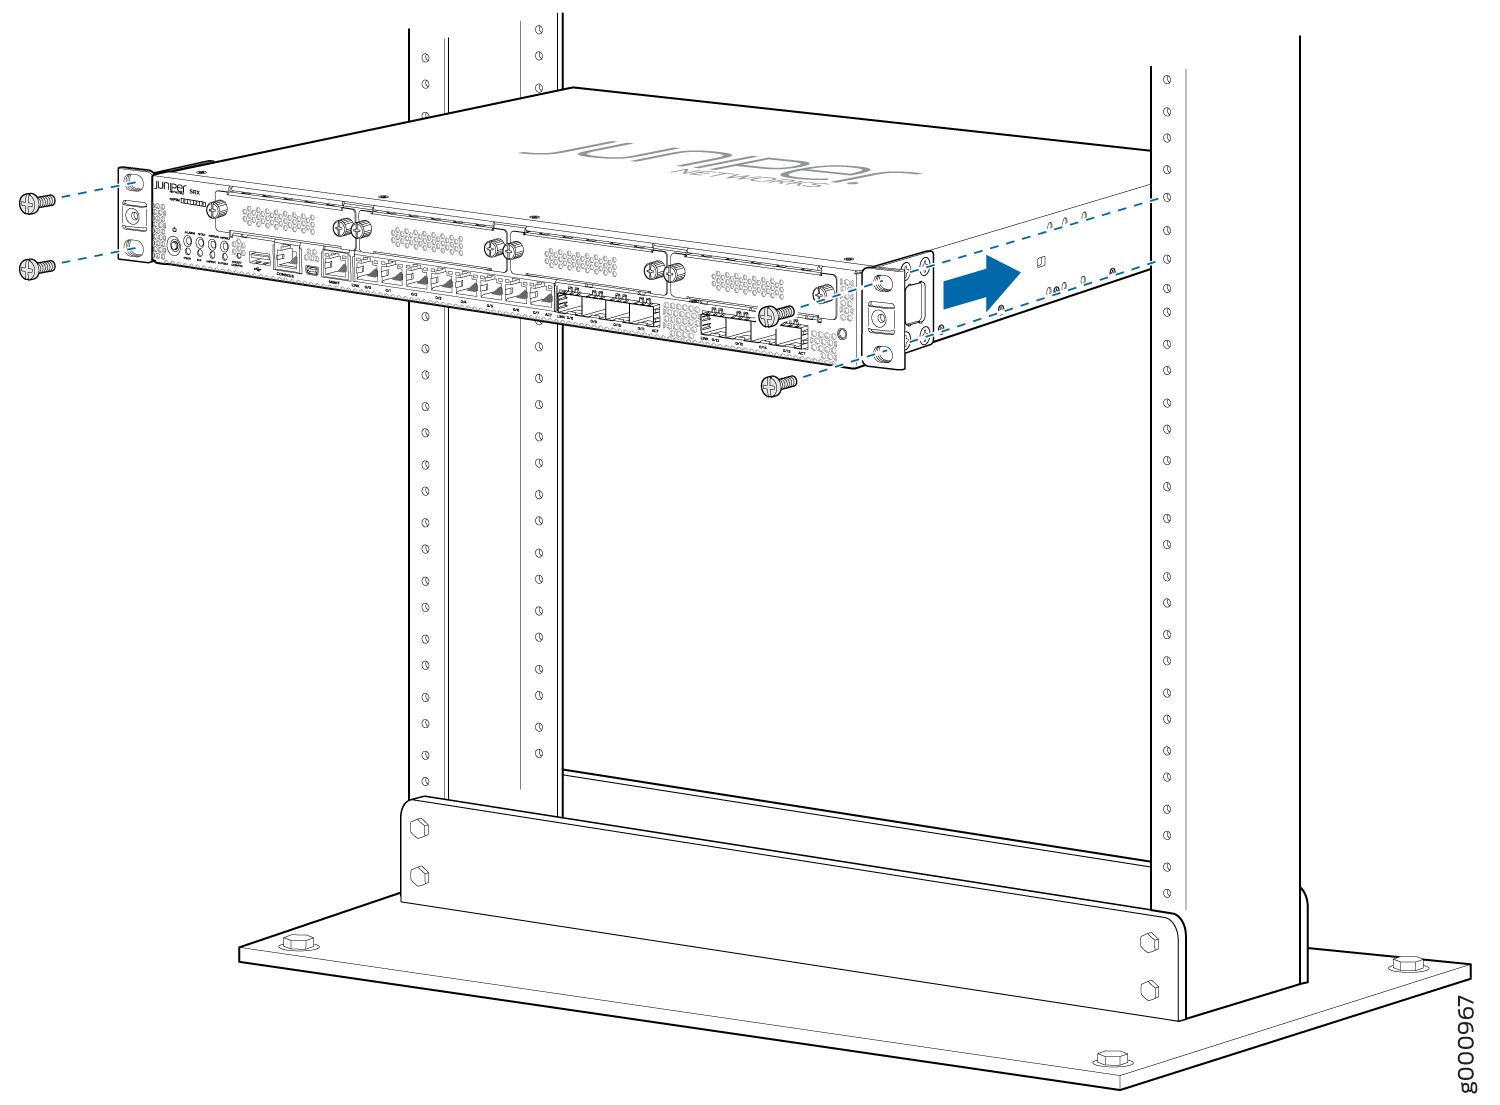
Install the SRX345 in a Rack
Before you install, review the following:
Connect to Power
To connect the SRX345 Firewall to AC power, you must do the following:
Ground the SRX345 Firewall
To ground the SRX345 Firewall, do the following:
Attach an electrostatic discharge (ESD) grounding strap to your bare wrist, and connect the other end of the ESD strap to the ESD point on the rack.
Attach a grounding cable to earth ground, and then attach the other end to the grounding point on the side panel of the SRX345.
Connect the Power Cord and Power On the Firewall
To connect the power cord, do the following:
Plug the power cord into the power inlet on the rear panel of the SRX345.
If the AC power source outlet has a power switch, turn it off.
Plug the power cord into an AC power source outlet.
If the AC power source outlet has a power switch, turn it on. The firewall doesn't have a power switch and powers on as soon as you plug it in.