Configure Credentials-Based (EAP-TTLS) Authentication
To secure your network with credentials-based authentication, follow these steps to import your certificate, create authentication policies, and update the port profiles to use EAP-TTLS (802.1X) authentication.
Extensible Authentication Protocol–Tunneled TLS (EAP-TTLS) use username and password on the client side and server certificate on the server side to provide secure access.
The following tasks show you how to configure EAP-TTLS for wired clients. These authentication methods validate the username and password by using the credentials stored in the identity providers (IdPs).
Prerequisites
-
You must integrate and configure an identity provider (IdP) with the Juniper Mist portal. See Add Identity Providers for Juniper Mist Access Assurance.
-
You must configure the client device as a supplicant. For this configuration, you must add the root-certificate authority (CA) certificate of the enterprise public key infrastructure (PKI) and enter the username and password in the IdP.
-
You need a Juniper Access Point to perform wireless client authentication (wireless client-specific task).
-
You must configure the public or private enterprise TLS-server certificate that the cloud RADIUS server will use.
Watch the following video to learn how to configure credential-based (EAP-TTLS ) authentication with Azure IdP Integration:
Now, what else could we do with an IDP? We've already established that if we are using certificates or tell us to authenticate, we could use IDP and an additional source of information or context about the user. So namely, group memberships. Now, what about the authenticating users themselves without certificates?
What about authenticating users using usernames and passwords? We could leverage the existing connector with Azure to do EAP-TTLS authentication. With EAP-TTLS, the clients are using usernames and passwords to authenticate, as opposed to client certificates. So we can create another rule. We could say we are matching on the wireless user that is using TTLS instead of TLS.
And let's also match on the employee group. Why not? So we'll call it credential authentication - no - show authentication employees. Now, we will assign them to corporate VLAN. We'll hit Save. One thing we need to make sure that on the Azure portal on the app that we've created previously, there's one requirement for password authentication to work, you'll need to enable public client flows. Just click yes right here under authentication. You'll hit save.
And now we can go and check our client device. Let's take a look at the Windows device, how we can configure a Windows device to use TTLS. So we'll connect to mist-secure-net SSID. We'll be immediately prompted by the system to provide our username and password. So I'm going to give my full username and password. The important piece is to provide the full domain name - microsoft.com.
This is how the access assurance will find out which identity provider to talk to based on the domain name after the user. So click OK. Ask us to connect. And we're not connected using username and password. Now, let's take a look at our client events.
Let's look at the client insights. What we're seeing here is a slightly different flow because we are using usernames and passwords, we are not dealing with client certificates here. But the client is still trust in the server certificate. That's mutual trust is still there.
Now, we are going immediately to the identity provider to do the authentication to validate the credentials of that specific user. Now, after this phase is successful, we'll go ahead and look up all the user groups, the user roles from Azure, and finally we are matching on a specific authentication policy rule which we've just created to match on our new condition when clients are using TTLS.
Configure Credential-Based (EAP-TTLS ) Authentication for Wired Network
To set up certificate-based authentication for a wired network using the Juniper Mist portal:
- Import a trusted root certificate authority (CA). Juniper Mist uses the certificate authority (CA)-generated certificate as a server certificate. See Use Digital Certificates for details.
-
Create authentication policies.
-
Configure the switch.
-
Assign the port profile to each port of the switch where the
connected wired clients require network access.
On the Port Config tab, in the Select Switches Configuration section, , click Add Port Range to associate a port profile with a port.
Figure 1: Assign Port Profile to Port Ranges on a Switch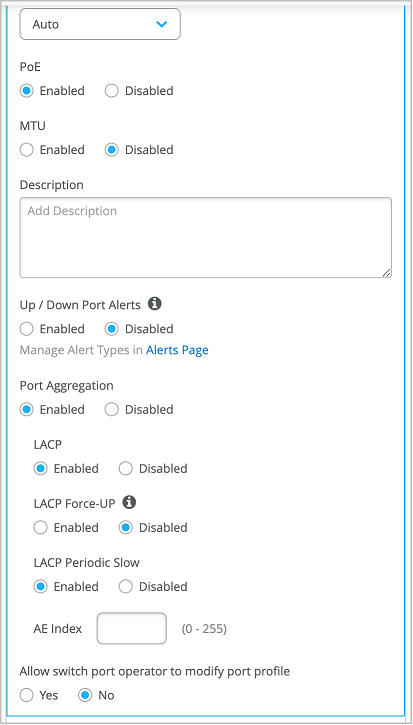
-
Assign the port profile to each port of the switch where the
connected wired clients require network access.
Now your network can use EAP-TTLS to securely authenticate clients.
The Auth Policy allows clients with a valid username and password to access the network.
The Juniper Mist cloud verifies the username and password against the credentials stored in the public credential provider and grants access and authorization based on the Label Configuration.
You can view the associated clients on the Juniper Mist portal.
- Select Clients > Wired Clients to see client details
- Select Monitor > Service Levels > Insights to view client events.