Adding Primary Tunnels
Navigate to the Tunnels tab. In the Tunnels window, click Add and select One Tunnel. The Add Tunnel window is displayed as shown in Figure 1.
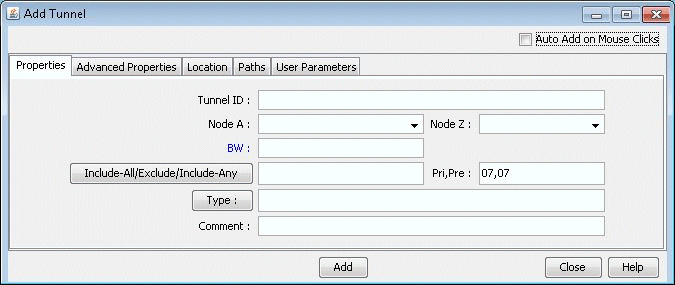
In the Properties tab, specify a TunnelID, the BW (bandwidth) for the tunnel, and the Pri,Pre (setup priority/holding priority) fields. Also select the source and destination nodes (Node A and Node Z).
In the Paths tab, Note the different ways of configuring a path under the To choose paths field.
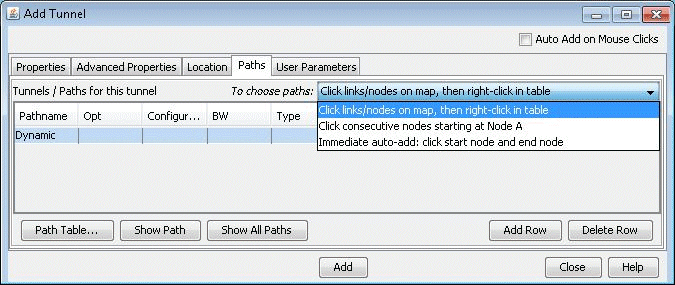
How to specify a configured and/or dynamic route is described later in this chapter.
After you have specified your route, click “Add” to add the tunnel. A yellow line between the source and destination will be drawn on the map to represent the logical tunnel. Note that the routing of the tunnel has not been performed yet.