Help us improve your experience.

Let us know what you think.

Do you have time for a two-minute survey?

Announcement: Try the Ask AI chatbot for answers to your technical questions about Juniper products and solutions.

close
header-navigation
keyboard_arrow_up
close
keyboard_arrow_left
CTPView Network Management System
Table of Contents Expand all
list Table of Contents
file_download PDF
{ "lLangCode": "en", "lName": "English", "lCountryCode": "us", "transcode": "en_US" }
English
keyboard_arrow_right

Creating a Virtualized Instance of CTPView 9.3Rx Server on Proxmox Server

date_range 31-Jan-25

Starting from CTPView Release 9.3R1, CTPView must be installed either on RHEL9.5 or Rocky Linux 9.5 OS.

You can use either the RHEL9.5 (licensed version) or Rocky Linux 9.5 (open source) OS for hosting CTPView 9.3R1 Server.

To create a virtualized CTPView server in a RHEL9.5 or Rocky Linux 9.5 Proxmox environment:

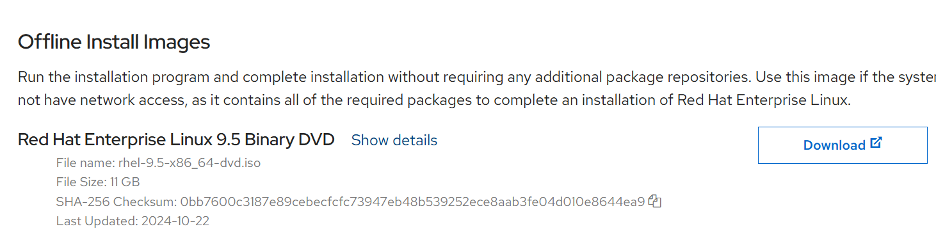
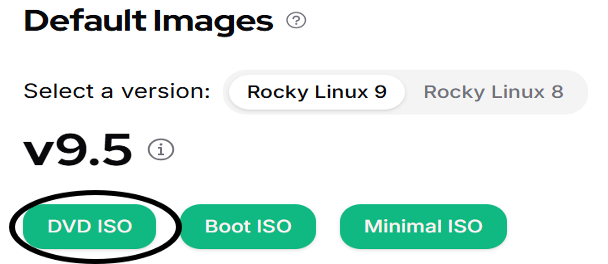
  1. Download RHEL 9.5 or Rocky Linux 9.5 DVD ISO from any of the following links.
  2. Copy the downloaded ISO to ESXI server or Proxmox server’s location where all ISO images are placed.
  3. Log in to your ESXI server or Proxmox server.
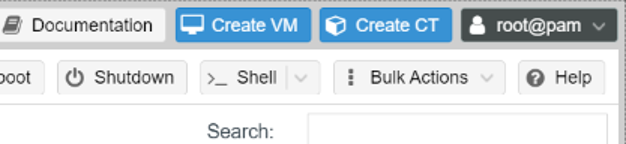
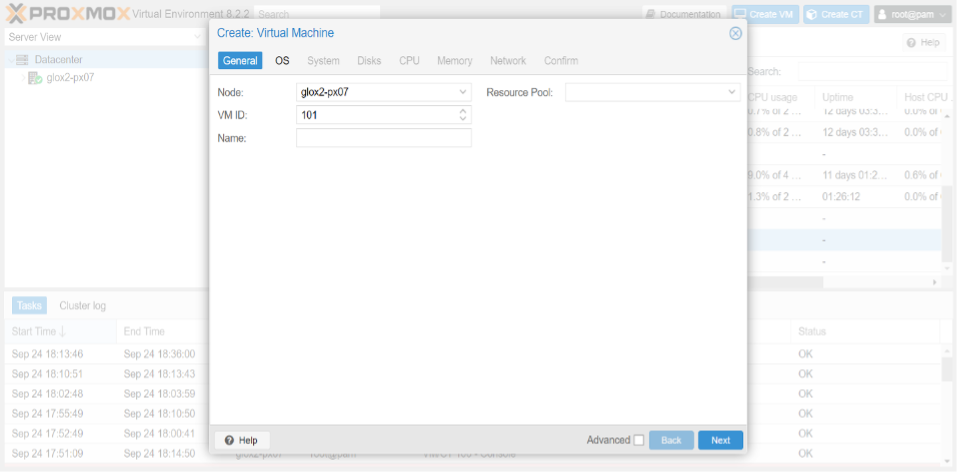
  4. In the Proxmox server, go to your dedicated Datacenter (example: glox2-px07), and click Create VM in the top right corner.
    Note: These steps are similar for ESXI server too.
  5. In the General Tab, provide the VM name in the Name text box. Leave other fields as it is.
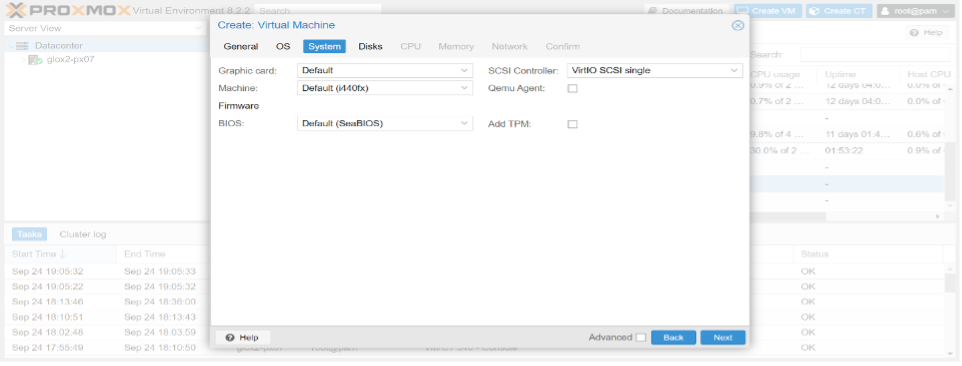
  6. In the OS tab, select RHEL 9.5 / Rocky Linux 9.5 ISO, and leave other fields as it is. In System tab, do not change anything.
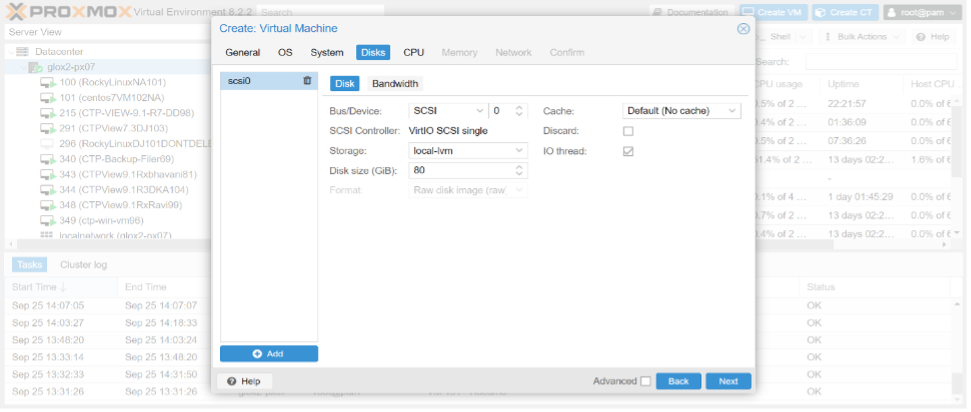
  7. In the Disks tab, give Disk size as 80. Leave other fields as it is.
  8. In the CPU tab, provide Sockets as 2, Cores as 1. Leave other fields as it is.
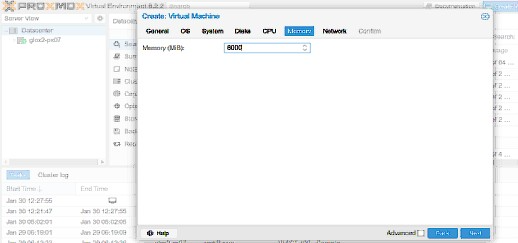
  9. In the Memory tab, give memory as 8000 MB. Leave other fields as it is.
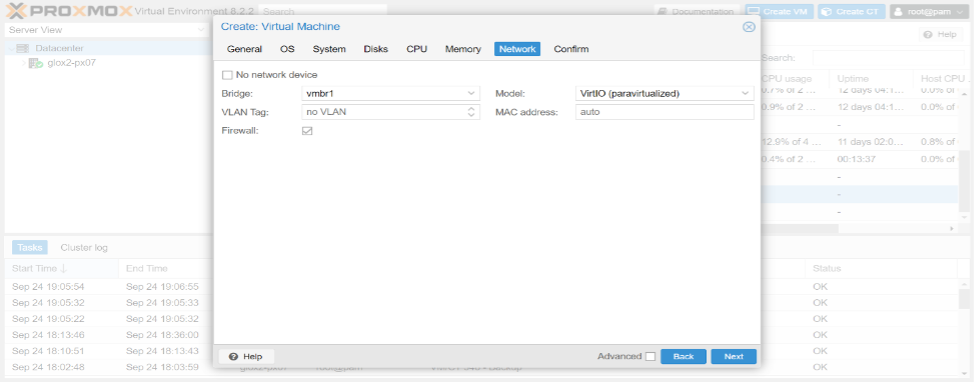
  10. In the Network tab, go to Bridge drop down and select your management interface. Leave other fields as it is.
  11. Verify the details in the Confirm tab and click Finish.
  12. Right click VM, and click Start button. Right click and open the Console.
  13. Press Up arrow to select Install Red Hat Enterprise Linux 9.5 or Install Rocky Linux 9.5 and then click Enter.
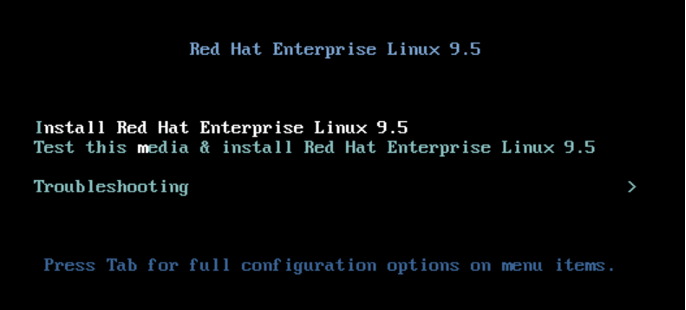
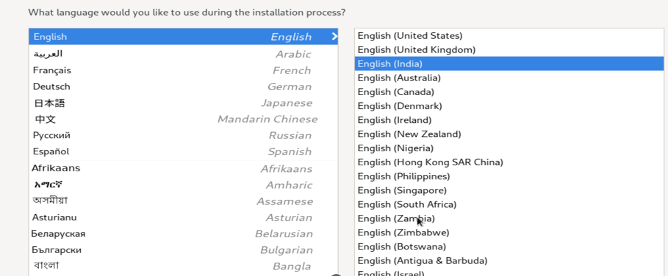
  14. Wait for few minutes and then select Language as per your choice and click Continue.
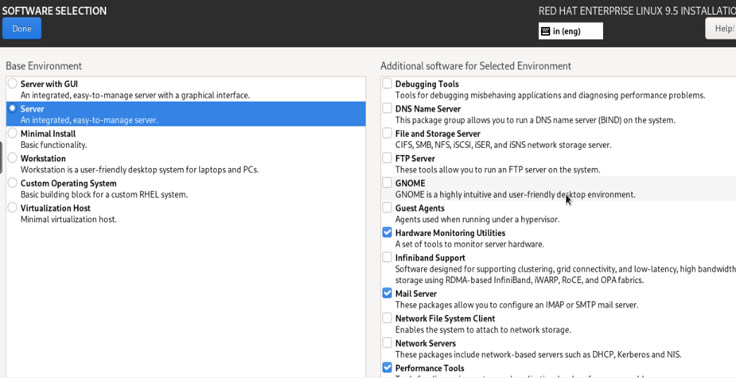
  15. Click Software Selection. Select Basic Environment as Server. In Additional Software for Selected Environment, select Hardware Monitoring Utilities, Mail Server, Performance Tools, Basic Web Server, Security Tools, and Smart Card Support. Click Done.
  16. Click Installation Destination. Select Custom and click Done.
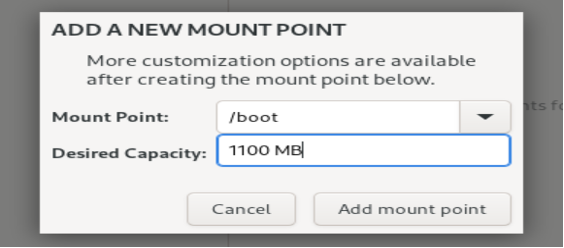
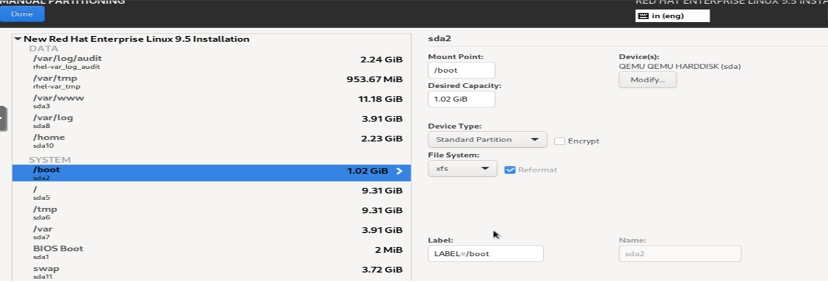
  17. Manual Partitioning window opens. Scroll down and click on + to create boot partition with size 1100 MB. Click Add mount point.
  18. Choose Device Type as Standard Partition, File System as ext3, Label as LABEL=/boot, and click Update Settings.
  19. Again click +. In the Mount Point drop down, choose /boot/efi or biosboot, whichever is listed in the drop down.
    1. In Desired Capacity, enter 250 MB.
    2. Click Add Mount Point.
    3. Choose Device Type as Standard Partition.
    4. Choose File System as EFI File system or Biosboot. Leave the Label field blank. Similarly, create other partitions as shown in the following table:
    Table 1: Creating Partitions
    S.No. Partition Size Device Type Filesystem Label
    1 /boot 1100 MB Standard Partition ext3 LABEL=/boot
    2 /boot/efi or biosboot (see what shows in dropdown) 250 MB Standard Partition BIOS boot or EFI Filesystem Keep label blank
    3 /tmp 10 GB Standard Partition ext3 LABEL=/tmp
    4 / 10 GB Standard Partition ext3 LABEL=/
    5 /var/log 4.2 GB Standard Partition ext3 Keep label blank
    6 /var 4.2 GB Standard Partition ext3 LABEL=/var
    7 /var/log/audit 2.4 GB LVM ext3 LABEL=/varlog/audit
    8 /home 2.4 GB Standard Partition ext3 LABEL=/home
    9 /var/www 12 GB Standard Partition ext3 LABEL=/var/www
    10 /var/tmp 1 GB LVM ext3 LABEL=/var/tmp
    11 swap 4 GB Standard Partition swap Keep label blank
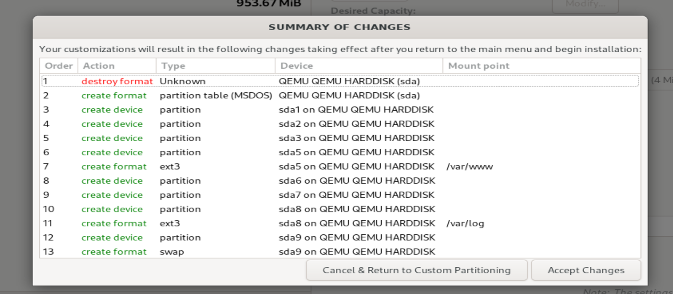
  20. Click Done and then click Accept Changes.
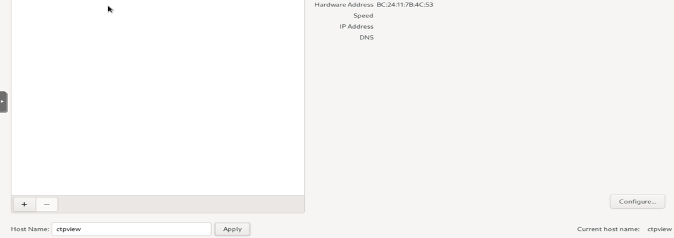
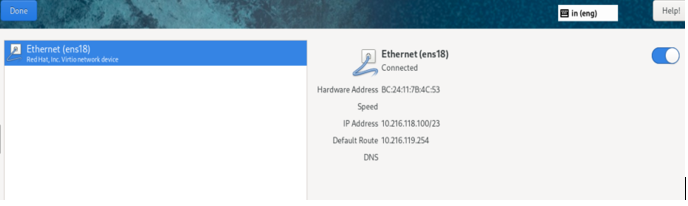
  21. Click Network & Host Name. Provide hostname ctpview and click Apply.
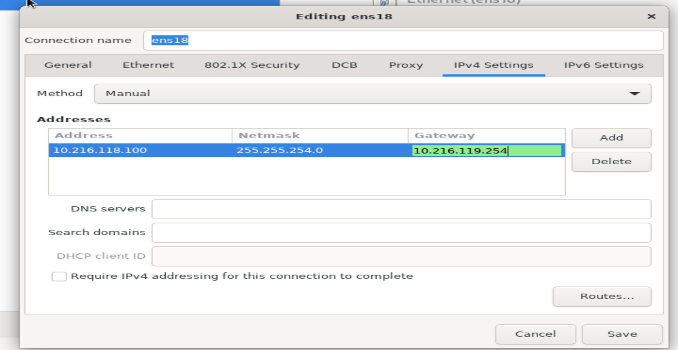
  22. Click Configure. Go to IPv4 Settings. Select Method as Manual. Click Add and configure IP Address, Netmask, and Gateway of your server.
  23. Click Save. Toggle the Ethernet button at the top right to enable the ethernet interface and click Done.
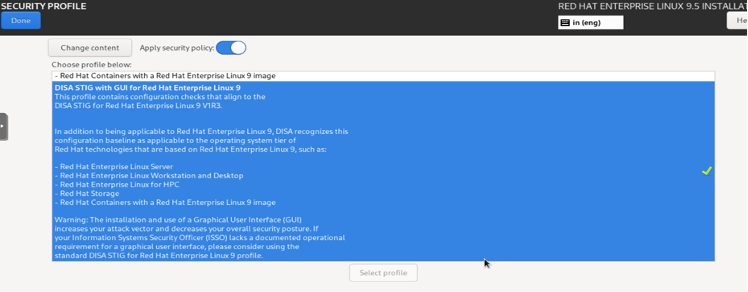
  24. Click Security Profile. Scroll down and select the last option DISA STIG with GUI for Red Hat Enterprise Linux 9. Enable Apply security policy at the top if not enabled. Click Select profile and click Done.
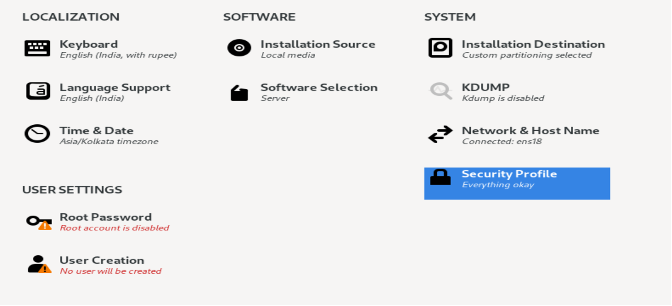
  25. Verify that Security Profile is showing Everything okay .
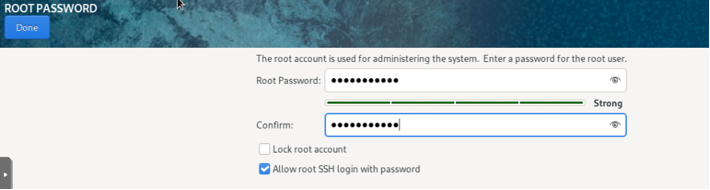
  26. Click Root Password and then enter any strong password. Enable check box Allow root SSH login with password and click Done.
  27. Click User Creation. Provide any username (example: user) and strong password. Enable check boxes Make this user administrator and Require a password to use this account. Click Done.
  28. Click Begin Installation. This process will take some time to complete.
  29. Click Reboot System.
  30. Once the server comes up, login to your server with the user that you created in step 27. Due to security reasons, it will ask you to change password for that user in the first-time login. Make sure to enter a new strong password. It will auto logout after you change the password.
  31. Again, log in to your server with that user and provide the newly changed password for login.
  32. Copy tcsh-6.22.03-6.el9.x86_64.rpm RPM to RHEL9 / Rocky Linux 9 server’s /tmp.
  33. Go to /tmp of your RHEL 9 / Rocky Linux 9 server and execute the following commands:
    • cd /tmp

    • sudo rpm -Uvh tcsh-6.22.03-6.el9.x86_64.rpm

    • sudo chsh -s /bin/tcsh <rhel9/rocky username that you created in step 27>.

    • exit

  34. Copy CTPView-9.3R-1.0.el9.x86_64.rpm to RHEL9/Rocky Linux server. Make sure that the md5sum of CTPView 9.3R1 RPM matches.
  35. Run sudo rpm -Uvh CTPView-9.3R-1.0.el9.x86_64.rpm on RHEL9/Rocky Linux 9 server. CTPView installation process starts.
  36. At the end of the installation process, you will be asked to change the password of the default user accounts, and then the server reboots.
  37. After reboot, you can log in to your CTPView server with juniper_sa user and CTPView GUI with Juniper user.
footer-navigation