Help us improve your experience.

Let us know what you think.

Do you have time for a two-minute survey?


Enroll a vSRX Virtual Firewall on AWS with Juniper ATP Cloud

Juniper ATP Cloud uses a Junos OS operation (op) script to help you configure your vSRX Virtual Firewall to connect to the Juniper Advanced Threat Prevention Cloud (ATP Cloud) service. This script performs the following tasks:

  • Downloads and installs certificate authority (CAs) licenses onto your vSRX Virtual Firewall.

  • Creates local certificates and enrolls them with the cloud server.

  • Performs basic Juniper ATP Cloud configuration on the vSRX Virtual Firewall.

  • Establishes a secure connection to the cloud server.

To enroll a vSRX Virtual Firewall in Juniper ATP Cloud using the ATP Cloud Web Portal, do the following:

  1. Open a Web browser, type your customer portal URL and press Enter.

    The Web UI login page appears as shown in Figure 1. See Table 1 for the customer portal hostname by location.

    Table 1: Customer Portal URL

    Location

    Customer Portal URL

    United States

    Customer Portal: https://amer.sky.junipersecurity.net

    European Union

    Customer Portal: https://euapac.sky.junipersecurity.net

    APAC

    Customer Portal: https://apac.sky.junipersecurity.net

    Canada

    Customer Portal: https://canada.sky.junipersecurity.net

    Figure 1: Juniper ATP Cloud Web UI Login Page Juniper ATP Cloud Web UI Login Page
  2. On the login page, type your realm name, username (your account e-mail address), and password and click Log In.

    The Web UI Dashboard page appears.

    Note:

    If you do not have a Juniper ATP Cloud account, refer to https://www.juniper.net/documentation/us/en/software/sky-atp/sky-atp/topics/task/sky-atp-registering.html to create a Customer Support Center (CSC) user account.

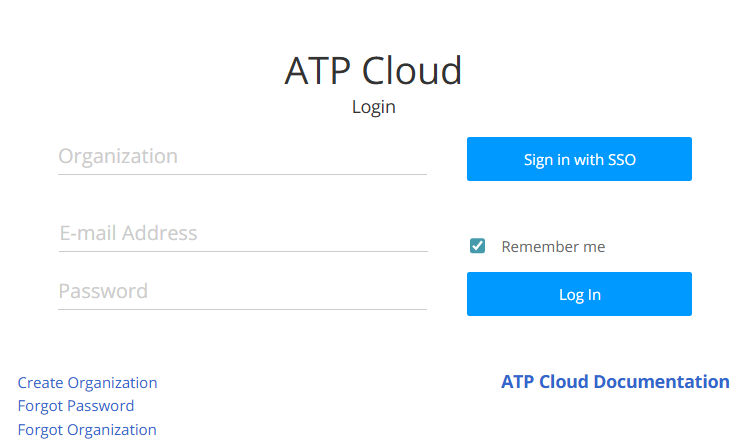
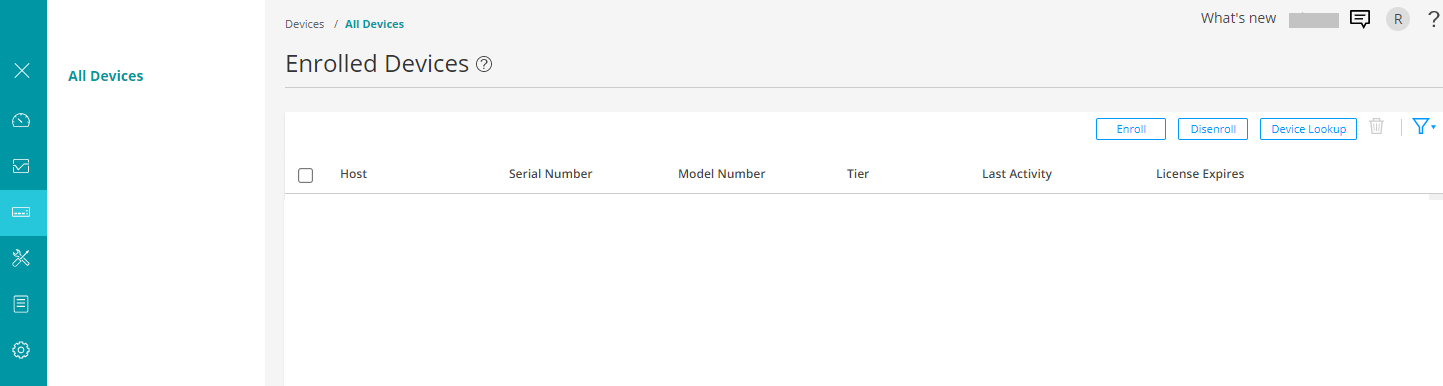
  3. Select Devices > All Devices
    The Enrolled Devices page appears as shown in Figure 2.
    Figure 2: Enrolled Devices Page-1 Enrolled Devices Page-1
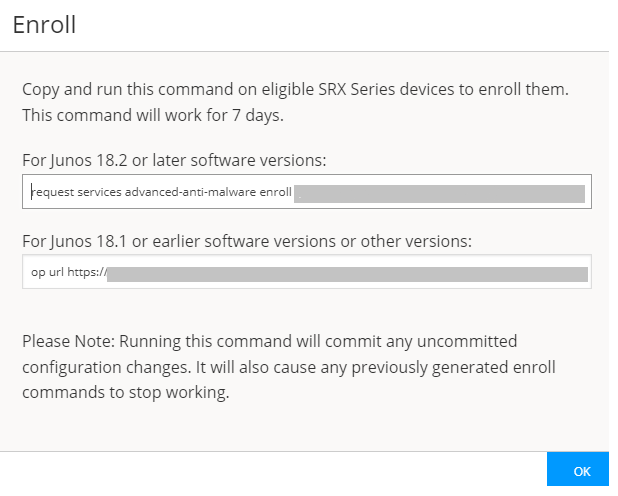
  4. Click the Enroll button.
    The Enroll page appears as shown in Figure 3.
    Figure 3: Enroll Page Enroll Page
  5. Based on the Junos OS version that you are running, copy the CLI command from the page. Copy the command to your clipboard and click OK.
    Once generated, the op url command is valid for 7 days. If you generate a new op url command within that time period, the old command is no longer valid. (Only the most recently generated op url command is valid.)
    You must run the command on the vSRX Virtual Firewall to enroll it. Paste the command into the Junos OS CLI of the vSRX Virtual Firewall that you want to enroll with Juniper ATP Cloud.
  6. Log in to the vSRX Virtual Firewall instance using SSH and start the CLI. The format is ssh -i <path>/<ssh-key-pair-name>.pem ec2-user@<fxpo-elastic-IP-address>
  7. (Optional) Run the show services advanced-anti-malware status command to see if there are any existing configurations for ATP Cloud.
  8. Run the command that you previously copied from the pop-up window. Simply paste the command into the CLI and press Enter.
    Note:

    You must run the op url command in operational mode.

    The vSRX Virtual Firewall will make a connection to the ATP Cloud server and begin downloading and running the op scripts. The status of the enrollment appears on screen. After successful enrollment, vSRX Virtual Firewall appears on the Devices page in ATP Cloud portal.

    For HA configurations, you only need to enroll the cluster primary. The cloud will detect that this is a cluster and will automatically enroll both the primary and backup as a pair. Both devices, however, must be licensed accordingly. For example, if you want premium features, both devices must be entitled with the premium license.

    Note:

    Juniper ATP Cloud supports both active-active and active-passive cluster configurations. The passive (non-active) node does not establish a connection to the cloud until it becomes the active node.

  9. (Optional) Run the following command to view additional information:
    Example
  10. Run the show services advanced-anti-malware status command to view the connection status and verify that a connection has been made to the ATP Cloud server from the vSRX Virtual Firewall.
    vSRX Virtual Firewall communicates with the cloud through multiple, persistent connections established over a secure channel (TLS 1.2). The vSRX Virtual Firewall is authenticated using SSL client certificates.
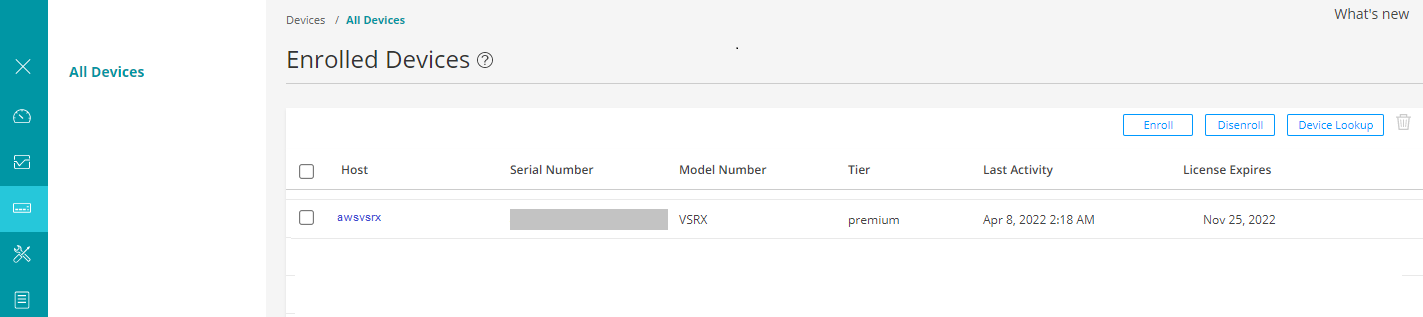
  11. Refresh the Enrolled Devices page in ATP Cloud portal.
    The Enrolled Devices page displays the new device information as shown in Figure 4. The Enrolled Devices page displays the basic connection information for all enrolled devices including serial number, model number, tier level (free or not), last activity seen, and license expiration.
    Figure 4: Enrolled Devices Page-2 Enrolled Devices Page-2
    Note:

    There is a 60 day grace period after the license expires before the vSRX Virtual Firewall is disenrolled from Juniper ATP Cloud.