CAUTION:
Do not mix AC and DC power distribution modules (PDMs)
within the same router.
To connect an AC power cord to a single-phase seven-feed
or nine-feed AC power distribution module (PDM):
- Attach an electrostatic discharge (ESD) grounding strap
to your bare wrist, and connect the strap to an approved site ESD
grounding point. See the instructions for your site.
- Switch off the dedicated customer-site circuit breakers.
Ensure that the voltage across the AC power source cable leads is
0 V and that there is no chance that the cable leads might become
active during installation.
- Detach the ESD grounding strap from the approved site
ESD grounding point, and connect the strap to one of the ESD points
on the chassis.
- Move the power switch to the off (O) position on the PSM(s) that will be powered by the AC PDM.
Note: After powering off a PSM, wait at least 60 seconds before
turning it back on.
- If a power cord retainer is installed on the PDM, remove
the two thumb screws holding it in place and remove the power cord
retainer.
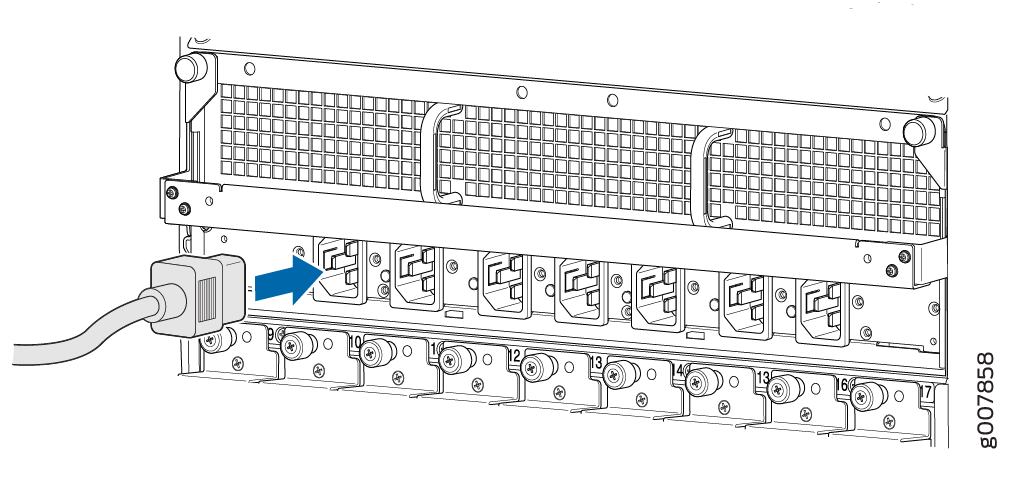
- Plug the power cords into the power sockets on the PDM.
Refer to Figure 1. Apply slight pressure
so that the power cords are firmly seated in the power socket. As
you plug in each power cord, the power LED for the socket lights up
green.
Figure 1: Plugging into the MX2000 Single-Phase
AC Power Distribution Module
- Replace the power cord retainer, making sure the power
cords do not touch or block access to router components.
- Flip the power switch on each PSM to the on (|) position to provide power to the router components.
- Verify that the LEDs on the PDM faceplate are lit steadily
green, indicating that the AC terminal block is receiving power.
- Remove the ESD grounding strap from the ESD points on
the chassis. Connect the strap to an approved site ESD grounding point.
See the instructions for your site.
Warning: Do not touch the power connectors on the PDM. They
can contain dangerous voltages.

