Add Location Zones to a Floorplan
Follow these steps to identify areas of particular interest on your floorplan.
Location zones are useful whether you're developing applications or using the occupancy and engagement analytics pages in the Juniper Mist™ portal.
After you add location zones to a floorplan, you can use these zones in several ways.
-
On the Occupancy Analytics page, you can monitor each zone's occupancy.
-
On the Engagement Analytics page, you can analyze visitor and employee dwell times in each zone.
-
With API calls, you can capture every zone entry and exit event for client devices, assets, and SDK clients.
-
With your Juniper Mist SDK-enabled applications, you can trigger alerts when people enter and exit high-security zones.
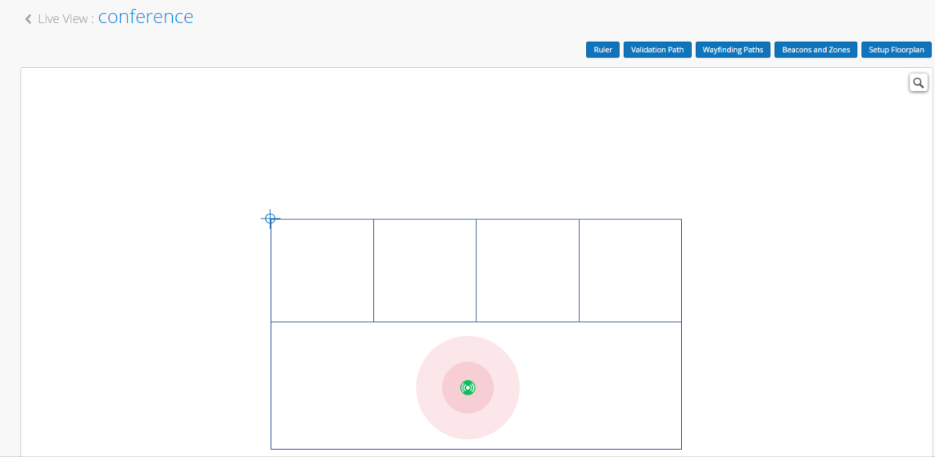
To add location zones to a floorplan:
-
Drag the mouse to define the zone.
Start from the top left corner of the area that you want to define. Release the mouse at the lower right corner of the area.
 Tip:
Tip:To replay the animation, refresh the page or open the image in a new tab.
-
Give the zone a unique name:
-
Click Edit.

-
Click Edit.