Automatically Assign Device Profiles to Access Points
Speed up onboarding and configuration by using auto-provisioning to dynamically assign device profiles based on the device attributes.
You can set up auto-provisioning to automatically assign device profiles to access points (APs) that are claimed for your organization and have been assigned to a site.
For example, a retail chain has different AP models that need different device settings. They set up auto-provisioning to assign Profile A to AP12 access points and Profile B to AP45 access points.
-
This feature applies only to APs, not other types of devices.
-
This process will not assign a device profile if an AP already has one.
Juniper Mist can automatically assign a device profile based on:
- The Link Layer Discovery Protocol (LLDP) system name of the switch that the AP is connected to. To use this option, preconfigure the LLDP system name to include the device profile name.
- The
subnet within which the IP address of the AP falls. You can view the IP address of the AP
under the Status section on the AP Details page. To use this option,
create a list of subnets and their corresponding device profiles when you configure the
auto-provisioning
rule.
To assign all APs to a single profile, add a rule for the 0.0.0.0/0 subnet.
-
The AP model. To use this option, create a list of AP models and their corresponding device profiles when you configure the auto-provisioning rule.
- The AP's device name. To use this option, configure each device name to include the
device profile
name.
After an administrator creates an auto-provisioning rule, an installer must configure the device name using the following PUT operation:
PUT: /installer/orgs/:org_id/devices/:device_mac
See https://www.juniper.net/documentation/us/en/software/mist/api/http/api/installer/overview.
If you have already provided a name for your AP through the Juniper Mist portal, you’ll need to rename the AP using the API for the auto-provisioning to work.
- The AP's Domain Name System (DNS) suffix. To use this option, you need to preconfigure the DNS suffix on the WAN Edge or router to include the device profile name.
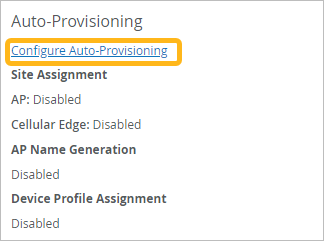
To configure auto-provisioning for device profile:


