Layout Options for Custom Guest Portal
If you've enabled a guest portal, you can keep the preset layout or add your logo and background photo to better represent your brand. You also can adjust other settings.
In your custom guest portal, you can keep the default layout or redesign certain features. For example, you can add your own logo and background image. You can add or remove features such as a Terms of Service agreement and an Opt Out option.
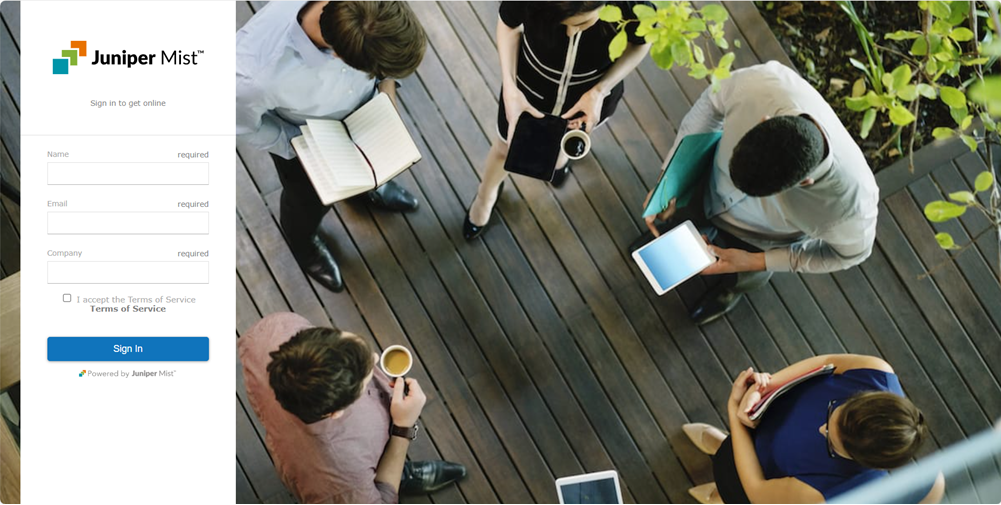
This example shows a guest portal that is configured with the default options.
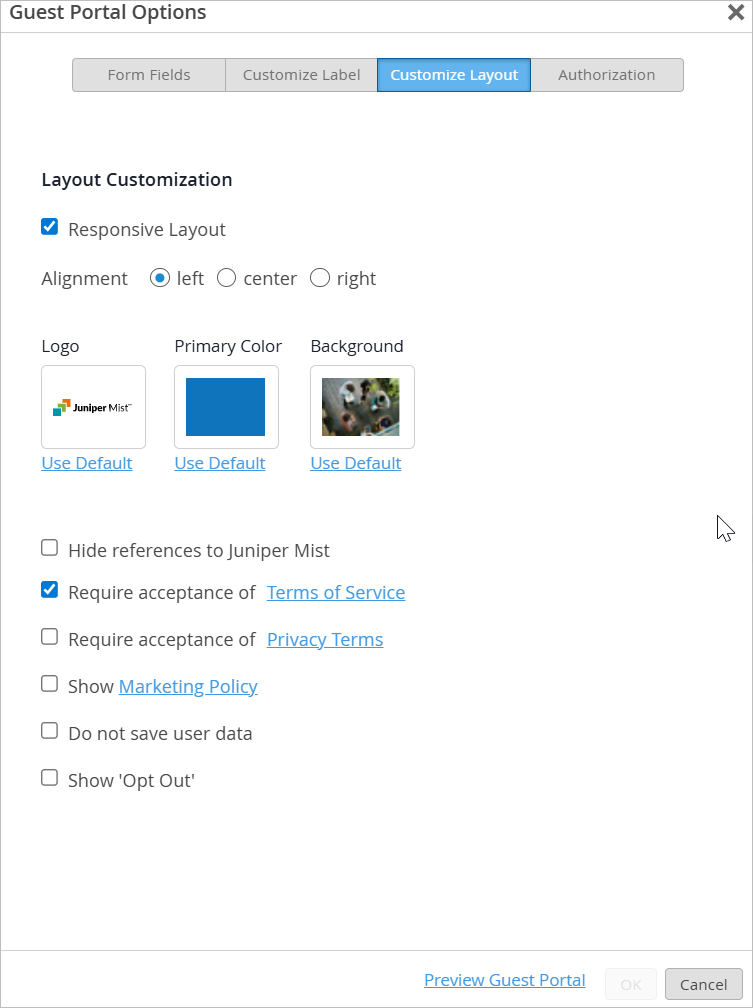
You can make changes on the Customize Layout tab of the Guest Portal Options window.
This topic describes one aspect of Custom Guest Portal setup. To get started with your custom guest portal, see Add a Custom Guest Portal to a WLAN.
The options include:
-
Responsive Layout—When you select this check box, the guest portal layout adapts to the screen width of the user's device.
-
Alignment—This selection determines whether the sign-in form appears on the left, center, or right of the browser window.
-
Logo—Upload a new logo.
Requirements:
-
File size—100 kB maximum
-
Image width: 500 pixels maximum
-
Height: 200 pixels maximum
-
-
Primary color—This selection determines the color of the sign-in button, link text, active fields, and other elements of the guest portal.
-
Background—Upload a new background photo.
-
File size—100 kB maximum
-
Image width: 500 pixels maximum
-
Height: 200 pixels maximum
Note:To change the Logo, Primary Color, or Background, click the respective tile (see image above).
-
-
Hide 'Powered by Mist'—Select this check box if you do not want your form to display Powered by Mist. When the check box is selected, this message appears at the bottom of the form.
-
Require acceptance of Terms of Service—If you want to require guests to agree to your terms of service, select the check box. Then click Terms of Service, enter the information that you want users to see, and click OK to save the text.
Note:Require acceptance of Terms of Service must be present for all guest portals in the European Union and United Kingdom. This is due to the European GDPR requirement that an individual must consciously consent.
Alternatively, you can enter a Terms Link on the Customize Labels tab. In this case, when users click Terms of Service, they'll go to the link that you specify instead of seeing the words that you enter in the Terms of Service pop-up window.
-
Require acceptance of Privacy Terms—If you want to require guests to agree to your privacy policy, select the check box. Then click Privacy Terms, enter the information that you want users to see, and click OK to save the text.
-
Show Marketing Policy—If you want your guest form to allow guests to opt into marketing communications, select the check box. Then click the link and enter your policy. On the guest form, guests will see a check box to receive marketing communications. The form also will include a link to view your policy.
-
Do not save user data—Select this check box if you do not want to save the users' entries.
-
Show 'Opt Out'—If you select this check box, the guest portal displays a Do Not Store My Personal Information option. If you also select the 'Opt Out' as default option, then the Do Not Store My Personal Information is automatically selected. Users would uncheck the box if they want to opt in.