Scale a Floorplan
To ensure location accuracy, scale your floorplan.
Video Overview
Okay. So now let's scale the image. So let's click setup floor plan.
Click set scale and drag and drop between two points. So now what I'm doing here is I'm selecting two points that I know the distance between in real life. And I have very high confidence that I know that the distance between these two points is 12.15 meters. So now I'm gonna click right here and say, enter a new length, 12.15 and click okay and click done. And then once we've saved the image, that's all we need to do. You just need to know two points that you know the distance between and then enter in that value like I just did.
Now click save and that's it. Now we've uploaded and we have scaled our image.
-
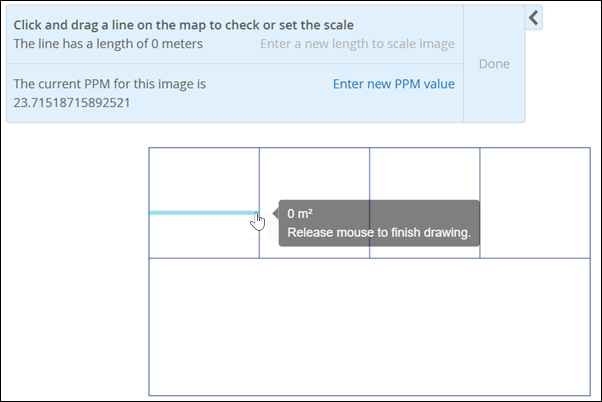
Drag a line between two points on the floorplan.
For example, you might draw a line across the width of a room or the length of a hallway.
 Tip:
Tip:If you don’t know the actual dimensions, look for a standard door on the floorplan and scale that door to 0.91 meters (3 feet). This will get you close to the actual scale.
-
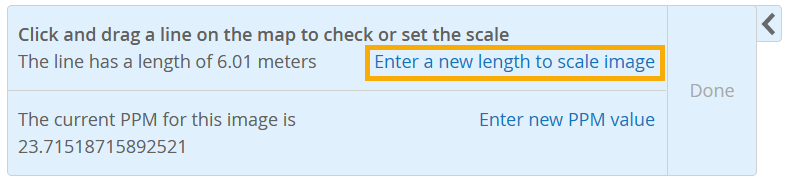
Click Enter a new length to scale image.
-
Click Done.

Now you're ready to add access points to the floorplan.