ON THIS PAGE
Manually Place an AP on a Floorplan
If you're not using autoplacement, manually position your access points (APs) on your floorplan.
Before You Begin
Install your access points (APs) and claim or adopt them into your organization.
Obtain the following information about each AP:
-
The MAC address of the AP
-
The actual position of the AP at the site
-
The height of the AP (the distance between the floor and the AP)
-
The orientation of the AP
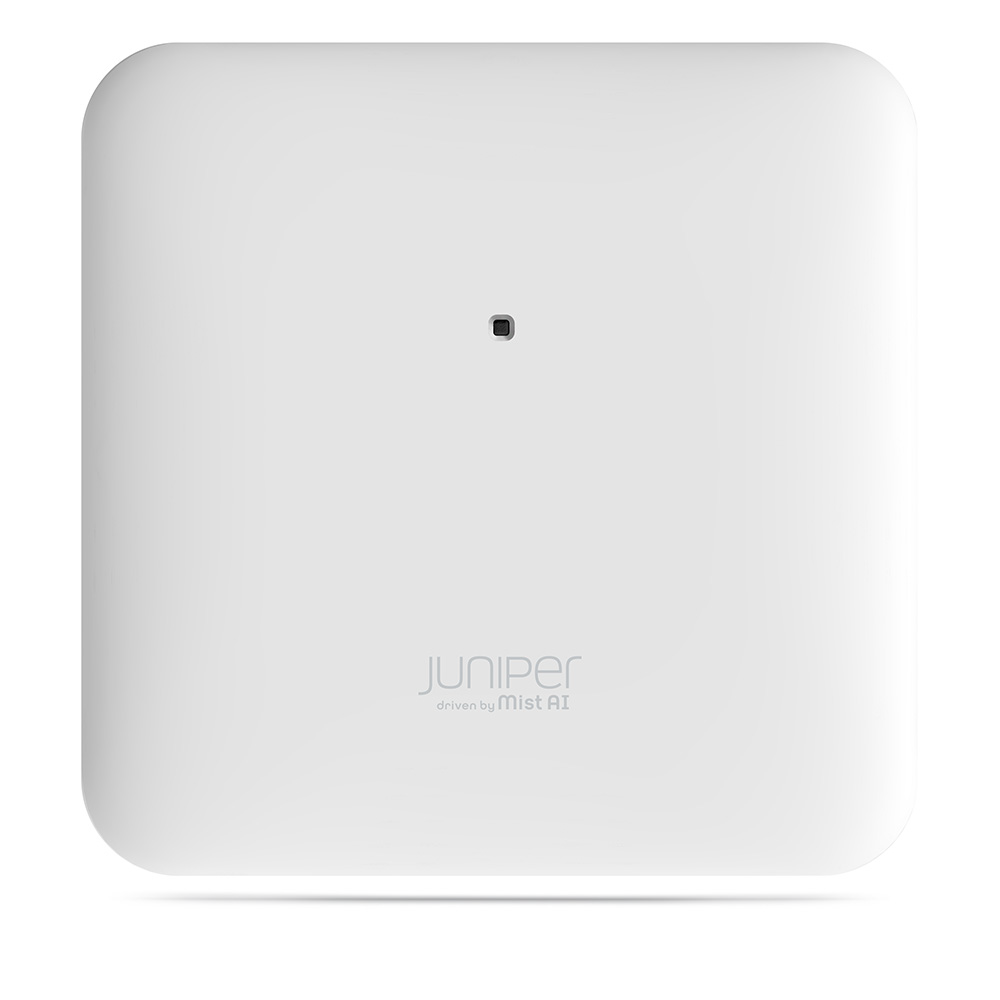
To visualize the concept of orientation, stand below the AP and mentally draw a line from the Juniper Mist logo through the LED to an endpoint such as the nearest wall. Make a note of that endpoint (“The LED points to the north wall.”) This information will help you to correctly indicate the orientation on the floorplan in the Juniper Mist portal.
The following figure shows the location of the LED on an AP.
Procedure
-
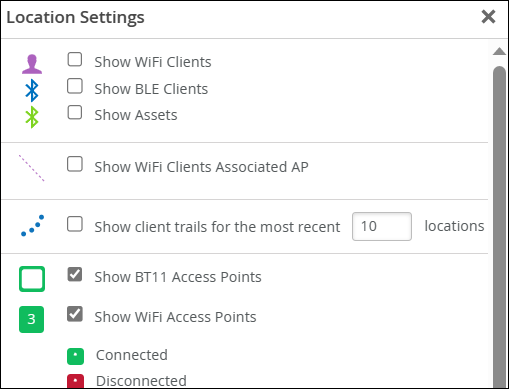
To ensure that APs appear on the floorplan:
-
Click the Settings button (near the top right corner of the
page).

-
Select the check boxes to show BT11 and Wi-Fi APs.
-
Click the Settings button (near the top right corner of the
page).
-
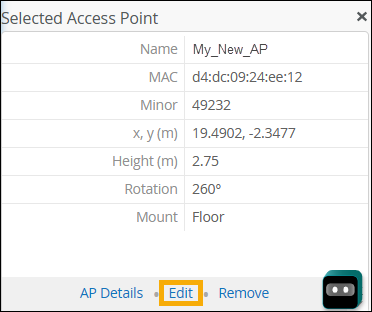
In the Selected Access Point section, check the MAC address of
the AP. Ensure that you have selected the correct AP for this area of the floorplan.

-
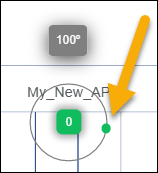
To set the orientation, drag the green dot so that it represents the actual orientation
of the LED on the AP. You can also click Edit in the
Selected Access Point section, and then enter the
Rotation in degrees.
 Note:
Note:In the Before You Begin section, we imagined drawing a line from the Juniper Mist logo through the LED to an endpoint on the north wall. Here, we drag the green dot so that it aligns with that imaginary path.
-
Set the AP height:
-
Click Edit in the Selected Access
Point section.
-
Click Edit in the Selected Access
Point section.
Next Steps
As a final step in setting up your floorplan, Validate Your Floorplan.